How Can We Make Solar Panel At Home?
Creating a solar panel at home can be a rewarding and educational project that not only helps you understand the principles of solar energy but also contributes to a more sustainable lifestyle. This article will guide you through the process of making a basic solar panel at home, covering the necessary materials, steps, and safety precautions. By the end of this article, you should have a clear understanding of how to build a functional solar panel that can generate electricity from sunlight.
Understanding Solar Panels
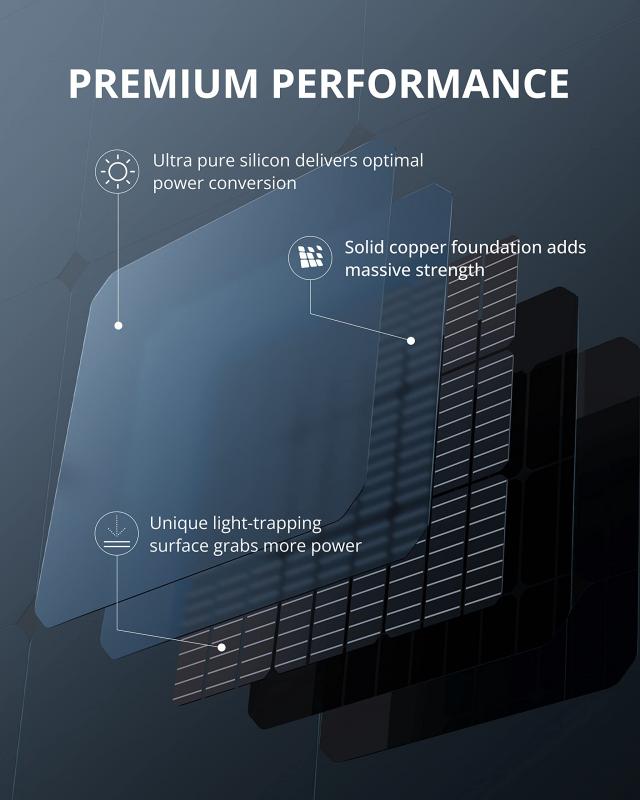
Before diving into the construction process, it's essential to understand how solar panels work. Solar panels are composed of photovoltaic (PV) cells that convert sunlight into electricity. These cells are made from semiconductor materials, typically silicon, which absorb photons from sunlight and release electrons. The movement of these electrons generates an electric current, which can be harnessed for power.
Materials Needed
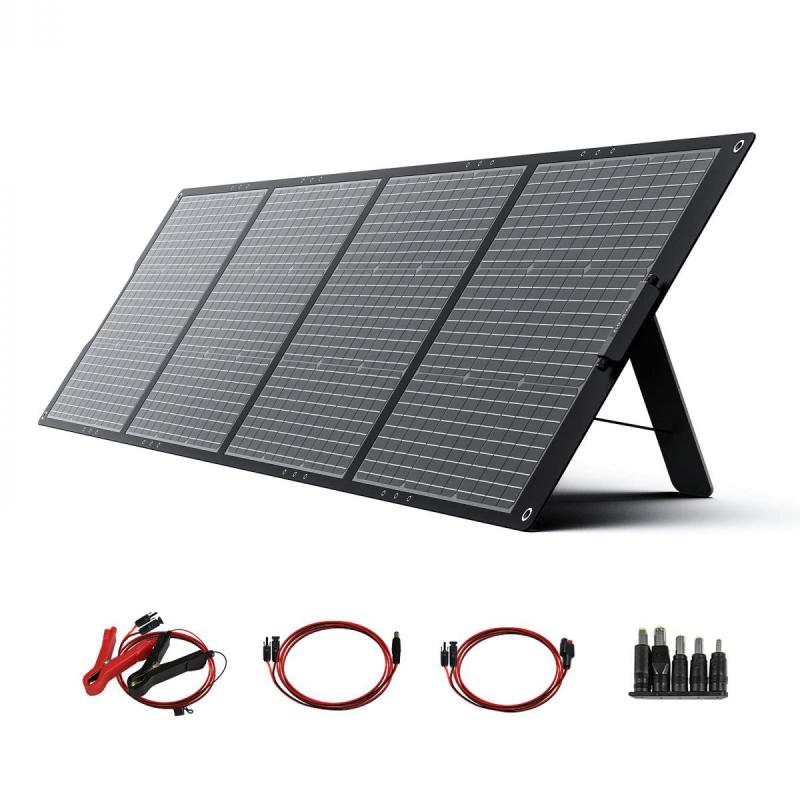
To build a solar panel at home, you will need the following materials:
1. Solar Cells: These are the building blocks of your solar panel. You can purchase individual solar cells online or from a local supplier.
2. Tabbing Wire: This is used to connect the solar cells together.
3. Flux Pen: This helps in soldering the tabbing wire to the solar cells.
4. Soldering Iron and Solder: Essential tools for connecting the solar cells.
5. Bus Wire: Used to connect rows of solar cells.
6. Glass or Plexiglass Sheet: This will serve as the protective cover for your solar panel.
7. Plywood or a Similar Material: This will be the base of your solar panel.
8. Silicone Sealant: Used to seal the edges of the panel and protect it from moisture.
9. Junction Box: This will house the electrical connections and provide a way to connect the panel to your electrical system.
10. Multimeter: To test the voltage and current output of your solar panel.
Step-by-Step Guide
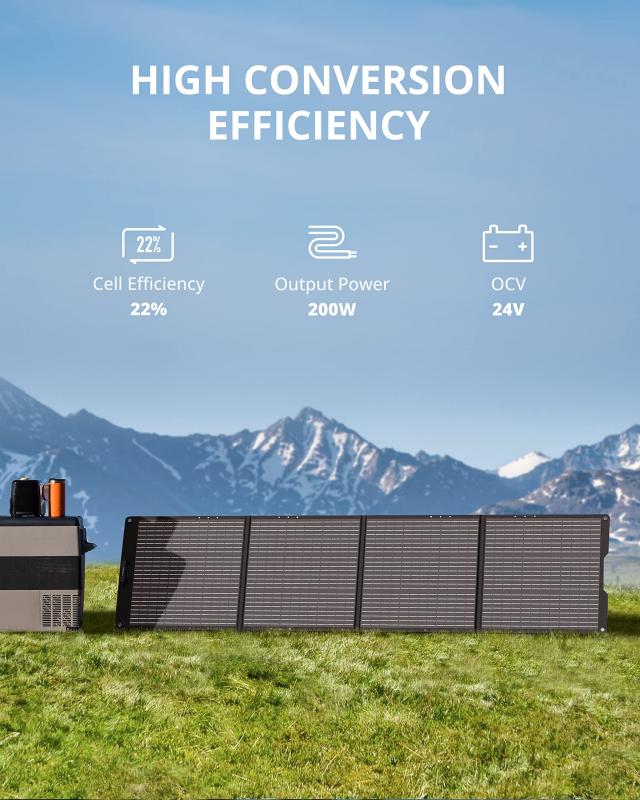
Step 1: Preparing the Solar Cells
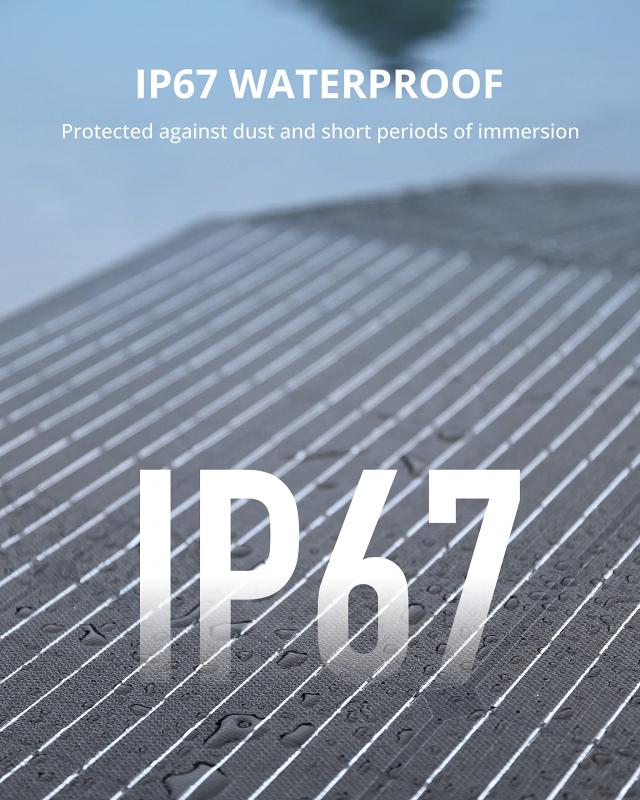
Start by laying out your solar cells on a flat surface. Solar cells are fragile, so handle them with care. Use the flux pen to apply flux to the solder points on each cell. This will make it easier to solder the tabbing wire.
Step 2: Soldering the Tabbing Wire
Cut the tabbing wire into appropriate lengths. Each piece should be long enough to connect two solar cells. Use the soldering iron to attach the tabbing wire to the solder points on the solar cells. Ensure that the connections are secure and that the wire is flat against the cell.
Step 3: Connecting the Solar Cells
Once all the solar cells have tabbing wire attached, start connecting them in series. This means connecting the positive side of one cell to the negative side of the next cell. Continue this process until all the cells are connected. This series connection will increase the voltage output of your solar panel.
Step 4: Assembling the Panel
Place the connected solar cells onto the plywood base. Arrange them in rows, ensuring that they are evenly spaced. Use silicone sealant to secure the cells to the plywood. Be careful not to cover the cells with too much sealant, as this can block sunlight.
Step 5: Adding the Bus Wire
Use bus wire to connect the rows of solar cells. This will combine the voltage from each row, increasing the overall power output of the panel. Solder the bus wire to the tabbing wire at the ends of each row.
Step 6: Installing the Glass Cover
Place the glass or plexiglass sheet over the solar cells. This will protect the cells from the elements while allowing sunlight to pass through. Use silicone sealant to secure the glass to the plywood base, ensuring that the edges are sealed to prevent moisture from entering.
Step 7: Wiring the Junction Box
Attach the junction box to the back of the plywood base. This box will house the electrical connections and provide a way to connect the panel to your electrical system. Solder the positive and negative wires from the solar cells to the terminals in the junction box.
Step 8: Testing the Solar Panel
Use a multimeter to test the voltage and current output of your solar panel. Place the panel in direct sunlight and measure the output. If the panel is working correctly, you should see a voltage reading that matches the combined output of the solar cells.
Safety Precautions
Building a solar panel involves working with electrical components and tools that can be hazardous if not handled properly. Here are some safety tips to keep in mind:
1. Wear Protective Gear: Use safety glasses and gloves to protect yourself from soldering fumes and sharp edges.
2. Work in a Well-Ventilated Area: Soldering can produce harmful fumes, so make sure you are working in a space with good ventilation.
3. Handle Solar Cells with Care: Solar cells are fragile and can break easily. Handle them gently to avoid damage.
4. Avoid Short Circuits: Ensure that the positive and negative wires do not touch each other, as this can cause a short circuit and damage the solar cells.
Practical Applications
Once you have successfully built your solar panel, you can use it for various applications. Here are a few ideas:
1. Charging Batteries: Use the solar panel to charge rechargeable batteries for use in small electronic devices.
2. Powering Small Appliances: Connect the panel to an inverter to power small household appliances like lights, fans, or radios.
3. Educational Projects: Use the solar panel as a teaching tool to demonstrate the principles of solar energy to students or hobbyists.
Building a solar panel at home is a practical and educational project that can provide you with a deeper understanding of renewable energy. By following the steps outlined in this article, you can create a functional solar panel that harnesses the power of the sun to generate electricity. Not only will this project help you learn about solar energy, but it can also contribute to a more sustainable lifestyle by reducing your reliance on non-renewable energy sources. Remember to take safety precautions seriously and enjoy the process of creating your own solar panel.


