How Do I Make An Audio Recording?
Creating high-quality audio recordings is a skill that can be incredibly useful for a variety of purposes, from podcasting and music production to creating voiceovers for videos. Whether you're a beginner or looking to refine your technique, understanding the essential steps and tools involved in making an audio recording is crucial. This article will guide you through the process, covering everything from selecting the right equipment to editing your final product.
Choosing the Right Equipment
Microphones
The first step in making an audio recording is selecting the right microphone. There are several types of microphones, each suited for different purposes:
1. Dynamic Microphones: These are durable and can handle high sound pressure levels, making them ideal for live performances and recording loud instruments like drums.
2. Condenser Microphones: These are more sensitive and provide a higher quality of sound, making them perfect for studio recordings, vocals, and acoustic instruments.
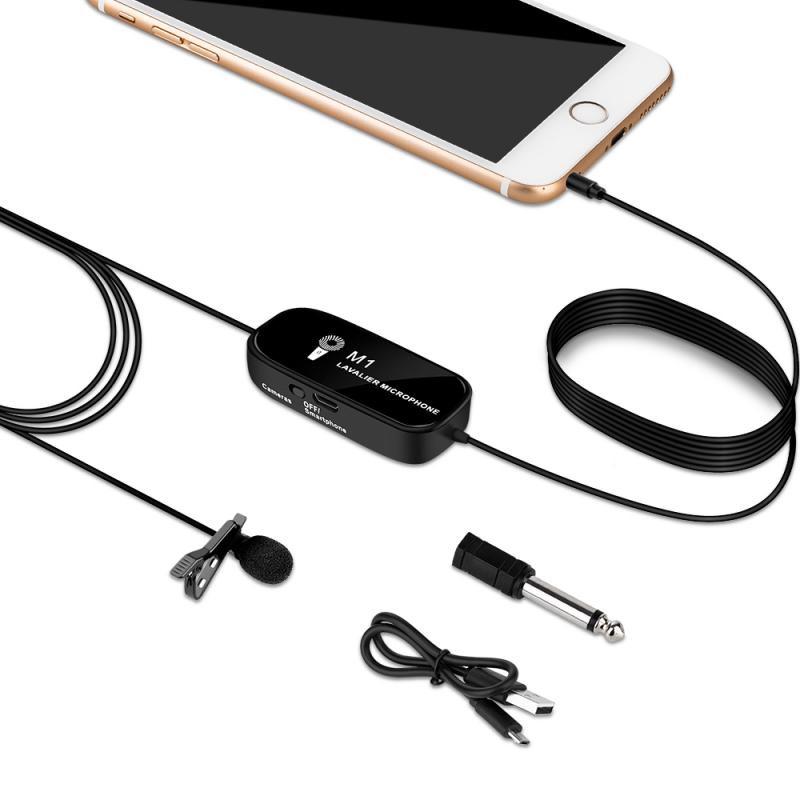
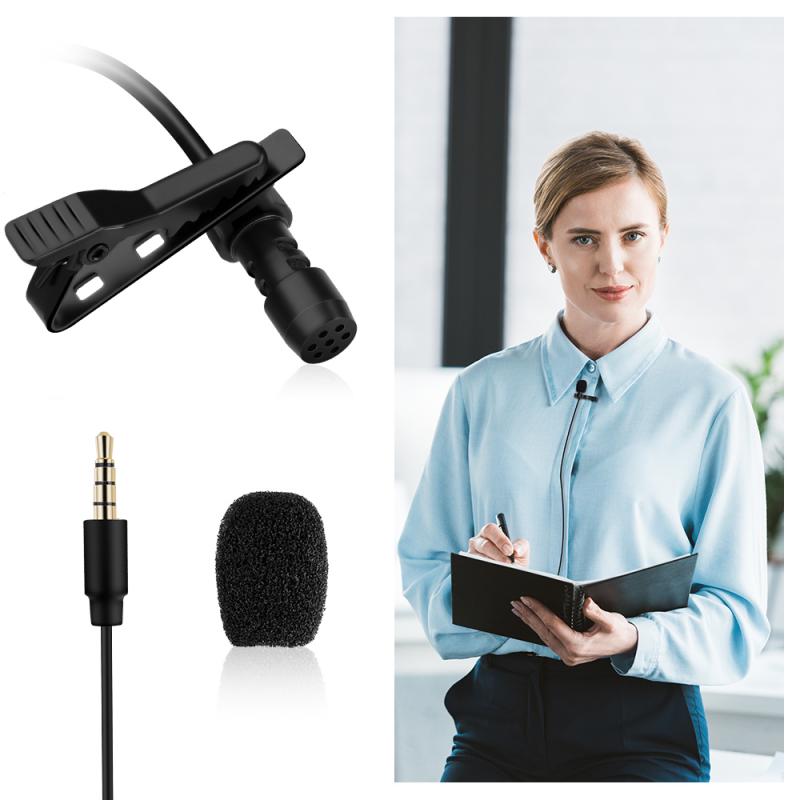
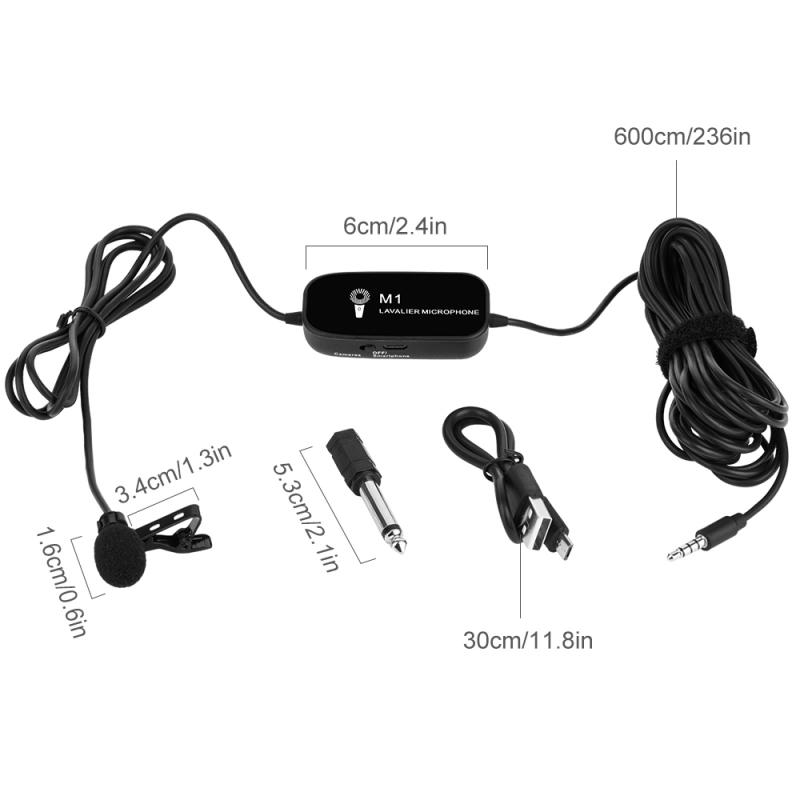
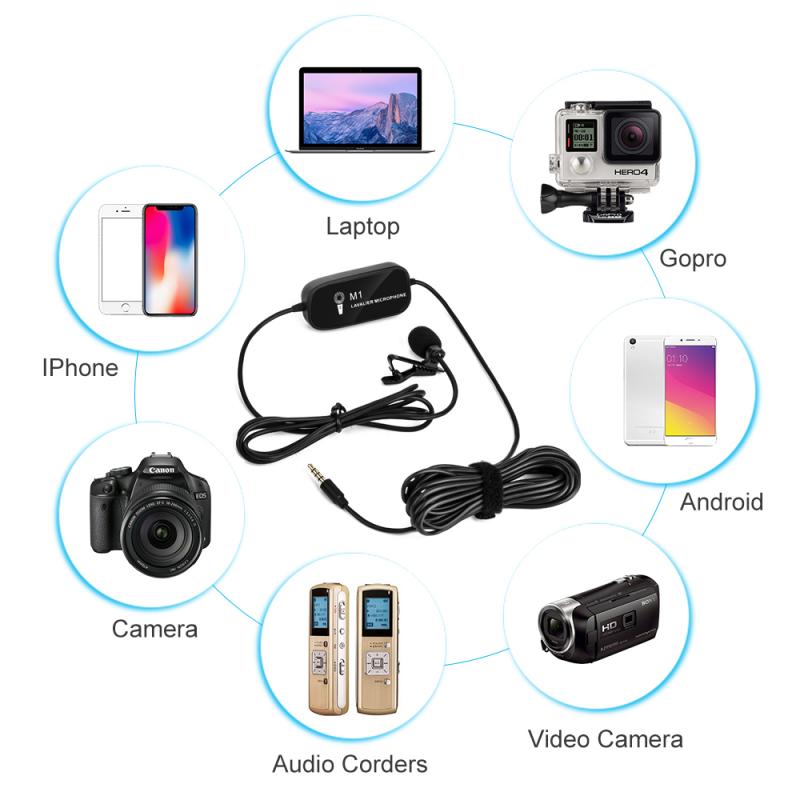
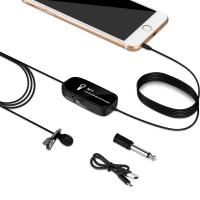
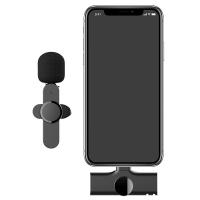
3. Lavalier Microphones: These are small, clip-on mics often used in interviews and presentations.
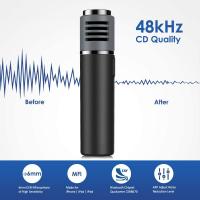
For most beginners, a USB condenser microphone is a good starting point due to its ease of use and high-quality sound.
Audio Interface
An audio interface is a device that converts analog signals from your microphone into digital signals that your computer can process. It also often provides phantom power required by condenser microphones. Popular choices include the Focusrite Scarlett series and the PreSonus AudioBox.
Headphones
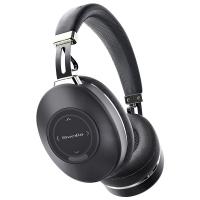
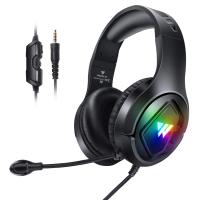
A good pair of closed-back headphones is essential for monitoring your recordings and ensuring there is no bleed from the playback into the microphone. Brands like Audio-Technica and Sennheiser offer reliable options.
Recording Software
Digital Audio Workstations (DAWs) are software applications used for recording, editing, and producing audio files. Popular DAWs include:
- Audacity: Free and open-source, great for beginners.
- GarageBand: Free for Mac users, user-friendly with a variety of features.
- Adobe Audition: Professional-grade software with advanced features.
Setting Up Your Recording Environment
Room Acoustics
The environment in which you record can significantly impact the quality of your audio. Here are some tips to optimize your recording space:
1. Soundproofing: Use foam panels, carpets, and heavy curtains to reduce external noise.
2. Acoustic Treatment: Place bass traps and diffusers to manage sound reflections and echoes.
3. Quiet Space: Choose a room with minimal background noise and interruptions.
Microphone Placement
Proper microphone placement is crucial for capturing the best sound. Here are some general guidelines:
1. Vocals: Position the microphone about 6-12 inches away from your mouth, slightly off-axis to reduce plosive sounds.
2. Instruments: The placement will vary depending on the instrument. For example, place a microphone near the soundhole of an acoustic guitar or above the drum kit for overhead recording.
Recording Process
Setting Levels
Before you start recording, set your input levels to ensure that the audio is neither too quiet nor clipping (distorting). Aim for levels that peak around -6dB to -3dB.
Monitoring
Use your headphones to monitor the recording in real-time. This allows you to catch any issues immediately, such as background noise or distortion.
Recording Takes
It's often a good idea to record multiple takes of the same part. This gives you options to choose from during the editing process and can help create a more polished final product.
Editing Your Recording
Importing and Organizing
Once you've recorded your audio, import the files into your DAW. Organize your tracks by labeling them and arranging them in a logical order.
Noise Reduction
Use noise reduction tools to eliminate any background noise or hum. Most DAWs have built-in noise reduction features, or you can use third-party plugins.
Equalization (EQ)
EQ is used to balance the frequencies in your recording. Here are some basic tips:
1. Low-Cut Filter: Apply a low-cut filter to remove any unnecessary low frequencies.
2. Boosting and Cutting: Boost frequencies that enhance the clarity and presence of the audio, and cut frequencies that cause muddiness or harshness.
Compression
Compression helps to even out the dynamic range of your recording, making the quiet parts louder and the loud parts quieter. This results in a more consistent and professional sound.
Reverb and Effects
Adding reverb can give your recording a sense of space and depth. Use it sparingly to avoid making the audio sound too distant or muddy. Other effects like delay, chorus, and distortion can be used creatively depending on the style of your recording.
Exporting and Sharing
Export Settings
When you're satisfied with your edited recording, it's time to export it. Choose the appropriate file format and settings based on your needs:
- WAV: High-quality, uncompressed format suitable for professional use.
- MP3: Compressed format that is more suitable for sharing online due to its smaller file size.
Metadata
Add metadata to your audio file, such as the title, artist name, and album name. This information is important for organizing your files and for distribution purposes.
Distribution
There are various platforms where you can share your audio recordings, including:
- SoundCloud: Popular for sharing music and podcasts.
- YouTube: Great for reaching a wide audience.
- Podcast Hosting Services: Platforms like Libsyn and Anchor can help you distribute your podcast to various directories like Apple Podcasts and Spotify.
Troubleshooting Common Issues
Background Noise
If you notice background noise in your recordings, try the following solutions:
1. Check Your Environment: Ensure that your recording space is as quiet as possible.
2. Use a Noise Gate: This tool can help eliminate low-level background noise.
3. Re-record: Sometimes, the best solution is to re-record the audio in a better environment.
Distortion
Distortion occurs when the input levels are too high. To fix this:
1. Lower Input Levels: Adjust the gain on your audio interface or microphone.
2. Use a Limiter: A limiter can prevent the audio from peaking above a certain level.
Poor Sound Quality
If your recordings sound thin or muffled, consider the following:
1. Check Microphone Placement: Ensure that the microphone is positioned correctly.
2. Use EQ: Adjust the EQ settings to enhance the clarity and presence of the audio.
3. Upgrade Equipment: Sometimes, investing in better equipment can make a significant difference.
Making an audio recording involves a combination of the right equipment, a suitable recording environment, and proper techniques. By following the steps outlined in this article, you can create high-quality audio recordings for any purpose. Whether you're a musician, podcaster, or content creator, mastering the art of audio recording will open up new opportunities for you to share your voice and creativity with the world.









There are no comments for this blog.