How Do You Move Photos To Sd Card?
Moving photos to an SD card is a common task that many users need to perform to free up space on their devices or to create backups of their precious memories. Whether you are using a smartphone, a digital camera, or a computer, the process can vary slightly. In this article, we will explore the different methods for moving photos to an SD card, providing step-by-step instructions for each device type. By the end of this guide, you will have a clear understanding of how to efficiently transfer your photos to an SD card.
Moving Photos on an Android Smartphone

For Android users, moving photos to an SD card is a straightforward process. Here’s how you can do it:
1. Insert the SD Card: Ensure that your SD card is properly inserted into your smartphone. Most Android phones have a slot for the SD card, usually located next to the SIM card slot.
2. Open the File Manager: Navigate to your phone’s file manager. This app might be named “Files,” “My Files,” or something similar, depending on your device.
3. Locate Your Photos: Go to the folder where your photos are stored. This is typically the “DCIM” folder, which stands for Digital Camera Images.
4. Select Photos: Tap and hold on a photo to select it. You can then select multiple photos by tapping on them. Some file managers also have a “Select All” option.
5. Move Photos: Once you have selected the photos, look for the “Move” or “Cut” option. This is usually represented by an icon that looks like a pair of scissors or a folder with an arrow.
6. Choose Destination: Navigate to the SD card within the file manager and select the folder where you want to move the photos. Tap “Move Here” or a similar option to complete the transfer.
Moving Photos on an iPhone
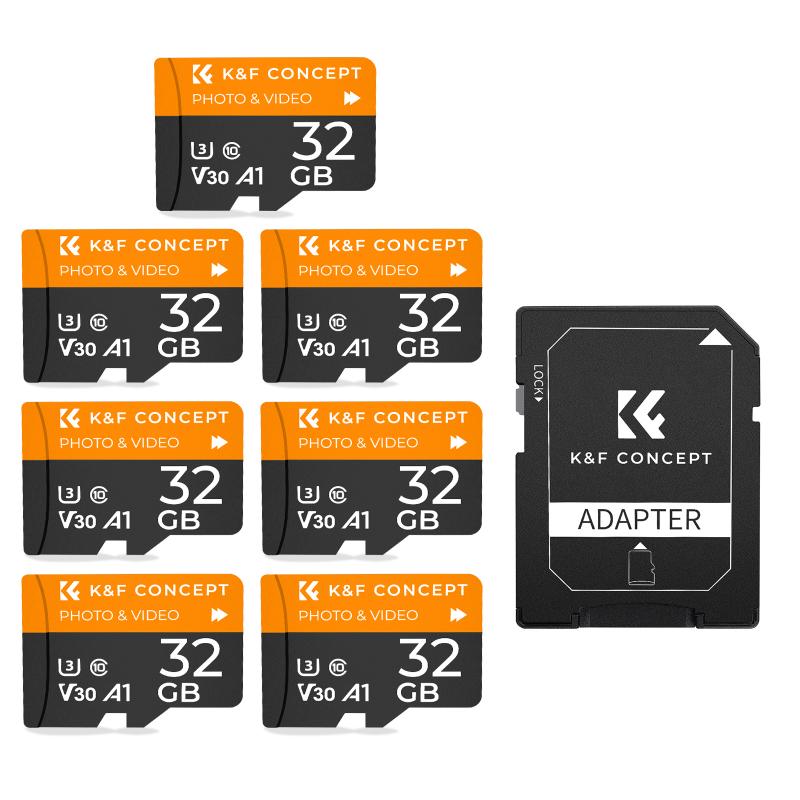
iPhones do not support SD cards directly, but you can use an SD card reader to transfer photos. Here’s how:
1. Connect the SD Card Reader: Plug the SD card reader into your iPhone’s Lightning port.
2. Insert the SD Card: Insert your SD card into the reader.
3. Open the Photos App: Open the Photos app on your iPhone.
4. Import Photos: Tap on the “Import” tab at the bottom of the screen. Your iPhone will display the photos available on the SD card.
5. Select Photos: Choose the photos you want to move by tapping on them. You can also select “Import All” to transfer all photos.
6. Complete the Transfer: Tap “Import Selected” or “Import All” to move the photos to your iPhone. Once the import is complete, you can delete the photos from your iPhone to free up space.
Moving Photos on a Digital Camera

Most digital cameras use SD cards to store photos. To move photos from your camera to another SD card or device, follow these steps:
1. Remove the SD Card: Turn off your camera and remove the SD card.
2. Insert the SD Card into a Computer: Use an SD card reader if your computer does not have a built-in SD card slot.
3. Copy Photos to Computer: Open the SD card folder on your computer and copy the photos to a designated folder on your computer.
4. Insert New SD Card: If you are moving photos to a new SD card, insert the new card into the SD card reader.
5. Transfer Photos: Copy the photos from your computer to the new SD card.
Moving Photos on a Windows Computer

If you are using a Windows computer, you can move photos to an SD card as follows:
1. Insert the SD Card: Insert the SD card into your computer’s SD card slot or use an external SD card reader.
2. Open File Explorer: Open File Explorer and navigate to the folder where your photos are stored.
3. Select Photos: Select the photos you want to move. You can use the Ctrl key to select multiple photos or Ctrl + A to select all photos in the folder.
4. Move Photos: Right-click on the selected photos and choose “Cut” or “Copy.”
5. Paste Photos to SD Card: Navigate to the SD card in File Explorer, right-click in the destination folder, and choose “Paste.”
Moving Photos on a Mac
For Mac users, the process is similar to that on a Windows computer:
1. Insert the SD Card: Insert the SD card into your Mac’s SD card slot or use an external SD card reader.
2. Open Finder: Open Finder and navigate to the folder where your photos are stored.
3. Select Photos: Select the photos you want to move. You can use the Command key to select multiple photos or Command + A to select all photos in the folder.
4. Move Photos: Right-click on the selected photos and choose “Cut” or “Copy.”
5. Paste Photos to SD Card: Navigate to the SD card in Finder, right-click in the destination folder, and choose “Paste.”
Tips for Moving Photos to an SD Card
- Backup Your Photos: Before moving your photos, it’s a good idea to create a backup. This ensures that you don’t lose any important files during the transfer process.
- Check SD Card Capacity: Make sure your SD card has enough space to accommodate the photos you are moving. SD cards come in various capacities, so choose one that meets your needs.
- Organize Your Photos: Consider organizing your photos into folders before moving them. This makes it easier to find specific photos later.
- Safely Eject the SD Card: Always safely eject the SD card from your device to prevent data corruption. On a computer, you can do this by right-clicking on the SD card icon and selecting “Eject.”
Moving photos to an SD card is a simple yet essential task for managing your digital photo collection. Whether you are using a smartphone, digital camera, or computer, the steps outlined in this guide will help you transfer your photos efficiently. By following these instructions, you can free up space on your devices, create backups, and keep your photos organized. Remember to always handle your SD cards with care and to back up your photos regularly to avoid any potential data loss.




There are no comments for this blog.