How Does A Condenser Microphone Work?
Condenser microphones are a staple in the audio recording industry, known for their high sensitivity and accuracy in capturing sound. Understanding how a condenser microphone works can provide valuable insights for anyone involved in audio production, from musicians and podcasters to sound engineers and hobbyists. This article will delve into the mechanics of condenser microphones, their advantages, and practical applications, offering a comprehensive guide to help you make informed decisions in your audio endeavors.
The Basics of Condenser Microphones
At the heart of a condenser microphone is a capacitor, also known as a condenser. This capacitor consists of two plates: a diaphragm and a backplate. The diaphragm is a thin, flexible membrane that vibrates when sound waves hit it. The backplate, on the other hand, is a rigid, fixed component. These two plates are placed very close to each other, creating a small gap.
When sound waves strike the diaphragm, it moves closer to or further away from the backplate, causing a change in the distance between the two plates. This change in distance alters the capacitance of the capacitor, which in turn affects the electrical charge stored in it. By measuring these changes in capacitance, the microphone converts sound waves into an electrical signal.
The Role of Phantom Power

One of the unique aspects of condenser microphones is their need for an external power source, commonly referred to as phantom power. Phantom power is typically supplied through the microphone cable from an audio interface, mixer, or dedicated phantom power supply. This power is essential for two main reasons:
1. Polarizing the Capacitor: The capacitor in a condenser microphone needs a constant electrical charge to function correctly. Phantom power provides this charge, ensuring that the microphone can accurately capture sound.
2. Powering the Internal Amplifier: Condenser microphones often include an internal preamplifier to boost the weak electrical signal generated by the capacitor. Phantom power supplies the necessary energy for this preamplifier, allowing the microphone to deliver a strong, clear signal to the recording equipment.
Types of Condenser Microphones
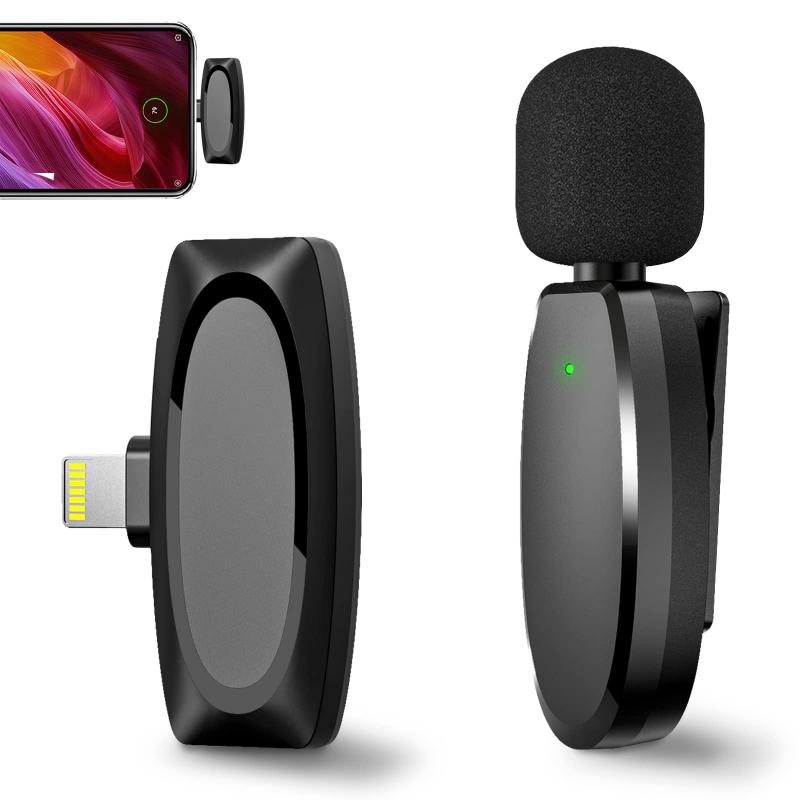
Condenser microphones come in various shapes and sizes, each designed for specific applications. The two most common types are large-diaphragm and small-diaphragm condenser microphones.
1. Large-Diaphragm Condenser Microphones (LDCs): These microphones typically have a diaphragm larger than one inch in diameter. LDCs are known for their warm, rich sound and are often used for recording vocals, acoustic instruments, and other sources where a full, detailed sound is desired.
2. Small-Diaphragm Condenser Microphones (SDCs): With a diaphragm smaller than one inch, SDCs are prized for their accuracy and ability to capture fast transients. They are commonly used for recording instruments like drums, cymbals, and acoustic guitars, where precision and clarity are crucial.
Advantages of Condenser Microphones

Condenser microphones offer several advantages over other types of microphones, such as dynamic and ribbon microphones. These benefits make them a popular choice in various recording scenarios.
1. High Sensitivity: Condenser microphones are highly sensitive, capable of capturing subtle nuances and details in sound. This makes them ideal for studio recording, where capturing the full range of an instrument or voice is essential.
2. Wide Frequency Response: Condenser microphones typically have a broader frequency response than dynamic microphones, allowing them to capture both low and high frequencies with greater accuracy. This results in a more natural and detailed sound.
3. Low Self-Noise: High-quality condenser microphones have low self-noise, meaning they produce minimal background noise. This is particularly important in studio settings, where a clean, noise-free recording is crucial.
Practical Applications of Condenser Microphones
Understanding the mechanics and advantages of condenser microphones is only part of the equation. Knowing how to apply this knowledge in real-world scenarios can significantly enhance your recording quality.
1. Vocal Recording: Condenser microphones are the go-to choice for recording vocals due to their sensitivity and ability to capture a wide range of frequencies. When recording vocals, it's essential to use a pop filter to reduce plosive sounds and a shock mount to minimize vibrations.
2. Instrument Recording: Whether you're recording an acoustic guitar, piano, or string quartet, condenser microphones can capture the intricate details and dynamics of these instruments. Positioning the microphone correctly is crucial to achieving the best sound. For example, placing a small-diaphragm condenser microphone near the 12th fret of an acoustic guitar can capture a balanced, natural sound.
3. Overhead Drum Mics: Small-diaphragm condenser microphones are often used as overhead mics for drum kits. Their ability to capture fast transients and high frequencies makes them ideal for recording cymbals and the overall drum sound. Positioning the microphones in a spaced pair or XY configuration can provide a stereo image of the drum kit.
4. Field Recording: For capturing environmental sounds or sound effects, condenser microphones are an excellent choice due to their sensitivity and wide frequency response. Using a windscreen and shock mount can help reduce unwanted noise and vibrations when recording outdoors.
Tips for Using Condenser Microphones
To get the most out of your condenser microphone, consider the following tips:
1. Proper Placement: The placement of your microphone can significantly impact the quality of your recording. Experiment with different positions to find the sweet spot for your specific application.
2. Use a Pop Filter: When recording vocals, a pop filter can help reduce plosive sounds (such as "p" and "b" sounds) that can cause distortion.
3. Invest in a Shock Mount: A shock mount can help isolate the microphone from vibrations and handling noise, resulting in a cleaner recording.
4. Control the Environment: Recording in a treated room with minimal background noise can enhance the quality of your recordings. Use acoustic panels, bass traps, and diffusers to control reflections and standing waves.
5. Monitor Levels: Keep an eye on your recording levels to avoid clipping and distortion. Aim for a healthy signal level without peaking into the red.
Condenser microphones are a powerful tool in the world of audio recording, offering high sensitivity, wide frequency response, and low self-noise. By understanding how they work and applying best practices, you can achieve professional-quality recordings in various applications, from vocals and instruments to field recordings and beyond. Whether you're a seasoned audio engineer or a budding enthusiast, mastering the use of condenser microphones can elevate your recordings to new heights.








There are no comments for this blog.