How Make A Telescope?
Creating a telescope can be a rewarding and educational project, whether you're an amateur astronomer or simply someone interested in optics and DIY projects. This article will guide you through the process of making a simple yet functional telescope, covering the essential components, tools, and steps required. By the end of this guide, you should have a working telescope that can bring the stars and planets closer to your eyes.
Understanding the Basics
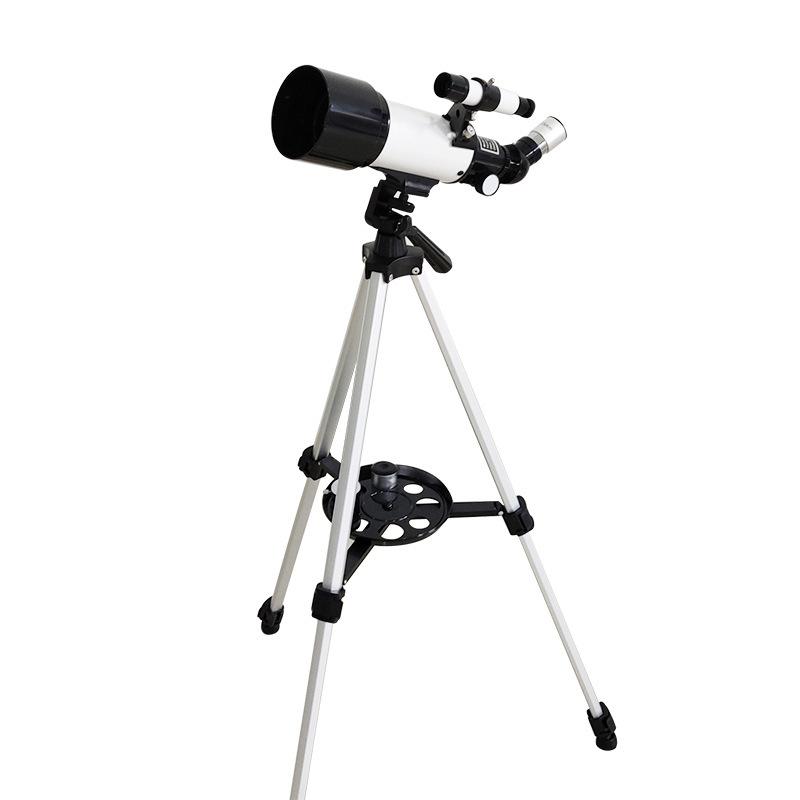
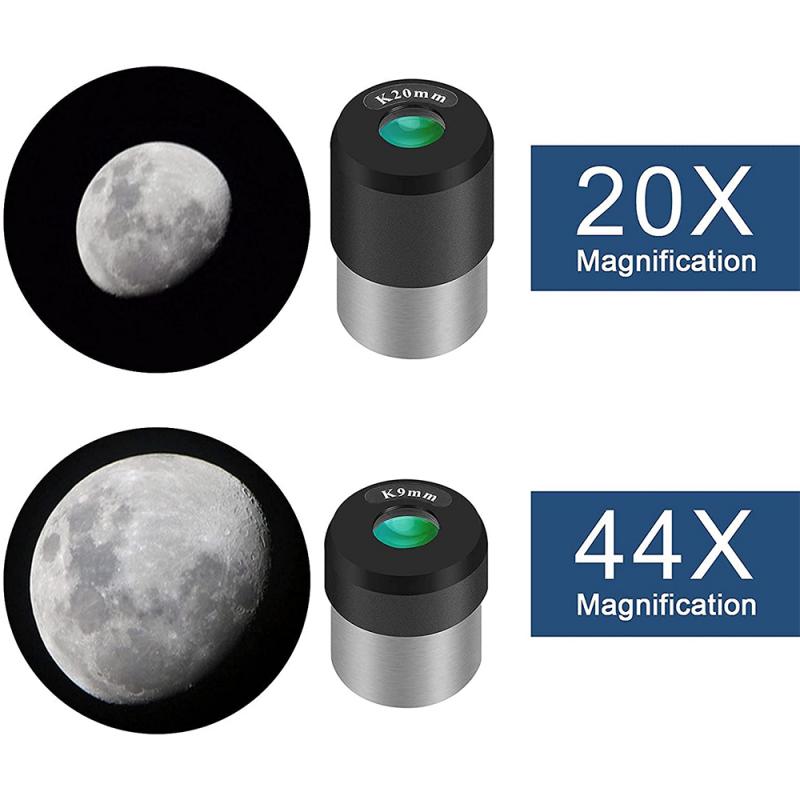
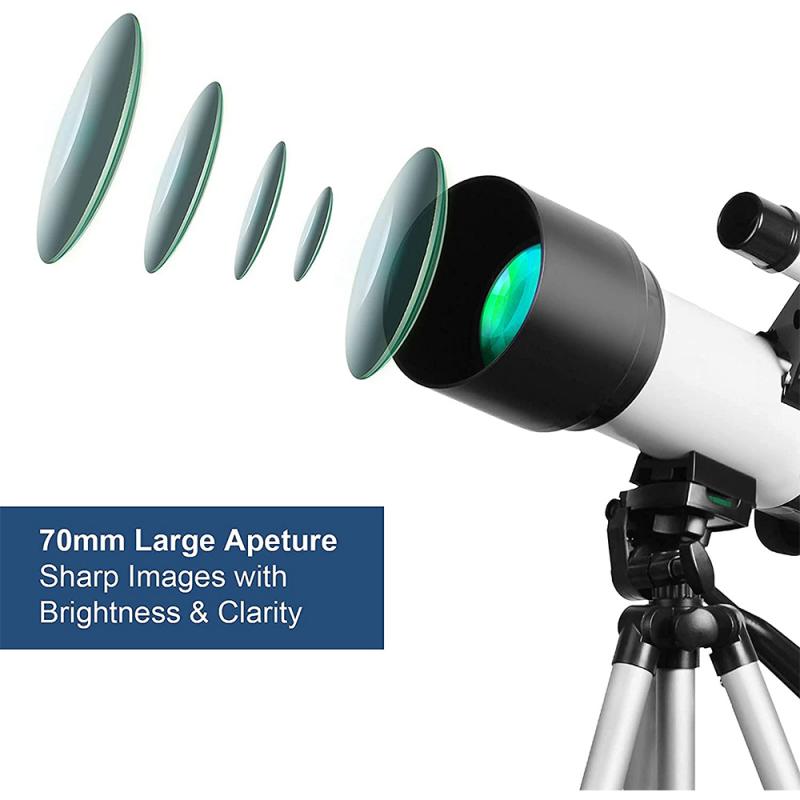
Before diving into the construction process, it's crucial to understand the basic principles of how a telescope works. A telescope is an optical instrument designed to make distant objects appear closer and more detailed. It typically consists of two main lenses: the objective lens and the eyepiece lens. The objective lens gathers light from a distant object and focuses it to create an image. The eyepiece lens then magnifies this image for your eye.
Types of Telescopes
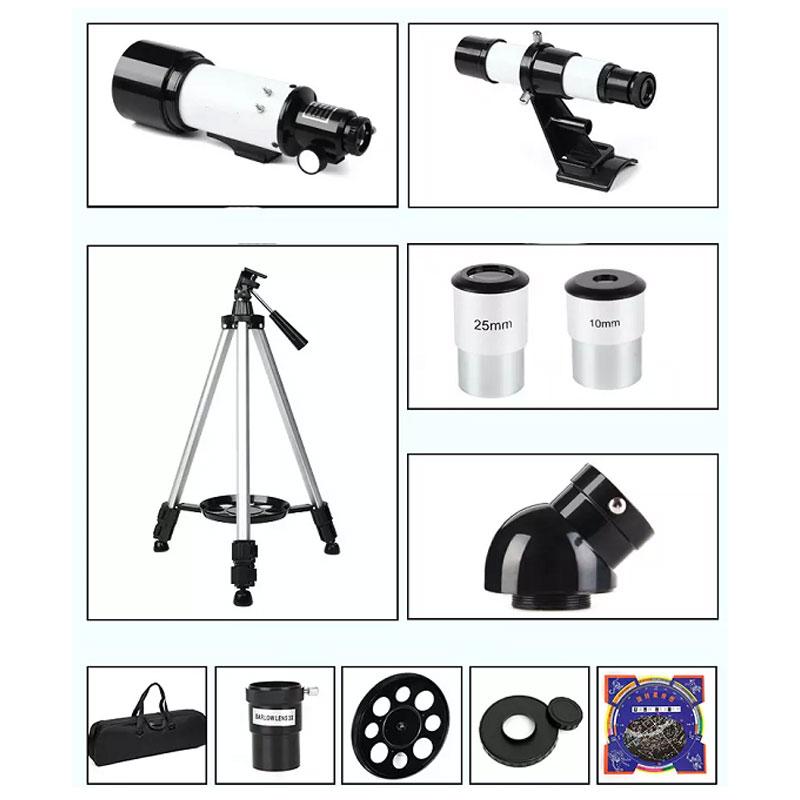
There are several types of telescopes, but for this guide, we'll focus on making a simple refracting telescope. Refracting telescopes use lenses to bend (refract) light and form an image. They are easier to build and understand compared to reflecting telescopes, which use mirrors.
Materials and Tools Needed
To build a basic refracting telescope, you will need the following materials and tools:
- Objective Lens: A convex lens with a long focal length (e.g., 50mm diameter with a 500mm focal length).
- Eyepiece Lens: A convex lens with a short focal length (e.g., 25mm diameter with a 50mm focal length).
- Tube: A cardboard or PVC tube to hold the lenses in place. The length should be slightly longer than the combined focal lengths of the objective and eyepiece lenses.
- Lens Holders: These can be made from cardboard, plastic, or metal to secure the lenses at each end of the tube.
- Focusing Mechanism: A simple sliding mechanism to adjust the distance between the lenses for focusing.
- Black Paint or Paper: To line the inside of the tube and reduce internal reflections.
- Glue and Tape: For securing the components.
- Ruler and Marker: For measurements and markings.
- Craft Knife or Scissors: For cutting materials.
Step-by-Step Construction
Step 1: Preparing the Tube
1. Measure and Cut: Measure the combined focal lengths of your objective and eyepiece lenses. Cut the tube to a length slightly longer than this measurement to allow for focusing adjustments.
2. Line the Tube: Paint the inside of the tube black or line it with black paper to minimize internal reflections, which can degrade image quality.
Step 2: Mounting the Objective Lens
1. Create a Lens Holder: Cut a circular piece of cardboard or plastic slightly larger than the diameter of the objective lens. Cut a hole in the center to fit the lens snugly.
2. Secure the Lens: Place the objective lens in the holder and secure it with glue or tape. Ensure the lens is centered and stable.
3. Attach to Tube: Insert the lens holder into one end of the tube and secure it with glue or tape. The lens should be positioned at the very end of the tube.
Step 3: Mounting the Eyepiece Lens
1. Create a Lens Holder: Similar to the objective lens holder, cut a circular piece of cardboard or plastic for the eyepiece lens.
2. Secure the Lens: Place the eyepiece lens in the holder and secure it with glue or tape.
3. Attach to Tube: Insert the eyepiece lens holder into the other end of the tube. This end should allow for some sliding movement to adjust the focus.
Step 4: Focusing Mechanism
1. Sliding Mechanism: If your tube is made of cardboard, you can create a simple sliding mechanism by cutting a slit along the side of the tube near the eyepiece end. This will allow you to slide the eyepiece holder back and forth to adjust the focus.
2. Test and Adjust: Point the telescope at a distant object and slide the eyepiece holder until the image comes into sharp focus. Mark this position for future reference.
Testing and Calibration
Once your telescope is assembled, it's time to test and calibrate it. Here are some tips for getting the best performance:
1. Daytime Testing: Start by testing your telescope during the day. Point it at a distant object like a tree or building and adjust the focus until the image is clear.
2. Nighttime Testing: Once you're comfortable with the daytime performance, try observing the moon or a bright star. Fine-tune the focus for the best clarity.
3. Stability: Ensure your telescope is stable during use. You can mount it on a tripod or create a simple stand to hold it steady.
Troubleshooting Common Issues
- Blurry Image: If the image is blurry, check the alignment of your lenses and ensure they are clean. Adjust the focus carefully.
- Distorted Image: Distortion can occur if the lenses are not properly centered or if the tube is not straight. Recheck the alignment and make necessary adjustments.
- Internal Reflections: If you see reflections or glare, ensure the inside of the tube is adequately lined with black paint or paper.
Enhancements and Upgrades
Once you've successfully built your basic telescope, you might want to consider some enhancements:
1. Better Lenses: Upgrading to higher-quality lenses can significantly improve image clarity and brightness.
2. Adjustable Focus: Adding a more sophisticated focusing mechanism, such as a rack-and-pinion system, can make focusing easier and more precise.
3. Mounting: Building or purchasing a stable mount or tripod can enhance your viewing experience by reducing vibrations and allowing for smoother tracking of celestial objects.
Building a telescope is a fascinating project that combines elements of optics, craftsmanship, and astronomy. By following the steps outlined in this guide, you can create a functional refracting telescope that will bring the wonders of the night sky closer to your eyes. Whether you're observing the craters on the moon, the rings of Saturn, or distant galaxies, your homemade telescope will provide a window into the universe and a deeper appreciation for the science of optics. Happy stargazing!








There are no comments for this blog.