How To Access Sd Card On Macbook Air?
Accessing an SD card on a MacBook Air can be a straightforward process, but it can also present some challenges depending on the model of your MacBook Air and the type of SD card you are using. In this article, we will explore various methods to access an SD card on a MacBook Air, troubleshoot common issues, and provide tips for managing your SD card effectively.
Understanding the Hardware
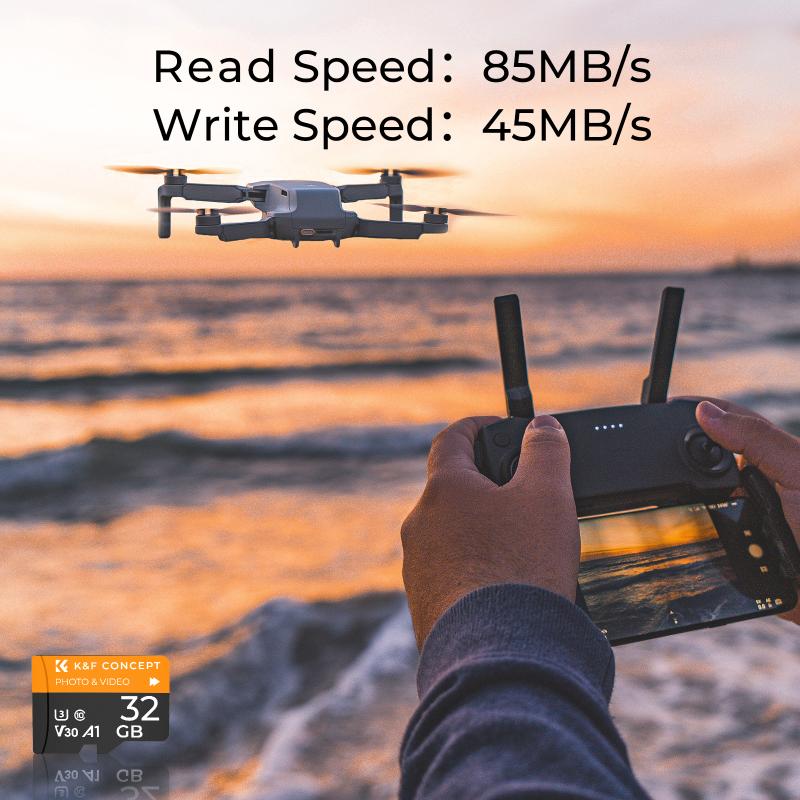
Before diving into the steps, it’s important to understand the hardware capabilities of your MacBook Air. Older models of the MacBook Air (pre-2018) come with an SD card slot, making it easy to insert and access an SD card directly. However, newer models (2018 and later) do not include an SD card slot, necessitating the use of an external SD card reader.
Method 1: Using the Built-in SD Card Slot (Older Models)

If you have an older MacBook Air with a built-in SD card slot, accessing your SD card is simple:
1. Insert the SD Card: Gently insert the SD card into the SD card slot on the side of your MacBook Air. Ensure that the card is oriented correctly to avoid damaging the slot or the card.
2. Open Finder: Once the SD card is inserted, it should appear on your desktop and in the Finder sidebar under “Devices.”
3. Access Files: Click on the SD card icon to open it and access your files. You can now copy, move, or delete files as needed.
4. Eject the SD Card: Before removing the SD card, make sure to eject it properly by right-clicking on the SD card icon and selecting “Eject.” This helps prevent data corruption.
Method 2: Using an External SD Card Reader (Newer Models)
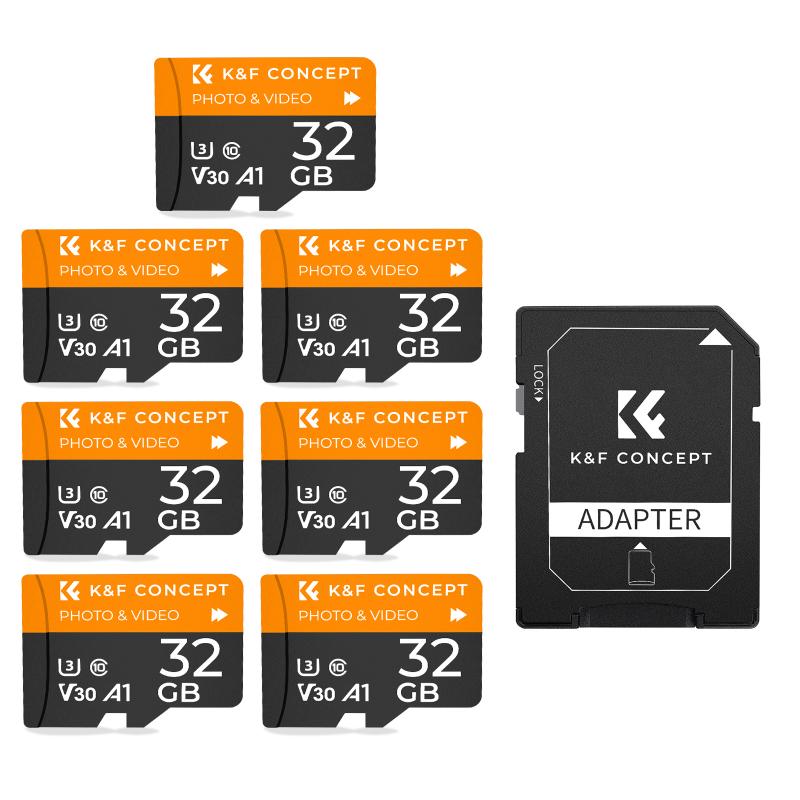
For newer MacBook Air models without an SD card slot, you will need an external SD card reader. Here’s how to use one:
1. Purchase an SD Card Reader: Choose a reliable SD card reader that is compatible with macOS. Many options are available, including USB-C and USB-A readers.
2. Connect the Reader: Plug the SD card reader into one of the USB-C ports on your MacBook Air. If your reader uses USB-A, you may need a USB-C to USB-A adapter.
3. Insert the SD Card: Insert your SD card into the reader. The card should appear on your desktop and in the Finder sidebar under “Devices.”
4. Access Files: Click on the SD card icon to open it and manage your files.
5. Eject the SD Card: Always eject the SD card properly before removing it from the reader to avoid data loss.
Troubleshooting Common Issues
Sometimes, you may encounter issues when trying to access an SD card on your MacBook Air. Here are some common problems and their solutions:
1. SD Card Not Recognized: If your SD card is not appearing on your desktop or in Finder, try the following steps:
- Check Connections: Ensure that the SD card is properly inserted into the slot or reader.
- Restart Your MacBook Air: Sometimes, a simple restart can resolve recognition issues.
- Try a Different Reader: If you are using an external reader, try a different one to rule out hardware issues.
- Check Disk Utility: Open Disk Utility (found in Applications > Utilities) to see if the SD card appears there. If it does, you may need to mount it manually.
2. Read/Write Errors: If you encounter errors while reading from or writing to the SD card:
- Check for Write Protection: Some SD cards have a physical switch that enables write protection. Ensure that this switch is not engaged.
- Format the SD Card: If the card is corrupted, you may need to format it. Be aware that formatting will erase all data on the card. Use Disk Utility to format the card to a compatible file system (e.g., exFAT or FAT32).
3. Slow Performance: If accessing files on the SD card is slow:
- Check Card Speed: Ensure that you are using a high-speed SD card, especially if you are working with large files or high-resolution media.
- Use a High-Quality Reader: A low-quality reader can bottleneck performance. Invest in a reputable brand.
Tips for Managing Your SD Card
To ensure the longevity and reliability of your SD card, consider the following tips:
1. Regular Backups: Always keep backups of important data stored on your SD card. SD cards can fail, and having a backup ensures you don’t lose valuable information.
2. Safe Ejection: Always eject your SD card properly before removing it from your MacBook Air. This helps prevent data corruption.
3. Avoid Physical Damage: Handle your SD card with care. Avoid bending, dropping, or exposing it to extreme temperatures.
4. Keep Firmware Updated: If your SD card reader has firmware updates available, keep it updated to ensure compatibility and performance.
Accessing an SD card on a MacBook Air can be a seamless process with the right tools and knowledge. Whether you have an older model with a built-in SD card slot or a newer model requiring an external reader, the steps outlined in this article will help you manage your SD card effectively. By following the troubleshooting tips and best practices, you can ensure that your SD card remains a reliable storage solution for your needs.







There are no comments for this blog.