How To Change Microphone On Facetime?
Changing the microphone on FaceTime can be a crucial task for many users who want to ensure the best audio quality during their calls. Whether you're using FaceTime for personal conversations, business meetings, or virtual events, having the right microphone can make a significant difference. In this article, we will explore the steps to change the microphone on FaceTime, discuss common issues users face, and provide solutions to ensure a seamless experience.
Understanding the Importance of Microphone Selection
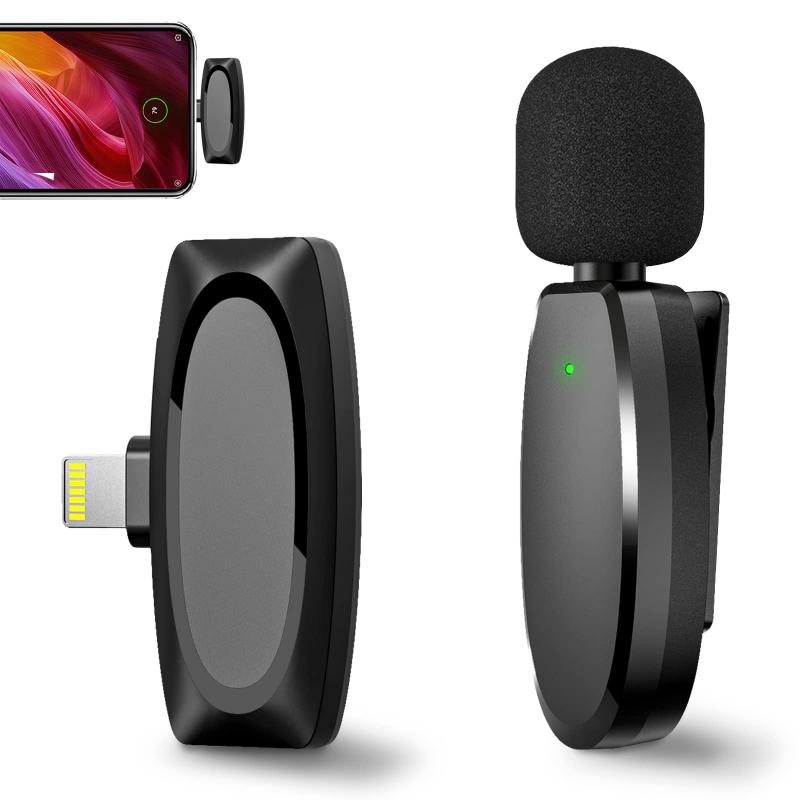
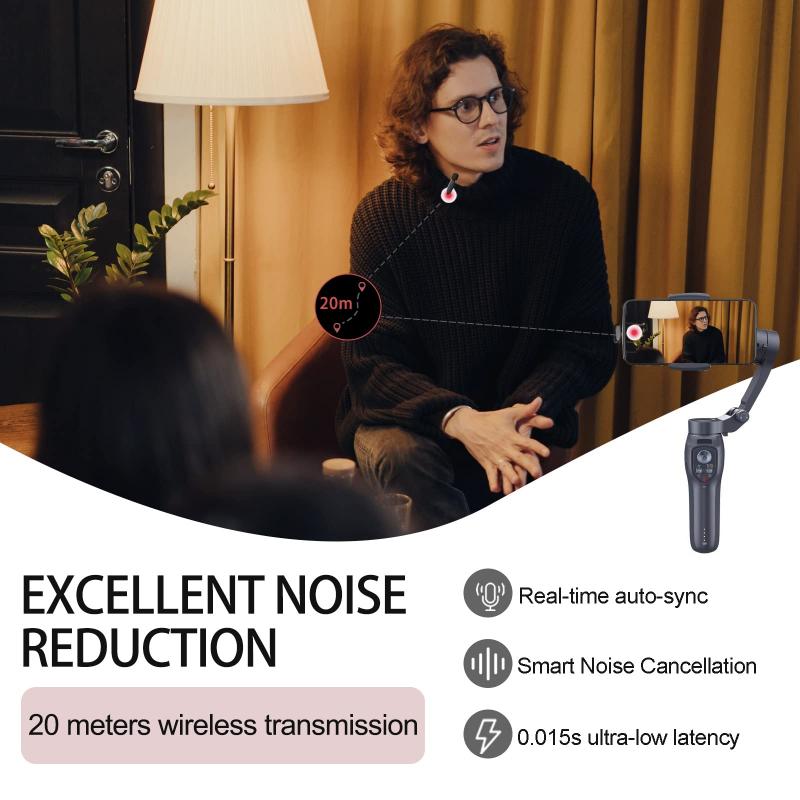
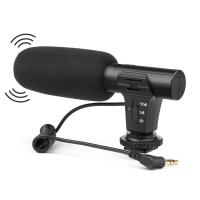
Before diving into the steps, it's essential to understand why selecting the right microphone is important. The built-in microphones on most devices are adequate for casual conversations, but they may not offer the best audio quality for professional or high-stakes calls. External microphones can provide clearer sound, reduce background noise, and offer better overall performance.
Steps to Change the Microphone on FaceTime

For Mac Users
1. Open FaceTime: Launch the FaceTime application on your Mac.
2. Access Preferences: Click on "FaceTime" in the menu bar at the top of the screen and select "Preferences."
3. Select Audio/Video: In the Preferences window, click on the "Audio/Video" tab.
4. Choose Microphone: Under the "Microphone" section, you will see a dropdown menu. Click on it to see a list of available microphones.
5. Select Desired Microphone: Choose the microphone you want to use from the list. This could be an external USB microphone, a headset, or any other connected audio input device.
6. Test Microphone: Make a test call to ensure that the selected microphone is working correctly.
For iPhone and iPad Users

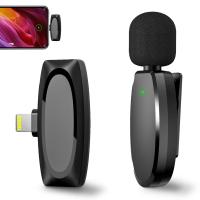
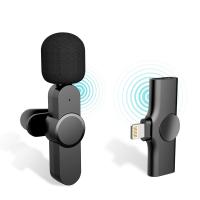
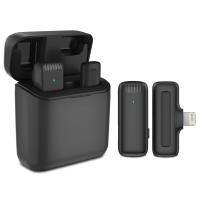
1. Connect External Microphone: If you are using an external microphone, connect it to your iPhone or iPad. This could be through the Lightning port, headphone jack, or Bluetooth.
2. Open FaceTime: Launch the FaceTime app on your device.
3. Start a Call: Begin a FaceTime call with any contact.
4. Access Control Center: During the call, swipe down from the top-right corner of the screen to open the Control Center.
5. Select Microphone: Tap on the "Microphone" icon to see a list of available microphones.
6. Choose Desired Microphone: Select the microphone you want to use from the list.
7. Test Microphone: Continue the call to ensure that the selected microphone is working correctly.
Common Issues and Solutions
Issue 1: Microphone Not Detected
Solution: Ensure that the microphone is properly connected to your device. For USB microphones, check the cable and port. For Bluetooth microphones, make sure they are paired correctly. Restarting your device can also help in detecting the microphone.
Issue 2: Poor Audio Quality
Solution: If the audio quality is poor, try the following steps:
- Ensure that the microphone is not obstructed.
- Check for any software updates for your device and microphone.
- Adjust the microphone settings in the device's audio settings.
- Use a different microphone to see if the issue persists.
Issue 3: Background Noise
Solution: To reduce background noise, consider using a microphone with noise-canceling features. Additionally, you can use software solutions like noise reduction filters available in various audio applications.
Tips for Optimal Audio Quality
1. Use a High-Quality Microphone: Investing in a good quality microphone can significantly improve your audio experience.
2. Position the Microphone Correctly: Place the microphone at an appropriate distance from your mouth to avoid distortion and ensure clear sound.
3. Minimize Background Noise: Choose a quiet environment for your calls and use noise-canceling features if available.
4. Regular Maintenance: Keep your microphone clean and check for any physical damage regularly.
Changing the microphone on FaceTime is a straightforward process that can greatly enhance your communication experience. Whether you are using a Mac, iPhone, or iPad, following the steps outlined in this article will help you select the best microphone for your needs. By addressing common issues and implementing the tips for optimal audio quality, you can ensure that your FaceTime calls are clear and professional.
Remember, the right microphone can make a world of difference, so take the time to choose and configure it properly. Happy FaceTiming!





There are no comments for this blog.