How To Change Sd Cards On Switch?
Changing SD cards on a Nintendo Switch can be a straightforward process, but it requires careful attention to ensure that no data is lost and that the new card is properly set up. In this article, we will walk you through the steps to change SD cards on your Nintendo Switch, covering everything from backing up your data to formatting the new card and transferring your games and save data. By the end of this guide, you will have a clear understanding of how to seamlessly switch SD cards without any hassle.
Why Change SD Cards?
Before diving into the process, it's important to understand why you might want to change SD cards on your Nintendo Switch. Here are a few common reasons:
1. Running Out of Space: As you download more games, updates, and DLCs, your current SD card may run out of space.
2. Upgrading to a Faster Card: Newer SD cards often offer faster read and write speeds, which can improve game load times and overall performance.
3. Replacing a Faulty Card: If your current SD card is showing signs of failure, such as corrupted data or slow performance, it’s time to replace it.
Step-by-Step Guide to Changing SD Cards
Step 1: Back Up Your Data
The first and most crucial step is to back up your data. This ensures that you don’t lose any important game data or save files during the transition.
1. Turn Off Your Nintendo Switch: Hold down the power button for a few seconds until the power options menu appears. Select "Power Options" and then "Turn Off."
2. Remove the Current SD Card: Open the kickstand on the back of the Switch to access the SD card slot. Gently push the SD card in until it clicks, then release it to remove the card.
3. Insert the SD Card into Your Computer: Use an SD card reader to connect the SD card to your computer.
4. Copy the Data: Open the SD card folder on your computer and copy all the files to a designated folder on your computer’s hard drive.
Step 2: Prepare the New SD Card
Once you have backed up your data, the next step is to prepare the new SD card.
1. Insert the New SD Card into Your Computer: Use the SD card reader to connect the new SD card to your computer.
2. Format the New SD Card: It’s recommended to format the new SD card to ensure it’s compatible with the Nintendo Switch. On Windows, right-click the SD card drive and select "Format." Choose the FAT32 file system and click "Start." On Mac, use the Disk Utility to format the card to FAT32.
3. Transfer the Data: Copy the backed-up data from your computer to the new SD card. Make sure all files are transferred correctly.
Step 3: Insert the New SD Card into the Switch
Now that your new SD card is ready, it’s time to insert it into your Nintendo Switch.
1. Turn Off Your Nintendo Switch: If it’s not already off, turn off your Switch by holding down the power button and selecting "Turn Off."
2. Insert the New SD Card: Open the kickstand and insert the new SD card into the slot until it clicks into place.
3. Turn On Your Nintendo Switch: Power on your Switch and check if the new SD card is recognized. Go to "System Settings" > "Data Management" > "Manage Software" to see if your games and data are available.
Troubleshooting Common Issues
While changing SD cards is generally straightforward, you might encounter some issues. Here are some common problems and their solutions:
1. SD Card Not Recognized: If your Switch doesn’t recognize the new SD card, make sure it’s properly inserted. If the problem persists, try reformatting the card and transferring the data again.
2. Corrupted Data: If you encounter corrupted data, it’s possible that the data transfer was incomplete or the SD card is faulty. Try copying the data again or use a different SD card.
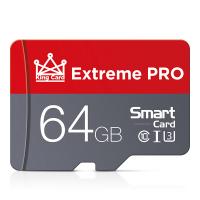
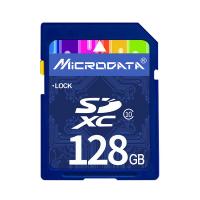
3. Slow Performance: If your games are loading slowly, it might be due to the SD card’s speed. Consider using a high-speed SD card (UHS-I U3 or higher) for better performance.
Tips for Maintaining Your SD Card
To ensure the longevity and performance of your SD card, follow these tips:
1. Regular Backups: Regularly back up your data to avoid losing important files in case of SD card failure.
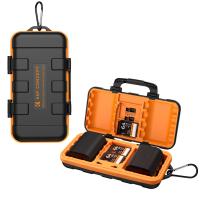
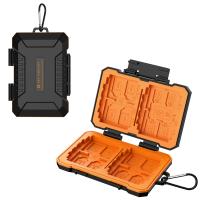
2. Avoid Physical Damage: Handle your SD card with care to avoid physical damage. Keep it in a protective case when not in use.
3. Keep Your System Updated: Ensure your Nintendo Switch is running the latest firmware to maintain compatibility with your SD card.
Changing SD cards on your Nintendo Switch doesn’t have to be a daunting task. By following the steps outlined in this guide, you can easily back up your data, prepare a new SD card, and transfer your games and save files without any issues. Whether you’re upgrading to a larger card, a faster one, or replacing a faulty card, these steps will help you make the transition smoothly. Remember to regularly back up your data and handle your SD card with care to ensure a seamless gaming experience. Happy gaming!







There are no comments for this blog.