How To Charge Battery Using Solar Panel?
Harnessing solar energy to charge batteries is an increasingly popular and environmentally friendly method. As the world shifts towards renewable energy sources, understanding how to effectively use solar panels to charge batteries is essential. This article will guide you through the process, from selecting the right components to setting up and maintaining your solar charging system.
Understanding the Basics
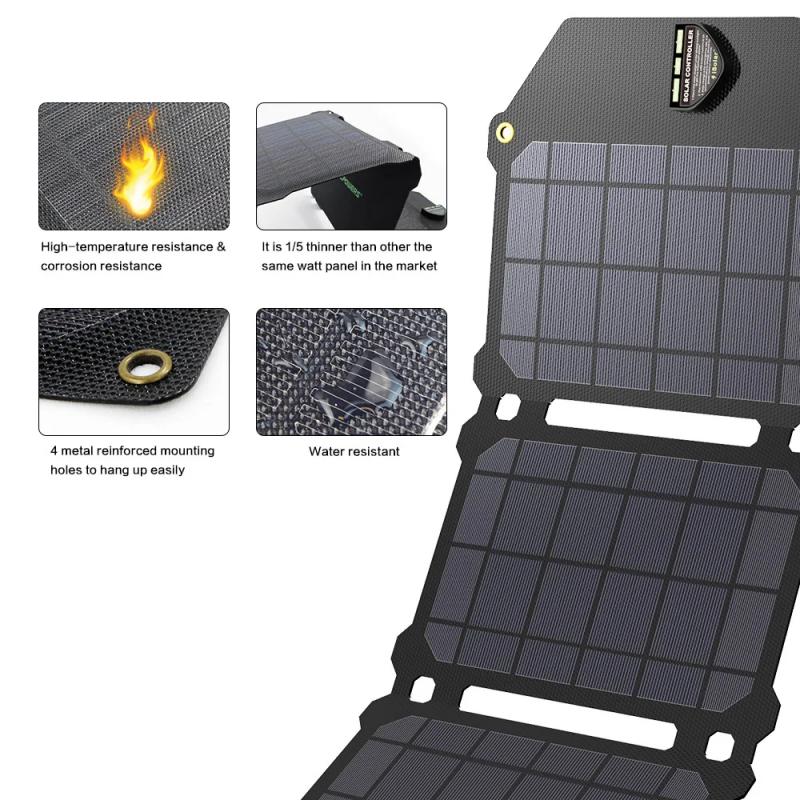
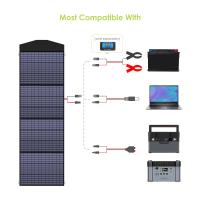
Before diving into the specifics, it's crucial to understand the basic components involved in charging a battery using a solar panel:
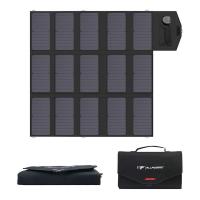
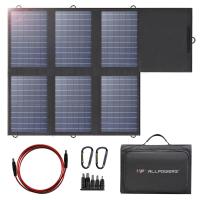
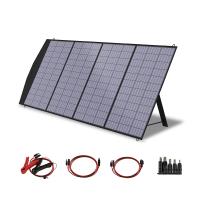
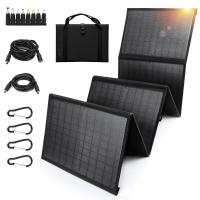
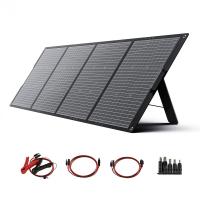
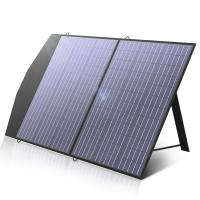
1. Solar Panels: These are devices that convert sunlight into electricity. They come in various sizes and power ratings.
2. Charge Controller: This device regulates the voltage and current coming from the solar panels to the battery. It prevents overcharging and protects the battery.
3. Battery: The storage unit for the electricity generated by the solar panels. Common types include lead-acid, lithium-ion, and nickel-cadmium batteries.
4. Inverter (Optional): If you need to convert the stored DC power in the battery to AC power for household appliances, an inverter is necessary.
Step-by-Step Guide to Charging a Battery with a Solar Panel

1. Selecting the Right Solar Panel
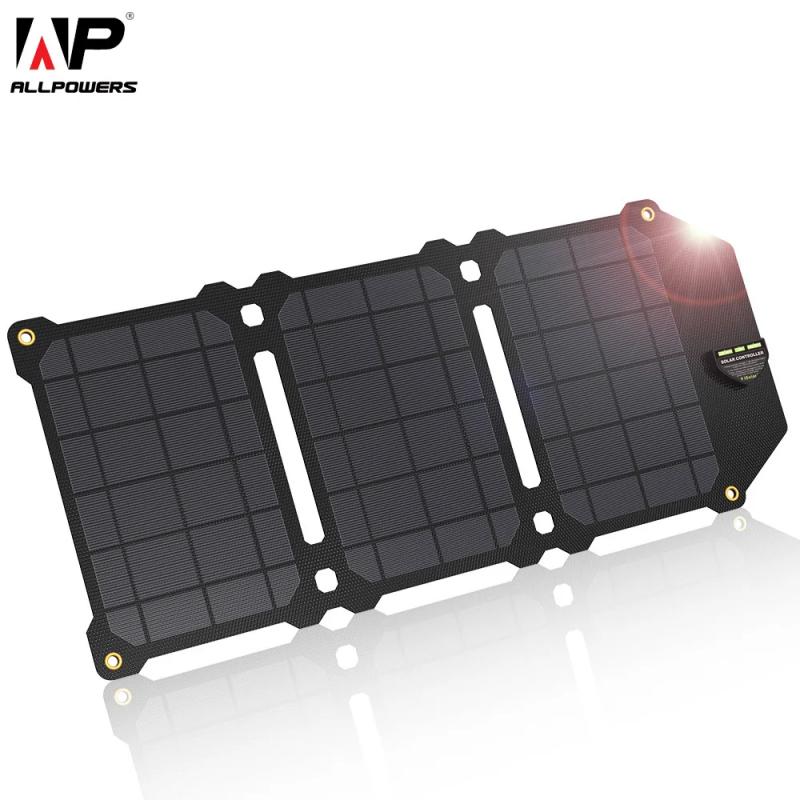
The first step is to choose a solar panel that matches your energy needs. Consider the following factors:
- Power Output: Determine the wattage required to charge your battery. For instance, a 100-watt solar panel can generate about 300-600 watt-hours per day, depending on sunlight conditions.
- Voltage: Ensure the solar panel's voltage matches the battery's voltage. Common voltages are 12V and 24V.
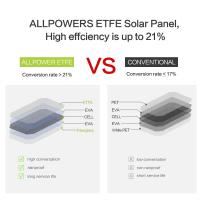
- Efficiency: Higher efficiency panels convert more sunlight into electricity, which is beneficial if you have limited space.
2. Choosing the Appropriate Charge Controller
A charge controller is essential to protect your battery from overcharging. There are two main types:
- PWM (Pulse Width Modulation): These are more affordable and suitable for smaller systems.
- MPPT (Maximum Power Point Tracking): These are more efficient and can extract more power from the solar panels, especially in varying sunlight conditions.
3. Selecting the Right Battery
The type of battery you choose depends on your energy storage needs and budget:
- Lead-Acid Batteries: These are cost-effective and widely used but have a shorter lifespan and require regular maintenance.
- Lithium-Ion Batteries: These are more expensive but offer a longer lifespan, higher efficiency, and require less maintenance.
- Nickel-Cadmium Batteries: These are durable and can withstand extreme temperatures but are less efficient and more expensive.
4. Setting Up the System
Once you have all the components, follow these steps to set up your solar charging system:
1. Mount the Solar Panels: Install the solar panels in a location with maximum sunlight exposure, typically on a roof or an open field. Ensure they are angled correctly to capture the most sunlight.
2. Connect the Charge Controller: Connect the solar panels to the charge controller. This usually involves connecting the positive and negative terminals of the solar panel to the corresponding terminals on the charge controller.
3. Connect the Battery: Connect the charge controller to the battery. Again, ensure the positive and negative terminals are correctly connected.
4. Monitor the System: Many charge controllers come with monitoring systems that allow you to track the charging process and battery status.
Practical Tips for Optimal Performance
To ensure your solar charging system operates efficiently, consider the following tips:
- Regular Maintenance: Clean the solar panels regularly to remove dust and debris that can reduce their efficiency. Check the connections and wiring for any signs of wear or damage.
- Battery Care: For lead-acid batteries, check the electrolyte levels and top up with distilled water if necessary. For lithium-ion batteries, avoid deep discharges to prolong their lifespan.
- Energy Management: Use energy-efficient appliances and manage your energy consumption to make the most of the stored solar power.
Troubleshooting Common Issues
Even with a well-designed system, you may encounter some issues. Here are common problems and their solutions:
- Low Power Output: This could be due to shading on the solar panels, dirty panels, or a faulty connection. Ensure the panels are clean and unobstructed, and check all connections.
- Overcharging: If the battery is overcharging, it could be due to a faulty charge controller. Check the controller settings and replace it if necessary.
- Undercharging: This could be due to insufficient sunlight, a damaged solar panel, or an old battery. Ensure the panels are receiving adequate sunlight and check the battery's health.
Expanding Your System
As your energy needs grow, you may want to expand your solar charging system. Here’s how:
- Add More Solar Panels: Increase the number of solar panels to generate more power. Ensure your charge controller can handle the additional input.
- Upgrade the Charge Controller: If you add more panels, you may need a higher capacity charge controller.
- Increase Battery Capacity: Add more batteries to store additional power. Ensure they are compatible with your existing system.
Charging a battery using a solar panel is a sustainable and cost-effective way to harness renewable energy. By selecting the right components, setting up the system correctly, and maintaining it properly, you can ensure a reliable and efficient power source. Whether you’re looking to power a small device or an entire home, understanding the intricacies of solar charging will help you make the most of this green technology.


