How To Clean A Projector Lens?
Cleaning a projector lens is a crucial maintenance task that ensures optimal image quality and prolongs the life of your projector. Over time, dust, fingerprints, and other contaminants can accumulate on the lens, leading to blurry images and reduced brightness. In this article, we will explore the best practices for cleaning a projector lens, the tools you will need, and some common mistakes to avoid.
Understanding the Importance of a Clean Projector Lens

A projector lens is a delicate piece of equipment that plays a vital role in the quality of the projected image. Any dirt or smudges on the lens can distort the light passing through it, resulting in a compromised viewing experience. Regular cleaning not only enhances image clarity but also helps in maintaining the projector's performance over time.
Tools and Materials Needed
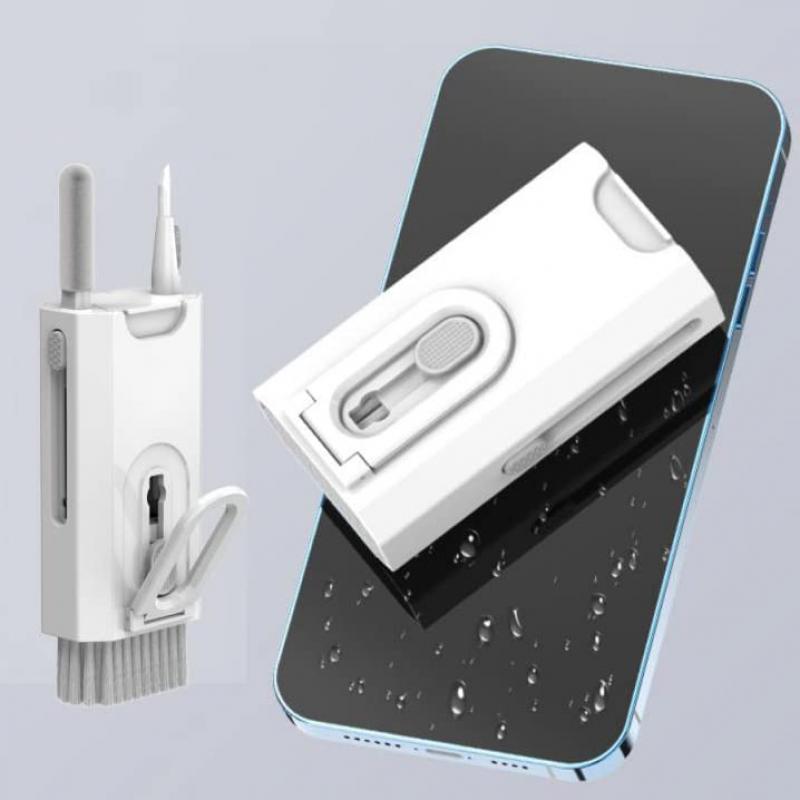
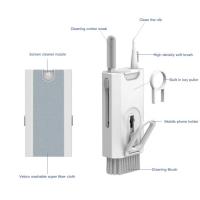
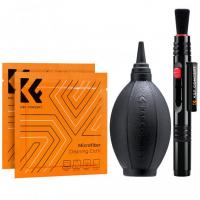
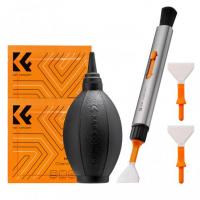
Before you start cleaning your projector lens, gather the following tools and materials:
1. Lens Cleaning Solution: A specialized lens cleaning solution is recommended. Avoid using household cleaners as they can damage the lens coating.
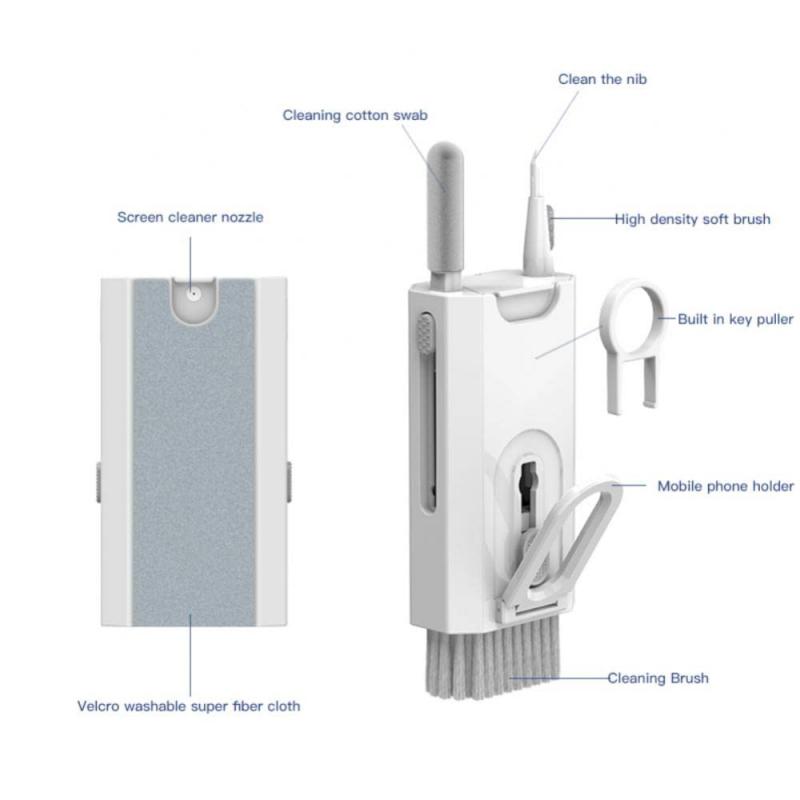
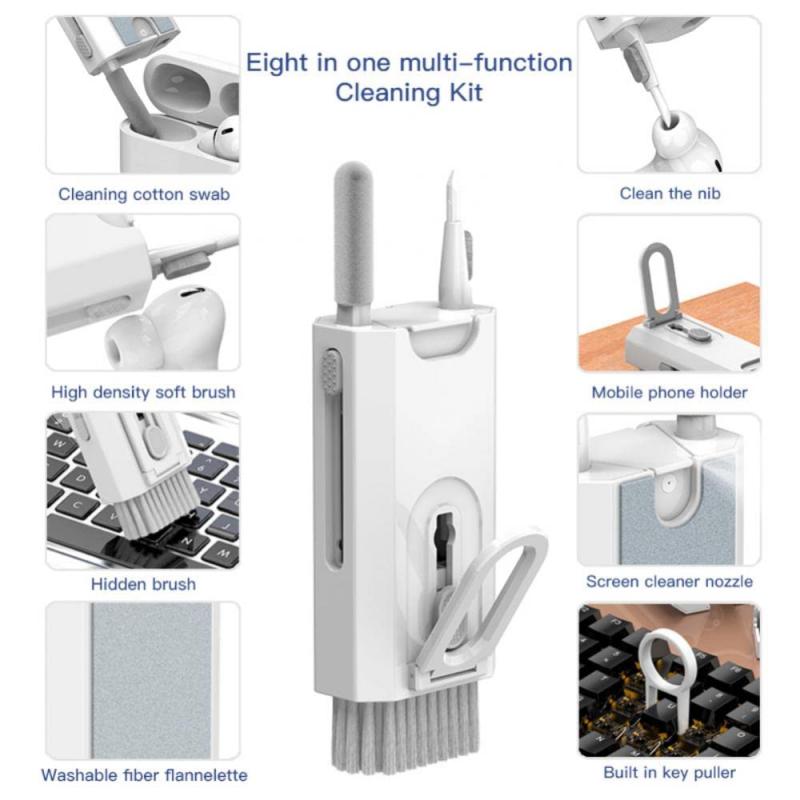
2. Microfiber Cloth: A soft, lint-free microfiber cloth is ideal for cleaning the lens without scratching it.
3. Lens Cleaning Brush: A small, soft-bristled brush can help remove loose dust particles.
4. Compressed Air: A can of compressed air can be useful for blowing away dust from hard-to-reach areas.
5. Lens Cleaning Tissue: These are specially designed tissues that are safe for use on optical lenses.
Step-by-Step Guide to Cleaning a Projector Lens
Step 1: Turn Off and Unplug the Projector
Safety first. Ensure that the projector is turned off and unplugged from the power source. Allow it to cool down if it has been in use, as the lens can get quite hot.
Step 2: Remove Loose Dust
Use a lens cleaning brush or a can of compressed air to gently remove any loose dust from the lens surface. Hold the can of compressed air upright and use short bursts to avoid moisture buildup.
Step 3: Apply Lens Cleaning Solution
Dampen a microfiber cloth with a few drops of lens cleaning solution. Do not apply the solution directly to the lens, as excess liquid can seep into the projector and cause damage.
Step 4: Wipe the Lens
Gently wipe the lens in a circular motion, starting from the center and moving outward. This helps to avoid spreading dirt across the lens. Use light pressure to prevent scratching the lens surface.
Step 5: Dry the Lens
If there is any remaining moisture on the lens, use a dry part of the microfiber cloth to gently pat it dry. Ensure that no streaks or smudges are left behind.
Step 6: Inspect the Lens
After cleaning, inspect the lens under good lighting to ensure that all contaminants have been removed. If necessary, repeat the cleaning process.
Common Mistakes to Avoid
1. Using Household Cleaners: Household cleaners can contain harsh chemicals that can damage the lens coating. Always use a specialized lens cleaning solution.
2. Applying Too Much Pressure: Applying excessive pressure while cleaning can scratch the lens. Use a gentle touch.
3. Ignoring Manufacturer’s Instructions: Always refer to the projector’s user manual for specific cleaning instructions and recommendations.
4. Using Rough Materials: Avoid using paper towels, tissues, or any rough materials that can scratch the lens. Stick to microfiber cloths and lens cleaning tissues.
Additional Tips for Maintaining Your Projector Lens
1. Regular Cleaning: Make it a habit to clean the lens regularly, especially if the projector is used frequently or in a dusty environment.
2. Proper Storage: When not in use, cover the projector with a dust cover or store it in a protective case to prevent dust accumulation.
3. Environment Control: Use the projector in a clean, dust-free environment as much as possible. Consider using an air purifier to reduce airborne particles.
4. Handle with Care: Always handle the projector with clean hands and avoid touching the lens directly.
Troubleshooting Common Issues
Even with regular cleaning, you may encounter some common issues with your projector lens. Here are a few troubleshooting tips:
1. Blurry Image: If the image remains blurry after cleaning, check the focus settings on the projector. Ensure that the lens is properly aligned and that there are no obstructions.
2. Spots or Streaks: Persistent spots or streaks on the lens may indicate residue buildup. Repeat the cleaning process and ensure that you are using the correct materials.
3. Reduced Brightness: If the projector’s brightness is reduced, it could be due to a dirty lens or an aging bulb. Clean the lens thoroughly and consider replacing the bulb if necessary.
Cleaning a projector lens is a simple yet essential task that can significantly impact the quality of your viewing experience. By following the steps outlined in this article and avoiding common mistakes, you can ensure that your projector delivers clear, sharp images every time. Regular maintenance and proper handling will not only enhance performance but also extend the life of your projector. So, take the time to care for your projector lens, and enjoy the best possible image quality for years to come.


