How To Clean Earbuds?
Cleaning earbuds is an essential task that many people overlook, but it is crucial for maintaining both hygiene and the longevity of the device. Earbuds can accumulate earwax, dirt, and bacteria, which can affect sound quality and potentially cause ear infections. In this article, we will explore the best practices for cleaning earbuds, ensuring they remain in optimal condition and safe for use.
Why Cleaning Earbuds is Important
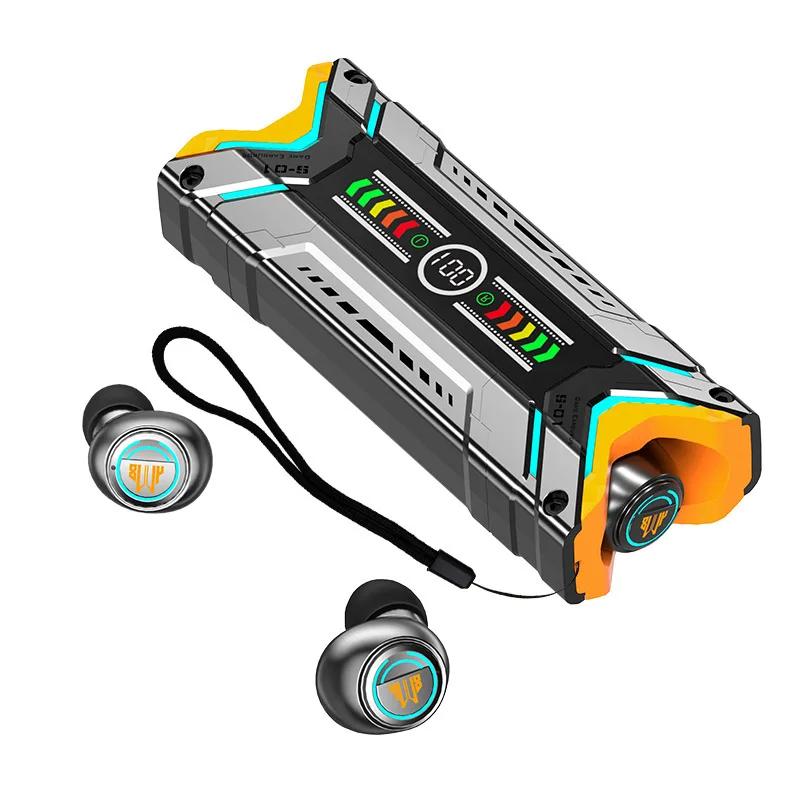
Before diving into the cleaning process, it's important to understand why cleaning earbuds is necessary. Earbuds are in direct contact with the ear canal, which can harbor bacteria and earwax. Over time, this buildup can not only degrade the sound quality but also pose health risks. Regular cleaning can prevent these issues and extend the life of your earbuds.
Materials Needed for Cleaning

To clean your earbuds effectively, you will need the following materials:
- A soft, lint-free cloth
- Cotton swabs
- Isopropyl alcohol (70% or higher)
- A small brush (like a toothbrush)
- Warm water
- Mild soap
- A toothpick or a small pin
Step-by-Step Guide to Cleaning Earbuds

1. Remove Ear Tips
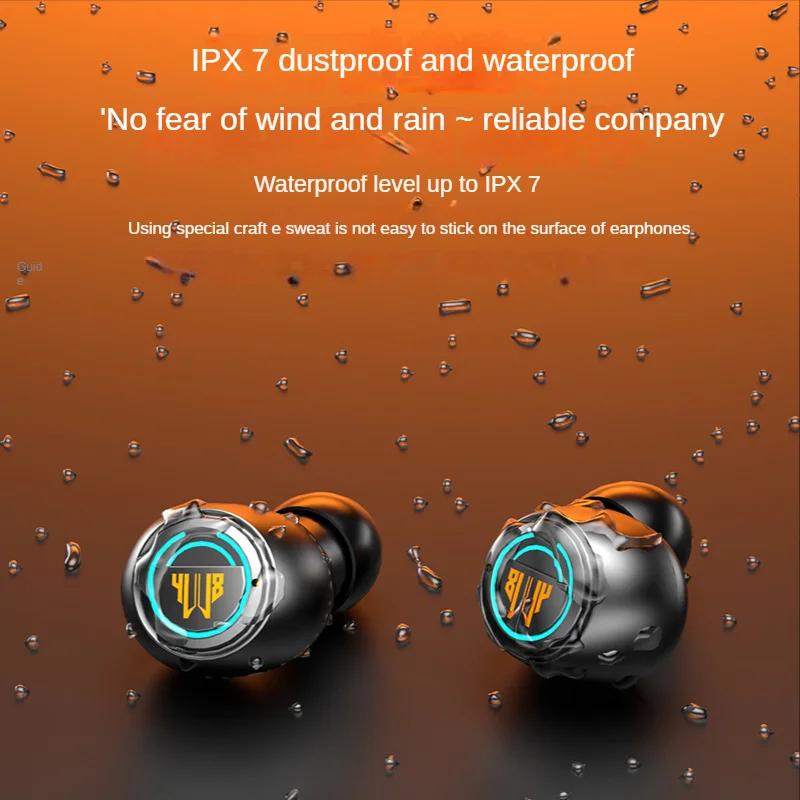
If your earbuds have removable silicone or foam tips, take them off. This will make it easier to clean both the tips and the earbuds themselves.
2. Clean the Ear Tips
Soak the ear tips in warm, soapy water for a few minutes. Use a soft cloth or a small brush to gently scrub away any dirt or earwax. Rinse them thoroughly with clean water and let them air dry completely before reattaching them to the earbuds.
3. Clean the Earbud Surface
Dampen a soft, lint-free cloth with a small amount of isopropyl alcohol. Wipe down the exterior of the earbuds, being careful not to let any liquid seep into the openings. This will help to disinfect the surface and remove any grime.
4. Clean the Speaker Mesh
The speaker mesh is where most of the earwax and dirt accumulate. Use a dry cotton swab to gently remove any visible debris. For more stubborn buildup, you can lightly dampen the cotton swab with isopropyl alcohol. Be very gentle to avoid damaging the mesh.
5. Use a Toothpick or Pin for Stubborn Debris
If there is still debris stuck in the speaker mesh, use a toothpick or a small pin to carefully dislodge it. Be extremely cautious to avoid puncturing the mesh or pushing the debris further inside.
6. Clean the Charging Case
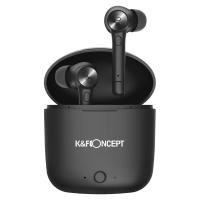
If your earbuds come with a charging case, don't forget to clean it as well. Use a soft cloth dampened with isopropyl alcohol to wipe down the interior and exterior of the case. Make sure it is completely dry before placing the earbuds back inside.
Tips for Maintaining Clean Earbuds
- Regular Cleaning: Make it a habit to clean your earbuds at least once a week to prevent buildup.
- Proper Storage: Store your earbuds in their case when not in use to protect them from dust and dirt.
- Avoid Moisture: Keep your earbuds dry and avoid using them in humid environments.
- Ear Hygiene: Maintain good ear hygiene to minimize the amount of earwax that can transfer to your earbuds.
Common Mistakes to Avoid
- Using Too Much Liquid: Excessive moisture can damage the internal components of your earbuds. Always use a minimal amount of liquid and ensure it does not seep into the openings.
- Using Harsh Chemicals: Avoid using harsh chemicals or abrasive materials that can damage the earbuds' surface.
- Neglecting the Charging Case: The charging case can also accumulate dirt and bacteria, so it is important to clean it regularly.
Troubleshooting Common Issues
Earbuds Not Charging
If your earbuds are not charging properly, it could be due to dirt or debris in the charging ports. Use a dry cotton swab or a small brush to clean the charging contacts. Ensure the case and earbuds are completely dry before attempting to charge them again.
Poor Sound Quality
If you notice a decline in sound quality, it could be due to earwax or dirt blocking the speaker mesh. Follow the cleaning steps outlined above to remove any obstructions.
Earbuds Not Fitting Properly
If your earbuds are not fitting as snugly as they used to, it could be due to dirty or worn-out ear tips. Clean the ear tips thoroughly or replace them if necessary.
Cleaning your earbuds is a simple yet essential task that can significantly improve their performance and longevity. By following the steps outlined in this article, you can ensure that your earbuds remain clean, hygienic, and in optimal working condition. Regular maintenance not only enhances your listening experience but also protects your ears from potential infections. Make earbud cleaning a part of your routine, and enjoy the benefits of clear sound and better hygiene.






There are no comments for this blog.