How To Clean Headphone Jack?
Cleaning a headphone jack is a common issue that many people face, especially with the increasing use of smartphones, tablets, and laptops. Over time, dust, lint, and other debris can accumulate in the headphone jack, causing poor audio quality or even preventing the headphones from connecting properly. In this article, we will explore various methods to clean a headphone jack effectively and safely, ensuring that your device continues to function optimally.
Understanding the Problem
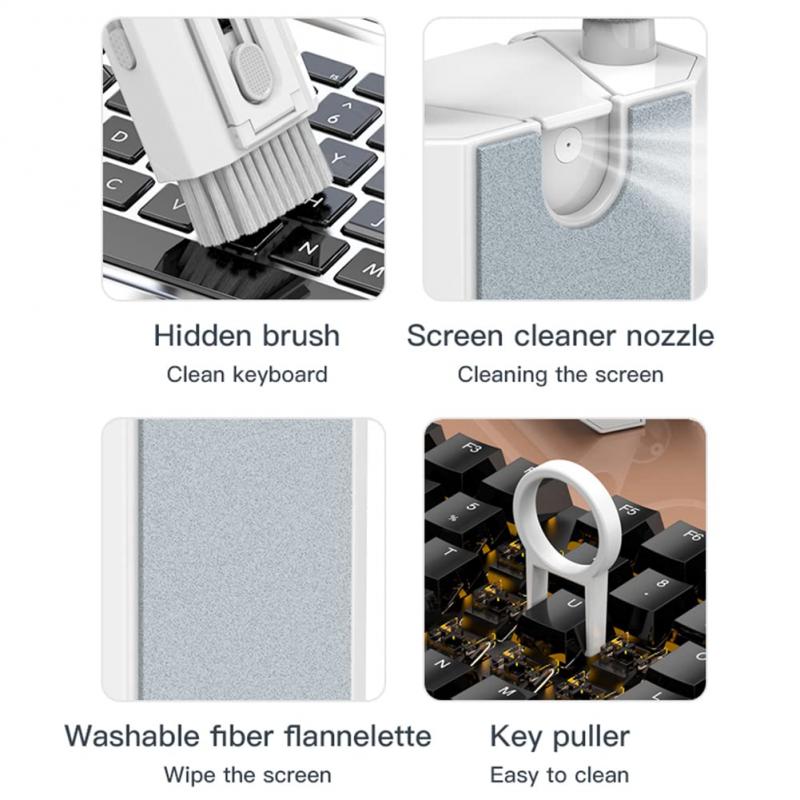
Before diving into the cleaning methods, it is essential to understand why the headphone jack gets dirty and how it affects the device's performance. The headphone jack is a small, narrow port that can easily trap dust, lint, and other particles. These contaminants can interfere with the electrical connections between the headphone plug and the jack, leading to issues such as:
- Static or crackling sounds: Debris can cause intermittent connections, resulting in static or crackling noises.
- Poor audio quality: Dirt can obstruct the connection, leading to muffled or distorted sound.
- Headphones not recognized: In severe cases, the device may not recognize the headphones at all.
Tools and Materials Needed
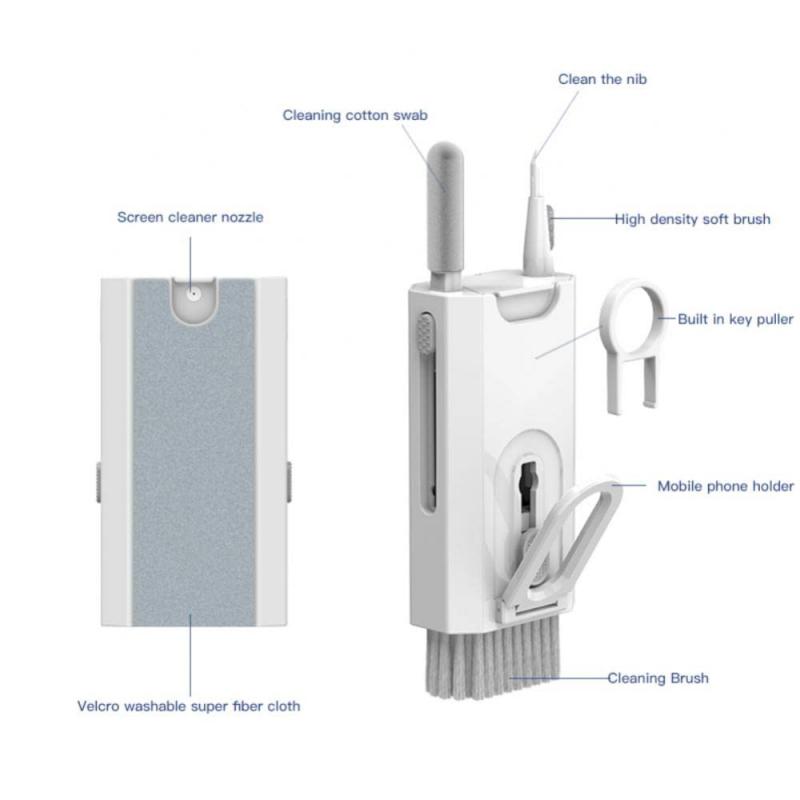
To clean a headphone jack, you will need a few basic tools and materials. These include:
- Compressed air canister: Used to blow out dust and debris.
- Cotton swabs: For gentle cleaning inside the jack.
- Toothpick or needle: To dislodge stubborn debris.
- Isopropyl alcohol: For cleaning and disinfecting.
- Soft brush: To remove loose particles.
Method 1: Using Compressed Air
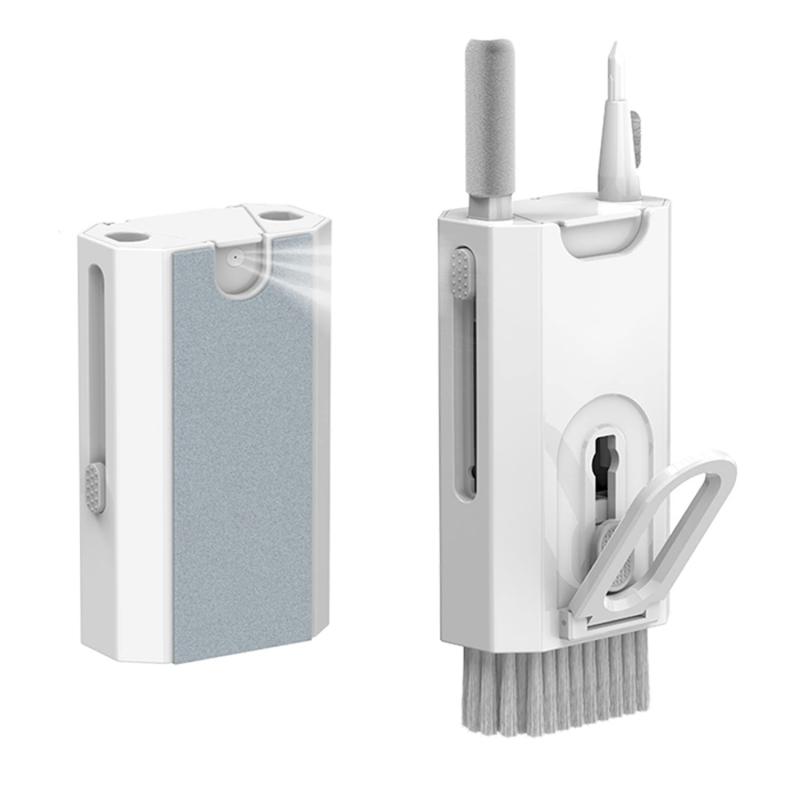
One of the simplest and safest methods to clean a headphone jack is by using compressed air. This method is effective for removing loose dust and debris without the risk of damaging the internal components.
1. Turn off the device: Before cleaning, ensure that the device is turned off to prevent any electrical damage.
2. Insert the nozzle: Attach the thin nozzle to the compressed air canister and insert it into the headphone jack.
3. Blow air: Press the trigger to release short bursts of air into the jack. Avoid holding the trigger for too long, as excessive air pressure can damage the jack.
4. Check the jack: After blowing air, check the jack for any remaining debris. Repeat the process if necessary.
Method 2: Using Cotton Swabs and Isopropyl Alcohol
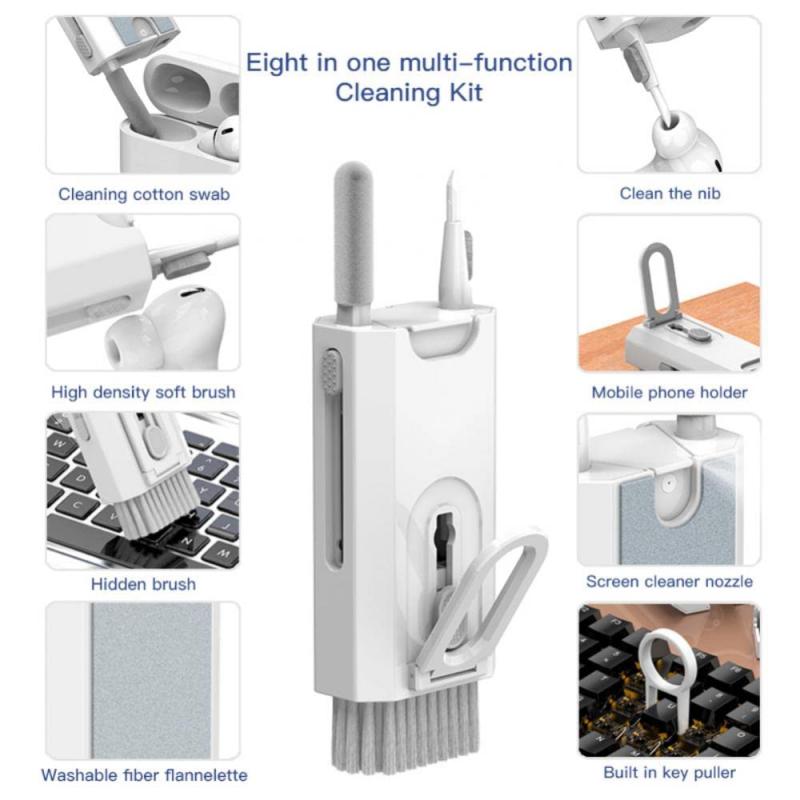
For more stubborn dirt and grime, using cotton swabs and isopropyl alcohol can be an effective solution. Isopropyl alcohol is a good cleaning agent because it evaporates quickly and does not leave residue.
1. Turn off the device: Ensure the device is powered off before cleaning.
2. Dampen the cotton swab: Lightly dampen a cotton swab with isopropyl alcohol. Avoid soaking it, as excess liquid can damage the device.
3. Clean the jack: Gently insert the cotton swab into the headphone jack and rotate it to clean the inside. Be careful not to apply too much pressure.
4. Dry the jack: Allow the jack to air dry for a few minutes before turning the device back on.
Method 3: Using a Toothpick or Needle
If there is debris that cannot be removed with compressed air or a cotton swab, a toothpick or needle can be used to dislodge it. This method requires extra caution to avoid damaging the jack.
1. Turn off the device: As always, ensure the device is turned off.
2. Insert the tool: Carefully insert the toothpick or needle into the headphone jack.
3. Dislodge debris: Gently scrape or lift the debris out of the jack. Avoid applying too much force, as this can damage the internal components.
4. Blow out remaining particles: Use compressed air to blow out any remaining particles.
Method 4: Using a Soft Brush
A soft brush, such as a small paintbrush or a specialized electronics cleaning brush, can be used to remove loose particles from the headphone jack.
1. Turn off the device: Ensure the device is powered off.
2. Brush the jack: Gently insert the brush into the headphone jack and rotate it to remove loose particles.
3. Blow out remaining debris: Use compressed air to blow out any remaining debris.
Preventive Measures
To minimize the need for frequent cleaning, consider the following preventive measures:
- Use a dust plug: A dust plug is a small accessory that fits into the headphone jack when not in use, preventing dust and debris from entering.
- Store devices properly: Keep your devices in a clean, dust-free environment and use protective cases.
- Regular maintenance: Periodically clean the headphone jack to prevent the buildup of debris.
Cleaning a headphone jack is a straightforward process that can significantly improve the performance and longevity of your device. By using the methods outlined in this article, you can effectively remove dust, lint, and other debris from the headphone jack, ensuring clear audio quality and proper functionality. Remember to always turn off your device before cleaning and to use gentle, controlled movements to avoid damaging the internal components. With regular maintenance and preventive measures, you can keep your headphone jack clean and your device in optimal condition.


