How To Do Time Lapse With Webcam?
Creating a time-lapse video with a webcam can be a rewarding project, whether you're capturing the growth of a plant, the movement of clouds, or the construction of a building. This article will guide you through the process, from setting up your webcam to editing the final video. We'll cover the necessary software, hardware considerations, and tips for achieving the best results.
Understanding Time-Lapse Photography
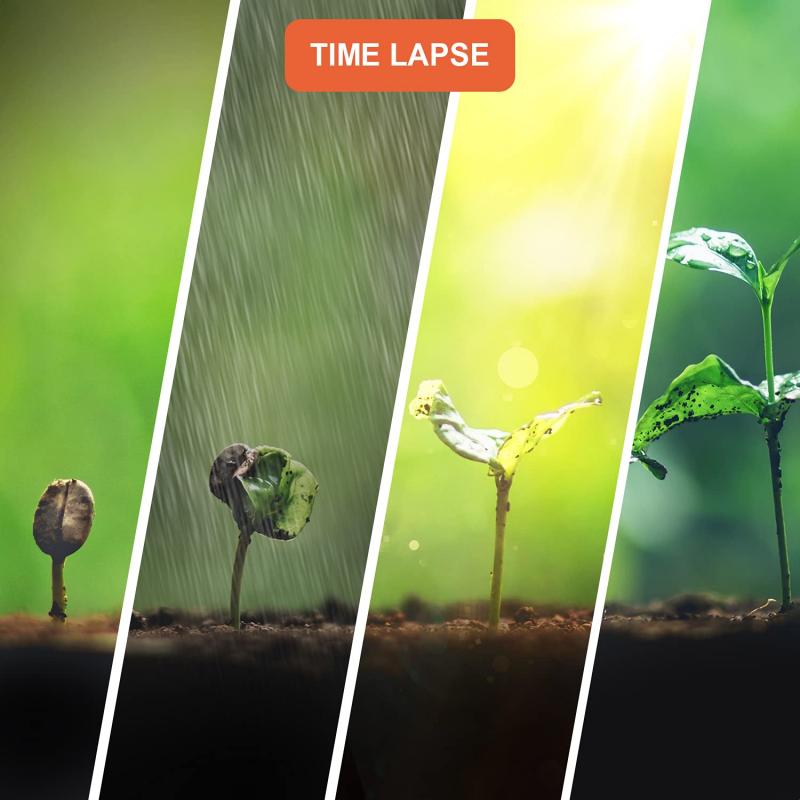
Time-lapse photography involves capturing a series of images at set intervals over a period of time and then playing them back at a higher speed. This technique can compress hours, days, or even months into a few seconds or minutes of video, revealing patterns and changes that are otherwise imperceptible.
Choosing the Right Webcam
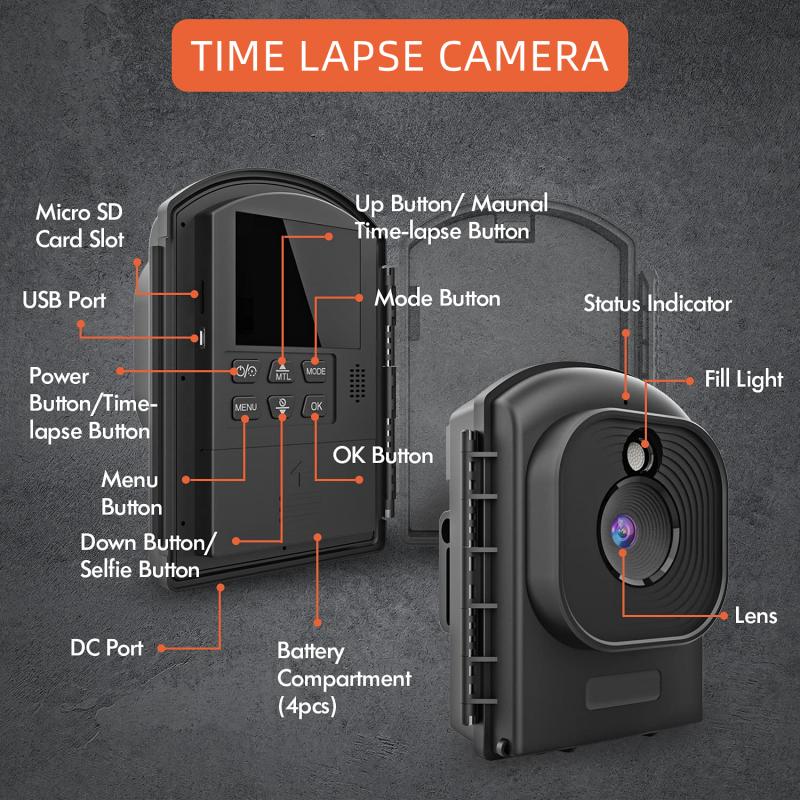
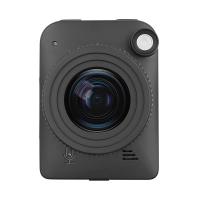
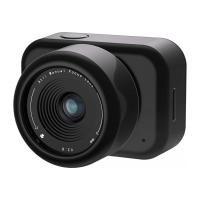
Not all webcams are created equal, and the quality of your time-lapse video will depend significantly on the quality of your webcam. Here are some factors to consider:
1. Resolution: Higher resolution webcams will produce clearer and more detailed images. Aim for at least 1080p resolution.
2. Frame Rate: While frame rate is less critical for time-lapse photography than for real-time video, a higher frame rate can still be beneficial for capturing smoother transitions.
3. Low Light Performance: If you plan to shoot in varying lighting conditions, choose a webcam with good low-light performance.
Setting Up Your Webcam
Proper setup is crucial for a successful time-lapse project. Here are the steps to follow:
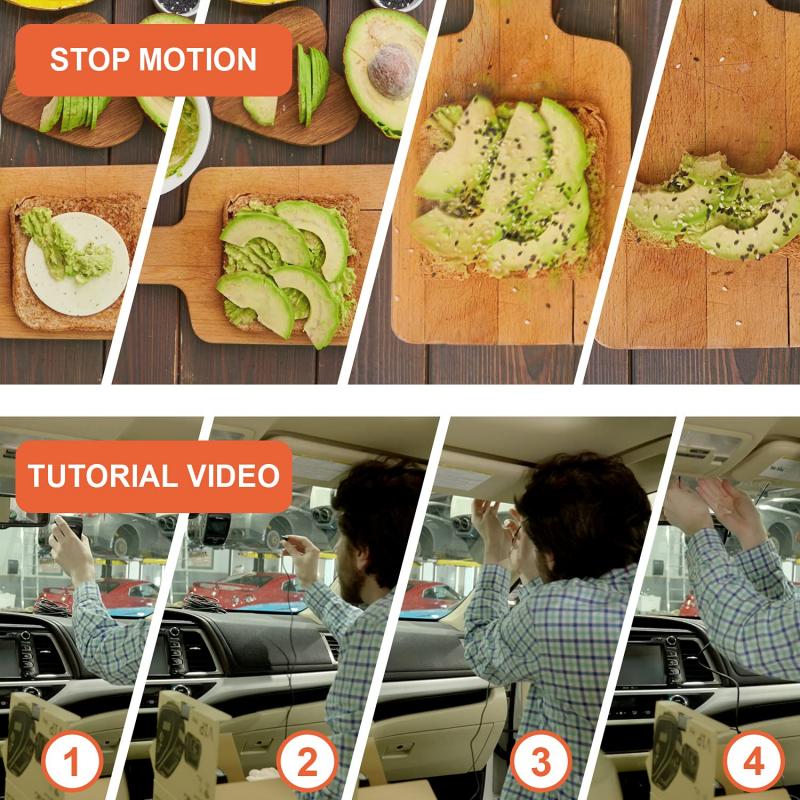
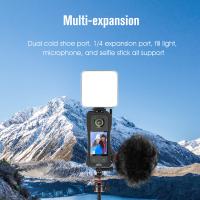
1. Mounting: Secure your webcam in a stable position. Use a tripod or a fixed mount to ensure that the camera does not move during the shooting period.
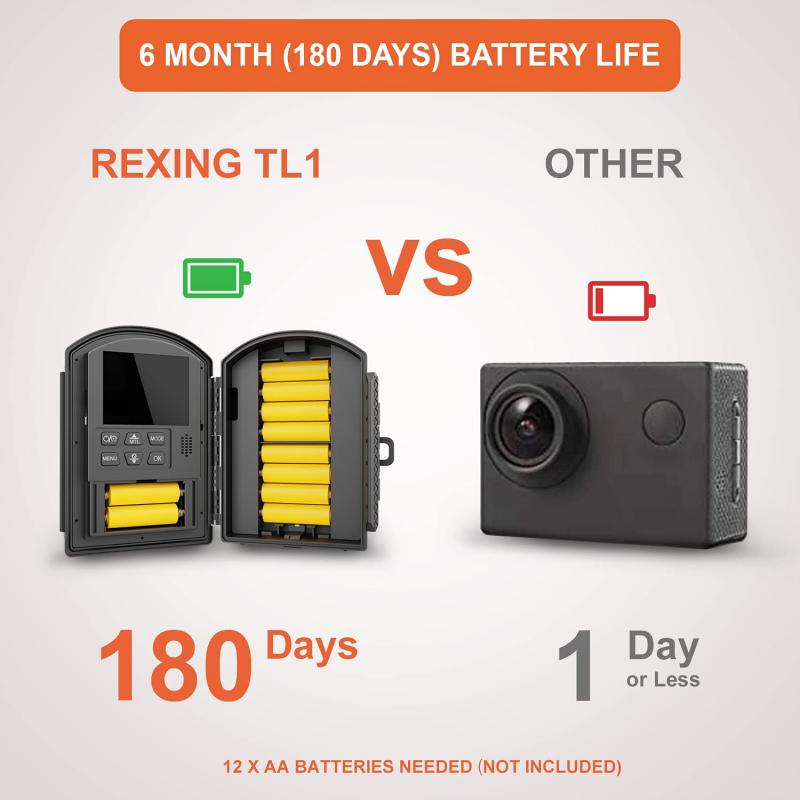
2. Power Supply: Ensure your webcam and computer have a reliable power source. Time-lapse projects can take a long time, and you don't want your equipment to run out of power midway.
3. Lighting: Consistent lighting is key. If possible, use artificial lighting to maintain a constant light level. If you're relying on natural light, be aware of how changes in lighting will affect your images.
Software for Capturing Time-Lapse
Several software options are available for capturing time-lapse images with a webcam. Here are some popular choices:
1. OBS Studio: This free, open-source software is widely used for video recording and live streaming. It can be configured to capture images at set intervals.
2. Yawcam: Another free option, Yawcam is user-friendly and specifically designed for webcam use. It includes a time-lapse feature that allows you to set the interval between shots.
3. Webcam Timelapse: This is a simple, dedicated time-lapse software that works with most webcams. It allows you to set intervals and duration easily.
Configuring Your Software
Once you've chosen your software, you'll need to configure it for time-lapse photography. Here are the general steps:
1. Set the Interval: Decide how often you want to capture an image. For fast-moving subjects, you might choose an interval of a few seconds. For slower changes, such as plant growth, you might choose an interval of several minutes or even hours.
2. Set the Duration: Determine how long you want to capture images. This will depend on your subject and the final length of your video.
3. Storage: Ensure you have enough storage space for the images. Time-lapse projects can generate a large number of files, so plan accordingly.
Capturing the Images
With your webcam set up and your software configured, you're ready to start capturing images. Here are some tips for this stage:
1. Monitor Progress: Periodically check that your webcam and software are functioning correctly. Ensure that the images are being captured at the correct intervals and that the lighting remains consistent.
2. Backup: Regularly back up your images to prevent data loss. Use an external hard drive or cloud storage for added security.
3. Adjust as Needed: If you notice any issues, such as changes in lighting or focus, make adjustments as needed. However, try to minimize changes to maintain consistency.
Editing Your Time-Lapse Video
Once you've captured all your images, it's time to compile them into a time-lapse video. Here are the steps to follow:
1. Import Images: Import your images into video editing software. Popular choices include Adobe Premiere Pro, Final Cut Pro, and free options like DaVinci Resolve.
2. Set Frame Rate: Choose a frame rate for your video. Common choices are 24, 30, or 60 frames per second (fps). A higher frame rate will result in smoother motion.
3. Compile Images: Arrange your images in sequence. Most video editing software allows you to import a series of images as a single video clip.
4. Adjust Speed: If needed, adjust the speed of your video to achieve the desired effect. You can speed up or slow down the playback to highlight specific changes.
5. Add Music and Effects: Enhance your video with background music, transitions, and other effects. Be mindful not to overdo it, as the focus should remain on the time-lapse itself.
6. Export: Export your final video in the desired format. Common formats include MP4, MOV, and AVI.
Tips for Better Time-Lapse Videos
1. Plan Ahead: Think about the story you want to tell with your time-lapse. Plan your shots and intervals accordingly.
2. Stability: Ensure your camera setup is stable to avoid any unwanted movement.
3. Consistency: Maintain consistent lighting and settings throughout the capture period.
4. Patience: Time-lapse photography requires patience. Be prepared for a long-term commitment, especially for projects that span days or weeks.
5. Experiment: Don't be afraid to experiment with different intervals, subjects, and settings. Each project is a learning experience.
Creating a time-lapse video with a webcam is a fascinating way to capture the passage of time and reveal changes that are otherwise invisible. By choosing the right equipment, setting up your webcam correctly, and using the appropriate software, you can create stunning time-lapse videos. Remember to plan ahead, be patient, and enjoy the process. With practice and experimentation, you'll be able to produce professional-quality time-lapse videos that captivate and inspire.






There are no comments for this blog.