How To Find Sd Card On Macbook?
When it comes to managing storage and expanding the capabilities of your MacBook, SD cards are a popular choice. However, many users often face challenges when trying to locate and access their SD cards on a MacBook. This article aims to provide a comprehensive guide on how to find and manage SD cards on a MacBook, addressing common issues and offering practical solutions.
Understanding the Basics
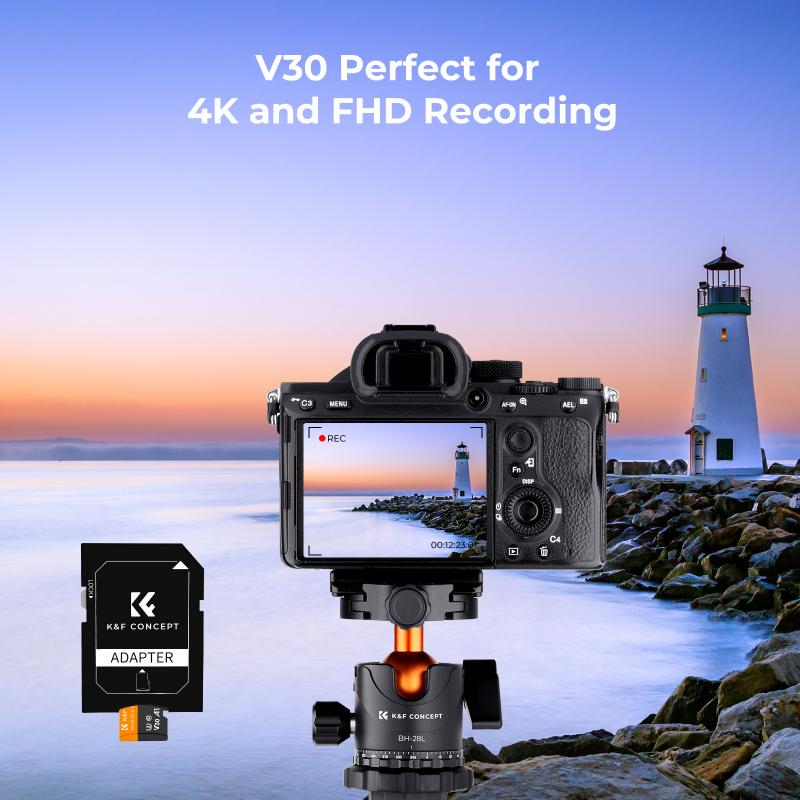
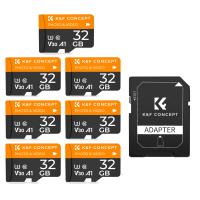
Before diving into the steps, it's essential to understand the basics of SD cards and MacBook compatibility. SD cards come in various sizes and formats, such as SDHC, SDXC, and microSD. MacBooks, especially newer models, may not have a built-in SD card slot, necessitating the use of an external card reader.
Step-by-Step Guide to Finding Your SD Card on a MacBook
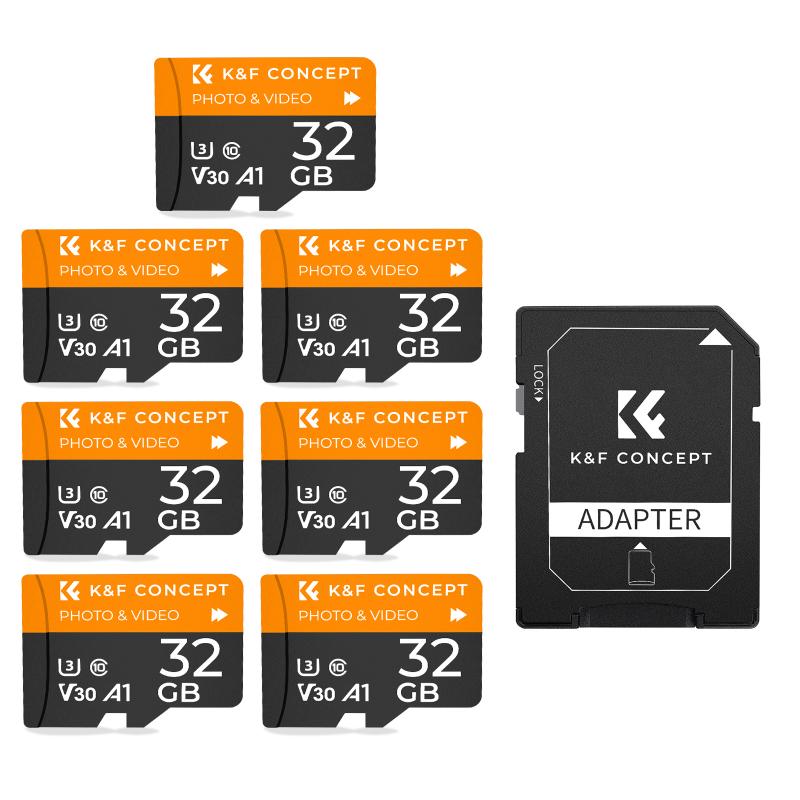
1. Check for Built-in SD Card Slot
First, determine if your MacBook has a built-in SD card slot. Older MacBook Pro and MacBook Air models typically have this feature. If your MacBook has a slot, insert the SD card gently until it clicks into place.
2. Using an External Card Reader
For newer MacBook models without an SD card slot, you'll need an external card reader. Connect the card reader to your MacBook via a USB or USB-C port, depending on your MacBook's available ports. Insert the SD card into the card reader.
3. Accessing the SD Card via Finder
Once the SD card is inserted, it should appear on your desktop or in the Finder sidebar under "Devices." If it doesn't appear, follow these steps:
- Open Finder.
- Go to Finder Preferences by clicking on "Finder" in the top menu and selecting "Preferences."
- Under the "General" tab, ensure that "External disks" is checked.
- Under the "Sidebar" tab, ensure that "External disks" is checked under "Locations."
4. Using Disk Utility
If the SD card still doesn't appear in Finder, you can use Disk Utility to locate it:
- Open Disk Utility by searching for it in Spotlight (Cmd + Space) or navigating to Applications > Utilities > Disk Utility.
- In Disk Utility, look for your SD card in the left sidebar. It should be listed under "External."
- If the SD card appears but is not mounted, select it and click the "Mount" button.
Troubleshooting Common Issues

1. SD Card Not Recognized
If your SD card is not recognized, try the following steps:
- Check the Card Reader: Ensure that the card reader is functioning correctly by testing it with another SD card or on a different computer.
- Restart Your MacBook: Sometimes, a simple restart can resolve recognition issues.
- Update macOS: Ensure that your MacBook is running the latest version of macOS, as updates often include fixes for hardware compatibility issues.
- Check the SD Card Format: MacBooks typically support FAT32 and exFAT formats. If your SD card is formatted in a different file system, you may need to reformat it using Disk Utility. Be sure to back up any important data before reformatting.
2. SD Card Read/Write Issues
If you can see the SD card but encounter read/write issues, consider the following:
- Check the Write Protection Switch: Some SD cards have a physical switch that locks the card to prevent writing. Ensure that this switch is in the unlocked position.
- Run First Aid in Disk Utility: Select the SD card in Disk Utility and click "First Aid" to check for and repair any disk errors.
- Check Permissions: Right-click on the SD card in Finder, select "Get Info," and check the permissions at the bottom of the window. Ensure you have read and write access.
Best Practices for Using SD Cards on MacBook

1. Safely Eject the SD Card
Always eject the SD card safely to prevent data corruption. You can do this by right-clicking the SD card icon on the desktop or in Finder and selecting "Eject," or by dragging the icon to the Trash.
2. Regular Backups
Regularly back up the data on your SD card to avoid data loss. Use Time Machine or another backup solution to keep your data safe.
3. Proper Storage and Handling
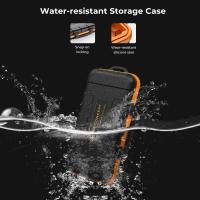
Store your SD cards in a protective case to prevent physical damage. Avoid exposing them to extreme temperatures, moisture, or magnetic fields.
Advanced Tips and Tricks
1. Using Terminal to Access SD Card
For advanced users, Terminal can be a powerful tool to access and manage SD cards. Here’s a basic command to list all connected disks:
```bash
diskutil list
```
This command will display a list of all connected storage devices, including your SD card. You can use additional commands to mount, unmount, or format the SD card as needed.
2. Automating SD Card Tasks with Automator
Automator is a macOS application that allows you to create custom workflows. You can use Automator to automate tasks such as copying files from your SD card to a specific folder on your MacBook. Here’s a simple example:
- Open Automator and create a new "Folder Action."
- Select the SD card as the folder to monitor.
- Add actions such as "Copy Finder Items" to automate the copying process.
Finding and managing an SD card on a MacBook can be straightforward if you follow the right steps and understand the potential issues. Whether you have a built-in SD card slot or need to use an external card reader, this guide provides the necessary information to access and troubleshoot your SD card effectively. By following best practices and utilizing advanced tools like Terminal and Automator, you can enhance your workflow and ensure the longevity and reliability of your SD card data.

