How To Format A Sd Card On Mac?
Formatting an SD card on a Mac is a common task that many users need to perform for various reasons, such as preparing the card for use in a camera, ensuring compatibility with different devices, or simply clearing all data for a fresh start. This article will guide you through the process of formatting an SD card on a Mac, addressing common issues and providing tips to ensure a smooth experience.
Understanding the Basics of SD Card Formatting

Before diving into the step-by-step guide, it's essential to understand what formatting an SD card entails. Formatting is the process of preparing a storage device, like an SD card, for use by an operating system. This process involves erasing all existing data and setting up a new file system. The file system determines how data is stored and retrieved on the card. Common file systems include FAT32, exFAT, and Mac OS Extended (Journaled).
Why Format an SD Card?

There are several reasons why you might need to format an SD card:
1. Compatibility: Different devices require different file systems. For example, cameras often use FAT32 or exFAT, while Mac systems might prefer Mac OS Extended.
2. Performance: Formatting can improve the performance of the SD card by removing fragmented data and optimizing the file system.
3. Error Correction: If your SD card is experiencing errors or corruption, formatting can often resolve these issues.
4. Data Management: Formatting is a quick way to erase all data on the card, making it ready for new data.
Step-by-Step Guide to Formatting an SD Card on a Mac
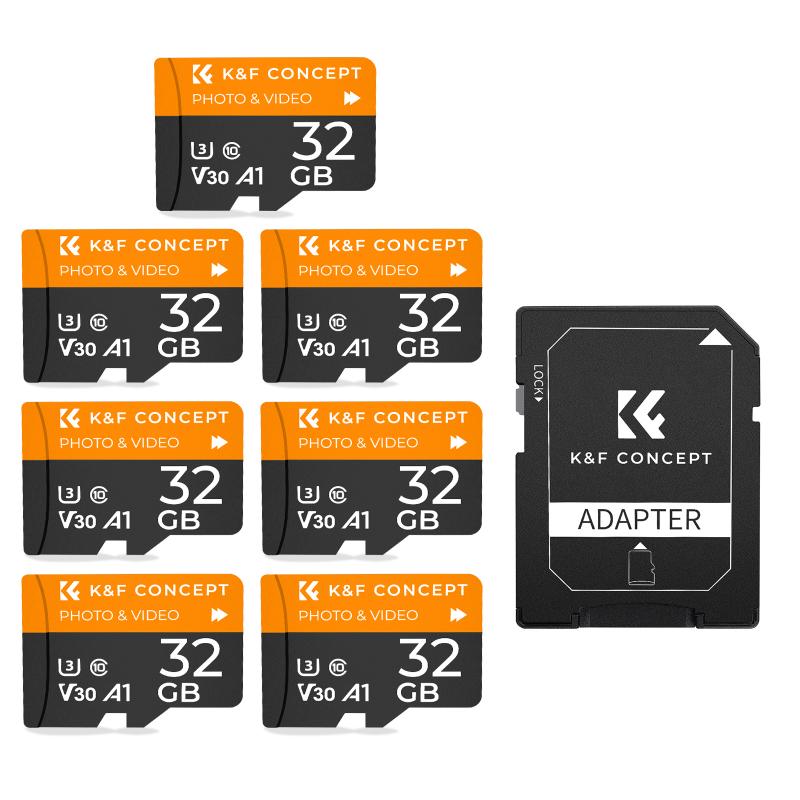
Step 1: Insert the SD Card

First, insert the SD card into your Mac's SD card slot or connect it using an external card reader. Ensure that the card is properly seated and recognized by the system.
Step 2: Open Disk Utility
Disk Utility is a built-in macOS application that allows you to manage disks and storage devices. To open Disk Utility:
1. Click on the Finder icon in the Dock.
2. Navigate to Applications > Utilities > Disk Utility.
Step 3: Select the SD Card
In Disk Utility, you will see a list of all connected storage devices on the left-hand side. Locate and select your SD card from this list. Be careful to choose the correct device, as formatting will erase all data on the selected card.
Step 4: Erase the SD Card
With the SD card selected, click on the Erase button located at the top of the Disk Utility window. A new dialog box will appear, prompting you to enter the following information:
1. Name: Enter a name for the SD card. This name will appear when the card is mounted on your Mac or other devices.
2. Format: Choose the appropriate file system for your needs. Common options include:
- MS-DOS (FAT): Suitable for SD cards up to 32GB and compatible with most devices.
- ExFAT: Ideal for SD cards larger than 32GB and compatible with both macOS and Windows.
- Mac OS Extended (Journaled): Best for use exclusively with Mac systems.
3. Scheme: Select GUID Partition Map for most modern devices. If you are using the SD card with older devices, you might need to choose Master Boot Record (MBR).
Step 5: Confirm and Format
After entering the necessary information, click on the Erase button to begin the formatting process. Disk Utility will erase the SD card and set up the new file system. This process may take a few minutes, depending on the size of the card.
Step 6: Eject the SD Card
Once the formatting process is complete, you will see a confirmation message. Click Done to close the dialog box. To safely eject the SD card, click on the Eject button next to the card's name in Disk Utility or drag the card's icon to the Trash in Finder.
Troubleshooting Common Issues
While formatting an SD card on a Mac is generally straightforward, you may encounter some issues. Here are common problems and their solutions:
1. SD Card Not Recognized: If your SD card is not appearing in Disk Utility, try reinserting it or using a different card reader. Ensure that the card is not write-protected by checking the lock switch on the side of the card.
2. Formatting Errors: If you receive an error message during the formatting process, try restarting your Mac and repeating the steps. If the problem persists, the SD card may be damaged or corrupted.
3. Incompatible File System: If the device you plan to use the SD card with does not recognize the card after formatting, ensure that you selected the correct file system. Reformat the card with a compatible file system if necessary.
Tips for Maintaining Your SD Card
To prolong the life of your SD card and ensure optimal performance, follow these tips:
1. Regular Backups: Regularly back up important data stored on your SD card to avoid data loss.
2. Proper Ejection: Always eject the SD card properly before removing it from your Mac to prevent data corruption.
3. Avoid Physical Damage: Handle your SD card with care to avoid physical damage. Store it in a protective case when not in use.
4. Monitor Usage: Keep an eye on the available storage space and avoid filling the card to its maximum capacity, as this can affect performance.
Formatting an SD card on a Mac is a simple process that can be completed in a few easy steps using Disk Utility. Whether you need to prepare the card for use in a camera, resolve errors, or clear data, this guide provides all the information you need to format your SD card effectively. By following the steps outlined above and adhering to best practices for SD card maintenance, you can ensure that your card remains in good working condition and ready for use whenever you need it.

