How To Format Sd Card From Mac?
Formatting an SD card on a Mac is a common task that many users need to perform for various reasons, such as preparing the card for use in a camera, ensuring compatibility with different devices, or simply clearing out old data. This article will guide you through the process of formatting an SD card on a Mac, addressing common user demands and providing practical solutions to potential issues.
Understanding the Basics of SD Card Formatting
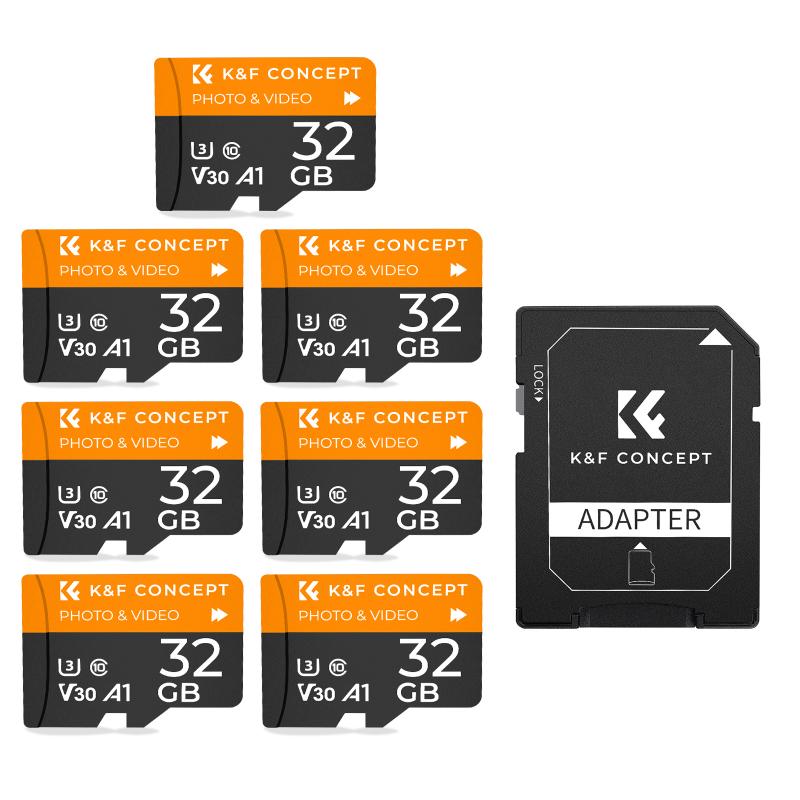
Before diving into the step-by-step guide, it's essential to understand what formatting an SD card entails. Formatting is the process of preparing a storage device, like an SD card, for use by an operating system. This process involves setting up a file system that the OS can read and write to. Common file systems include FAT32, exFAT, and HFS+.
- FAT32: Compatible with most devices but has a file size limit of 4GB.
- exFAT: Supports larger files and is compatible with both macOS and Windows.
- HFS+: Mac-specific file system, not suitable for devices that need to read the card on Windows or other operating systems.
Step-by-Step Guide to Formatting an SD Card on a Mac

Step 1: Insert the SD Card

First, insert the SD card into your Mac's SD card slot or connect it via an SD card reader. Ensure that the card is properly seated and recognized by the system.
Step 2: Open Disk Utility

Disk Utility is a built-in macOS application that allows you to manage disks and storage devices. To open Disk Utility:
1. Go to `Applications` > `Utilities`.
2. Double-click on `Disk Utility` to launch the application.
Step 3: Select the SD Card
In Disk Utility, you will see a list of all connected drives and storage devices. Locate your SD card in the list. It will typically be listed under the "External" section. Click on the SD card to select it.
Step 4: Erase the SD Card
With the SD card selected, click on the `Erase` button located at the top of the Disk Utility window. This will open a new dialog box where you can configure the formatting options.
Step 5: Configure Formatting Options
In the Erase dialog box, you will need to set the following options:
- Name: Enter a name for your SD card. This is optional but can help you identify the card later.
- Format: Choose the file system format. For most users, `exFAT` is recommended due to its compatibility with both macOS and Windows. If you need the card to work with older devices, `MS-DOS (FAT)` (FAT32) might be a better choice.
- Scheme: Select `GUID Partition Map` for most modern uses. If you are formatting the card for use in a camera or other specific device, consult the device's documentation for the recommended partition scheme.
Step 6: Erase and Format
After configuring the options, click on the `Erase` button to begin the formatting process. Disk Utility will erase all data on the SD card and format it with the chosen file system. This process may take a few minutes, depending on the size of the card.
Step 7: Verify the Format
Once the formatting process is complete, Disk Utility will display a confirmation message. You can now eject the SD card by clicking the `Eject` button next to its name in the Disk Utility sidebar. Remove the card from the slot or reader and reinsert it to verify that it is correctly formatted and recognized by your Mac.
Troubleshooting Common Issues
While formatting an SD card on a Mac is generally straightforward, you may encounter some issues. Here are solutions to common problems:
SD Card Not Recognized
If your SD card is not recognized by Disk Utility, try the following steps:
1. Ensure the card is properly inserted.
2. Try a different SD card reader or slot.
3. Restart your Mac and try again.
4. Check if the SD card is locked. Some cards have a physical lock switch that prevents writing.
Formatting Errors
If you encounter errors during the formatting process, consider these solutions:
1. Reformat on Another Device: Try formatting the SD card on a different device, such as a Windows PC or a camera, and then reformat it again on your Mac.
2. Use Terminal: Advanced users can use the Terminal application to format the SD card. Open Terminal and use the `diskutil` command to erase and format the card. For example:
```
diskutil eraseDisk exFAT MySDCard /dev/disk2
```
Replace `MySDCard` with your desired name and `/dev/disk2` with the correct disk identifier for your SD card.
Data Recovery
If you accidentally format an SD card and need to recover data, stop using the card immediately to prevent overwriting the data. Use data recovery software like Disk Drill or PhotoRec to attempt recovery. Note that recovery is not always guaranteed, especially if the card has been used after formatting.
Best Practices for SD Card Maintenance
To ensure the longevity and reliability of your SD card, follow these best practices:
- Regular Backups: Always keep backups of important data stored on your SD card.
- Safe Ejection: Always eject the SD card safely before removing it from your Mac to prevent data corruption.
- Avoid Physical Damage: Handle the SD card with care to avoid physical damage that could render it unusable.
- Monitor Health: Use tools like Disk Utility to check the health of your SD card periodically.
Formatting an SD card on a Mac is a simple process that can be accomplished using the built-in Disk Utility application. By following the steps outlined in this guide, you can ensure that your SD card is properly formatted and ready for use. Whether you need to prepare the card for a camera, ensure compatibility with different devices, or simply clear out old data, this guide provides all the information you need to get the job done. Remember to follow best practices for SD card maintenance to keep your data safe and your card in good working condition.

