How To Hook Up Wireless Headphones?
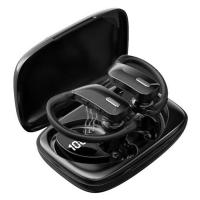
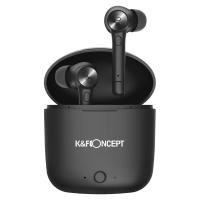
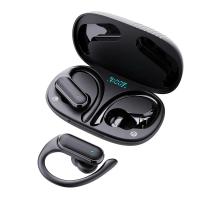
Wireless headphones have become an essential accessory for many people, offering the convenience of untethered listening. Whether you're using them for music, podcasts, or phone calls, knowing how to properly connect your wireless headphones to various devices is crucial. This article will guide you through the process of hooking up wireless headphones to different devices, addressing common issues and providing practical solutions.
Understanding Wireless Headphones
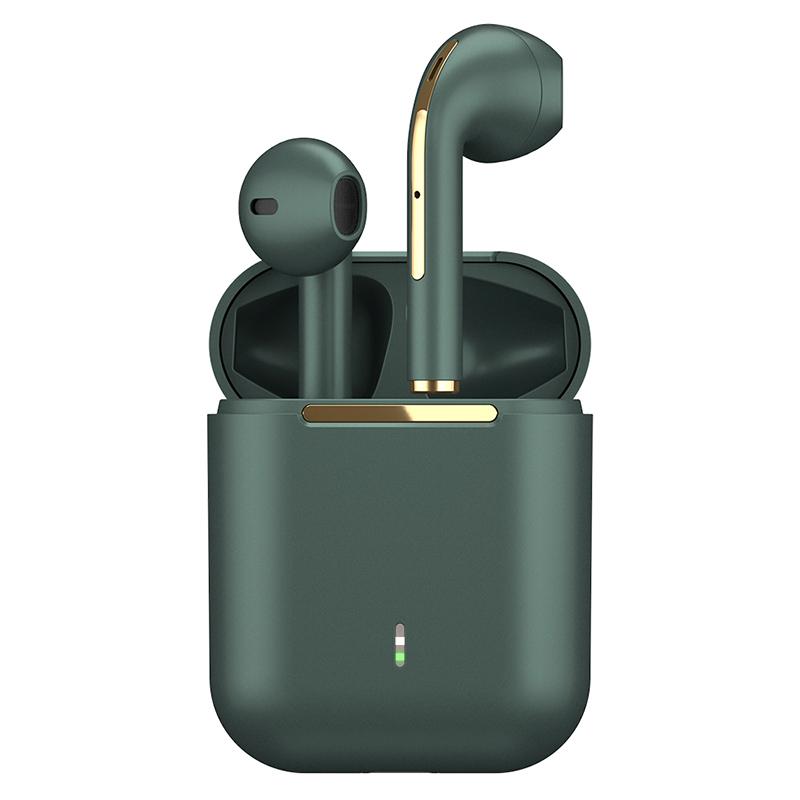
Before diving into the connection process, it's important to understand the basic technology behind wireless headphones. Most wireless headphones use Bluetooth technology to connect to devices. Bluetooth is a wireless communication standard that allows devices to exchange data over short distances. Some high-end wireless headphones may also use other technologies like NFC (Near Field Communication) for easier pairing.
Preparing Your Wireless Headphones
1. Charge Your Headphones: Ensure your wireless headphones are fully charged. Most headphones come with a USB charging cable. Connect the cable to a power source and charge the headphones until the battery is full. This step is crucial as a low battery can cause connectivity issues.
2. Turn On Your Headphones: Once charged, turn on your headphones. This usually involves pressing and holding the power button until you see a light indicator or hear a sound cue.
3. Activate Pairing Mode: To connect your headphones to a device, you need to activate pairing mode. This is typically done by holding down the power button or a dedicated pairing button for a few seconds. The indicator light will usually flash in a specific pattern (often blue and red) to show that the headphones are in pairing mode.
Connecting to Different Devices
1. Smartphones and Tablets
- iOS Devices (iPhone/iPad):
1. Open the Settings app.
2. Tap on "Bluetooth."
3. Ensure Bluetooth is turned on.
4. Your headphones should appear in the list of available devices. Tap on the name of your headphones to connect.
5. Once connected, you should see a confirmation message, and the indicator light on your headphones will stop flashing.
- Android Devices:
1. Open the Settings app.
2. Tap on "Connections" or "Connected devices," then select "Bluetooth."
3. Ensure Bluetooth is turned on.
4. Your headphones should appear in the list of available devices. Tap on the name of your headphones to connect.
5. Once connected, you should see a confirmation message, and the indicator light on your headphones will stop flashing.
2. Computers and Laptops
- Windows PC:
1. Click on the Start menu and open the Settings app.
2. Go to "Devices" and then "Bluetooth & other devices."
3. Ensure Bluetooth is turned on.
4. Click on "Add Bluetooth or other device" and select "Bluetooth."
5. Your headphones should appear in the list of available devices. Click on the name of your headphones to connect.
6. Once connected, you should see a confirmation message, and the indicator light on your headphones will stop flashing.
- Mac:
1. Click on the Apple menu and open "System Preferences."
2. Select "Bluetooth."
3. Ensure Bluetooth is turned on.
4. Your headphones should appear in the list of available devices. Click on the "Connect" button next to the name of your headphones.
5. Once connected, you should see a confirmation message, and the indicator light on your headphones will stop flashing.
3. Smart TVs
- General Steps:
1. Open the settings menu on your TV.
2. Navigate to the Bluetooth settings (this may be under "Sound" or "Connections").
3. Ensure Bluetooth is turned on.
4. Your headphones should appear in the list of available devices. Select the name of your headphones to connect.
5. Once connected, you should see a confirmation message, and the indicator light on your headphones will stop flashing.
Troubleshooting Common Issues
1. Headphones Not Appearing in Bluetooth List:
- Ensure your headphones are in pairing mode.
- Turn Bluetooth off and on again on your device.
- Restart your device and try again.
- Move closer to your device to ensure you are within the effective range.
2. Connection Drops or Poor Audio Quality:
- Ensure your headphones are fully charged.
- Check for interference from other wireless devices.
- Update the firmware of your headphones and the Bluetooth drivers on your device.
- Reset your headphones to factory settings and try pairing again.
3. Headphones Connected but No Sound:
- Ensure the volume is turned up on both your device and headphones.
- Check if the correct audio output is selected on your device.
- Restart your device and reconnect the headphones.
Advanced Tips
1. Multipoint Pairing: Some wireless headphones support multipoint pairing, allowing you to connect to two devices simultaneously. This is useful if you want to switch between your phone and laptop without re-pairing. Check your headphone's manual for instructions on enabling this feature.
2. Using NFC for Pairing: If your headphones and device support NFC, you can pair them by simply tapping them together. Ensure NFC is enabled on your device, then tap the NFC area of your headphones to the NFC area of your device.
3. Customizing Headphone Settings: Many wireless headphones come with companion apps that allow you to customize settings like equalizer, noise cancellation, and touch controls. Download the app from your device's app store and explore the available options to enhance your listening experience.
Connecting wireless headphones to your devices can greatly enhance your audio experience, providing freedom and flexibility. By following the steps outlined in this article, you can easily hook up your wireless headphones to a variety of devices, troubleshoot common issues, and take advantage of advanced features. Whether you're a tech novice or a seasoned pro, these tips will help you get the most out of your wireless headphones.

