How To Install A Security Camera?
Installing a security camera system can seem like a daunting task, but with the right guidance, it can be a straightforward process. Whether you are looking to enhance the security of your home or business, understanding the steps involved in installing a security camera system is crucial. This article will walk you through the process, from selecting the right camera to ensuring it is properly set up and functioning.
Choosing the Right Security Camera
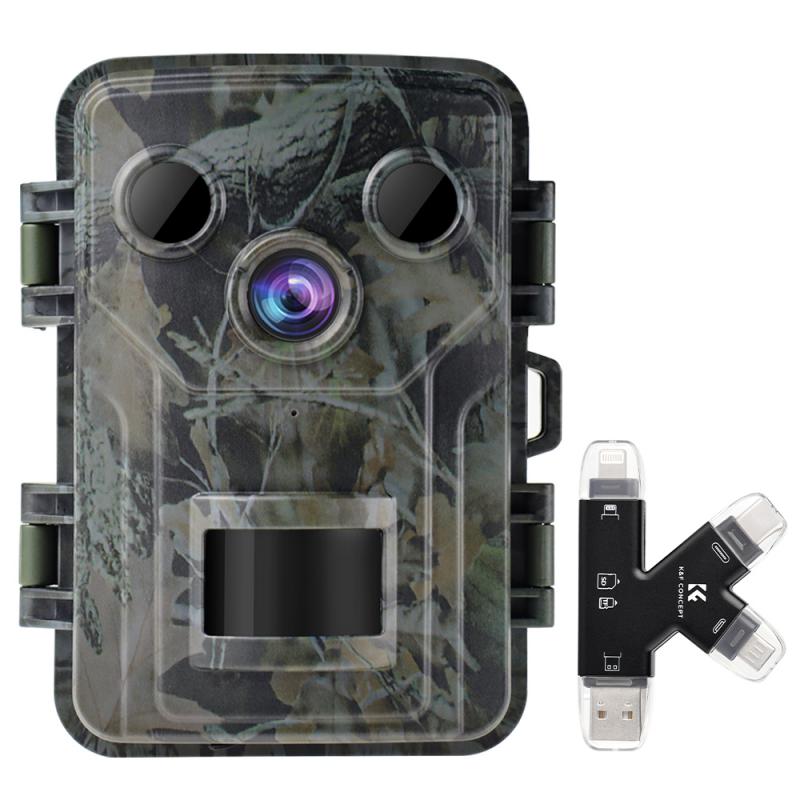
Before diving into the installation process, it is essential to choose the right security camera for your needs. There are several types of security cameras available, each with its own set of features and benefits.
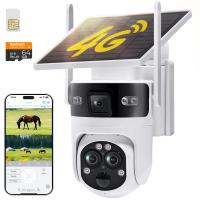
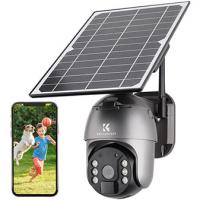
1. Wired vs. Wireless Cameras: Wired cameras are connected to a recording device and power source via cables, offering a stable connection and often higher quality video. Wireless cameras, on the other hand, connect to your Wi-Fi network and are easier to install but may suffer from signal interference.
2. Indoor vs. Outdoor Cameras: Indoor cameras are designed for use inside your home or business, while outdoor cameras are built to withstand the elements. Outdoor cameras typically have weatherproof housings and may include features like night vision and motion detection.
3. Resolution and Field of View: Higher resolution cameras provide clearer images, which can be crucial for identifying faces or license plates. The field of view determines how much area the camera can cover; a wider field of view means fewer cameras are needed to cover a large area.
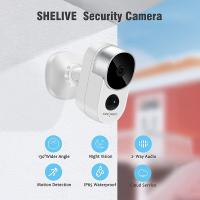
4. Additional Features: Consider features like night vision, motion detection, two-way audio, and cloud storage. These can enhance the functionality of your security system.
Planning Your Security Camera System

Once you have selected the appropriate cameras, the next step is to plan your security camera system. This involves determining the best locations for your cameras and ensuring you have all the necessary equipment.
1. Identify Key Areas: Determine which areas of your property need surveillance. Common locations include entry points (doors and windows), driveways, and high-traffic areas. For businesses, consider areas like cash registers, stockrooms, and parking lots.
2. Check for Power Sources: Ensure that there are power sources available near the camera locations. For wired cameras, you will need to run cables to a power outlet. Wireless cameras will need to be within range of your Wi-Fi network.
3. Consider Lighting Conditions: Take into account the lighting conditions in the areas you plan to monitor. Cameras with night vision are essential for low-light areas, while areas with bright light may require cameras with wide dynamic range (WDR) to handle high contrast.
4. Plan for Cable Management: If you are installing wired cameras, plan the cable routes to avoid visible wires and potential tripping hazards. Use cable clips or conduits to secure the cables neatly.
Installing the Security Cameras

With your plan in place, you can now proceed with the installation. Follow these steps to ensure a successful setup:
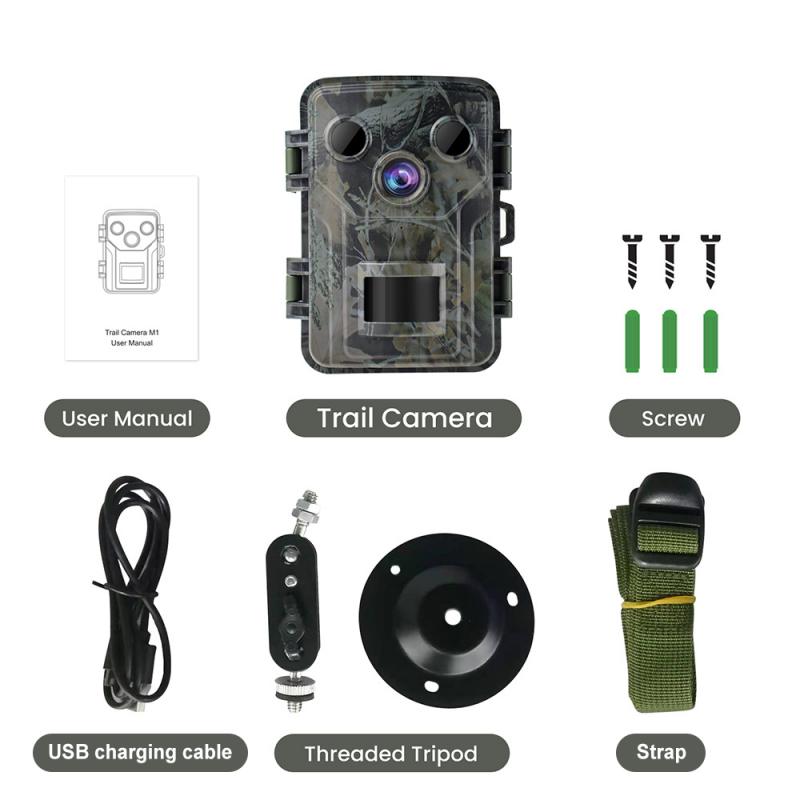
1. Mount the Cameras: Start by mounting the cameras in the predetermined locations. Use the mounting brackets and screws provided with the cameras. Ensure the cameras are securely attached and positioned to cover the desired areas.
2. Run the Cables: For wired cameras, run the cables from the cameras to the recording device (DVR or NVR) and power source. Use cable clips or conduits to keep the cables organized and out of sight. For wireless cameras, ensure they are within range of your Wi-Fi network.
3. Connect the Cameras: Connect the cameras to the recording device and power source. For wired cameras, this involves plugging the cables into the appropriate ports. For wireless cameras, follow the manufacturer's instructions to connect them to your Wi-Fi network.
4. Configure the System: Once the cameras are connected, configure the system using the software provided by the manufacturer. This typically involves setting up the recording schedule, motion detection zones, and alert notifications. Ensure that the cameras are recording properly and that you can access the footage remotely if needed.
5. Test the Cameras: After configuring the system, test each camera to ensure it is functioning correctly. Check the video quality, motion detection, and night vision capabilities. Make any necessary adjustments to the camera angles or settings.
Maintaining Your Security Camera System
Regular maintenance is essential to ensure your security camera system continues to function effectively. Here are some tips for maintaining your system:
1. Clean the Cameras: Dust and debris can accumulate on the camera lenses, affecting the video quality. Clean the lenses regularly with a soft cloth to ensure clear images.
2. Check the Connections: Periodically check the connections to ensure the cables are secure and there are no signs of wear or damage. For wireless cameras, ensure they remain connected to your Wi-Fi network.
3. Update the Software: Manufacturers often release software updates to improve performance and security. Check for updates regularly and install them as needed.
4. Review the Footage: Regularly review the recorded footage to ensure the cameras are capturing the desired areas and that the video quality is acceptable. Adjust the camera angles or settings if necessary.
5. Test the System: Periodically test the entire system, including the recording device and any remote access features, to ensure everything is working correctly.
Troubleshooting Common Issues
Even with careful planning and installation, you may encounter some common issues with your security camera system. Here are some troubleshooting tips:
1. Poor Video Quality: If the video quality is poor, check the camera lenses for dirt or smudges. Ensure the cameras are positioned correctly and that there is adequate lighting. For wired cameras, check the cable connections.
2. No Video Signal: If a camera is not displaying a video signal, check the power source and cable connections. For wireless cameras, ensure they are within range of your Wi-Fi network and that the network is functioning properly.
3. Motion Detection Issues: If the motion detection is not working correctly, check the motion detection settings in the software. Adjust the sensitivity and detection zones as needed.
4. Remote Access Problems: If you are unable to access the footage remotely, check the network settings and ensure the recording device is connected to the internet. Verify that the remote access feature is enabled in the software.
Installing a security camera system is a valuable investment in the safety and security of your home or business. By carefully selecting the right cameras, planning the system layout, and following the installation steps, you can ensure your security system is effective and reliable. Regular maintenance and troubleshooting will help keep your system functioning optimally, providing you with peace of mind and protection.


