How To Install Outdoor Security Cameras?
Installing outdoor security cameras is a crucial step in enhancing the security of your home or business. With the rise in property crimes and the need for constant surveillance, many people are turning to outdoor security cameras as a reliable solution. This article will guide you through the process of installing outdoor security cameras, ensuring that you can protect your property effectively.
Choosing the Right Camera
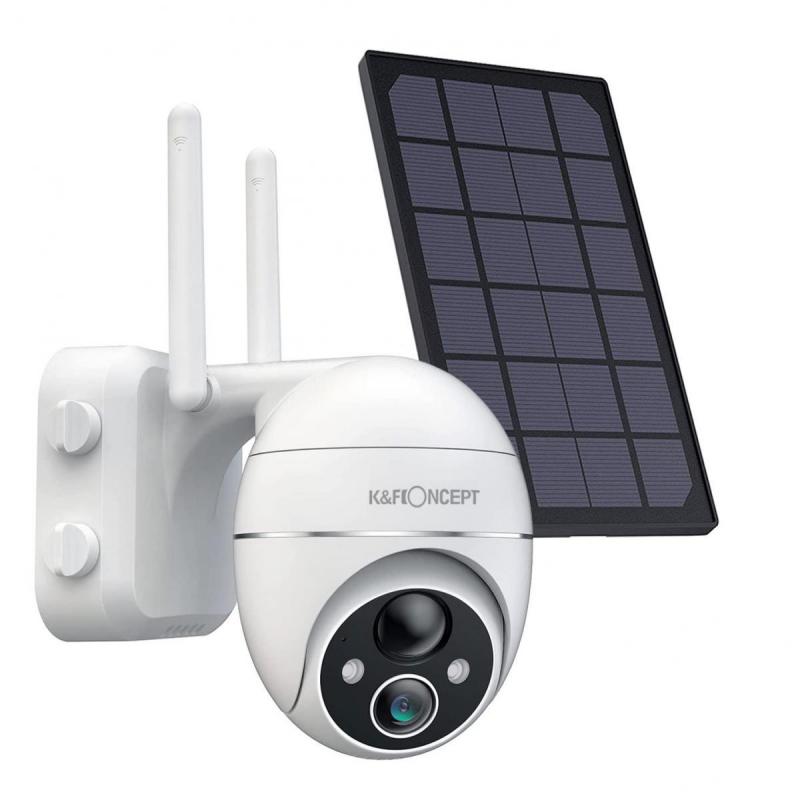
Before you begin the installation process, it’s essential to choose the right camera for your needs. There are several factors to consider:
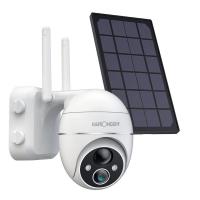
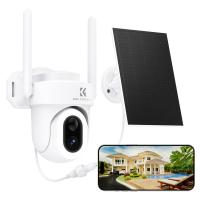
1. Camera Type: There are various types of outdoor security cameras, including bullet cameras, dome cameras, and PTZ (pan-tilt-zoom) cameras. Bullet cameras are typically more visible and can act as a deterrent, while dome cameras are more discreet. PTZ cameras offer the ability to move and zoom, providing a broader range of surveillance.
2. Resolution: Higher resolution cameras provide clearer images, which can be crucial for identifying intruders. Look for cameras with at least 1080p resolution.
3. Night Vision: Ensure the camera has good night vision capabilities, as most crimes occur under the cover of darkness. Infrared (IR) LEDs are commonly used for night vision.
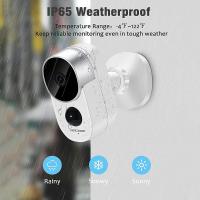
4. Weather Resistance: Outdoor cameras must withstand various weather conditions. Look for cameras with an IP66 or higher rating, indicating they are dust-tight and protected against heavy rain.
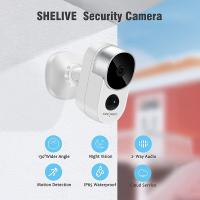
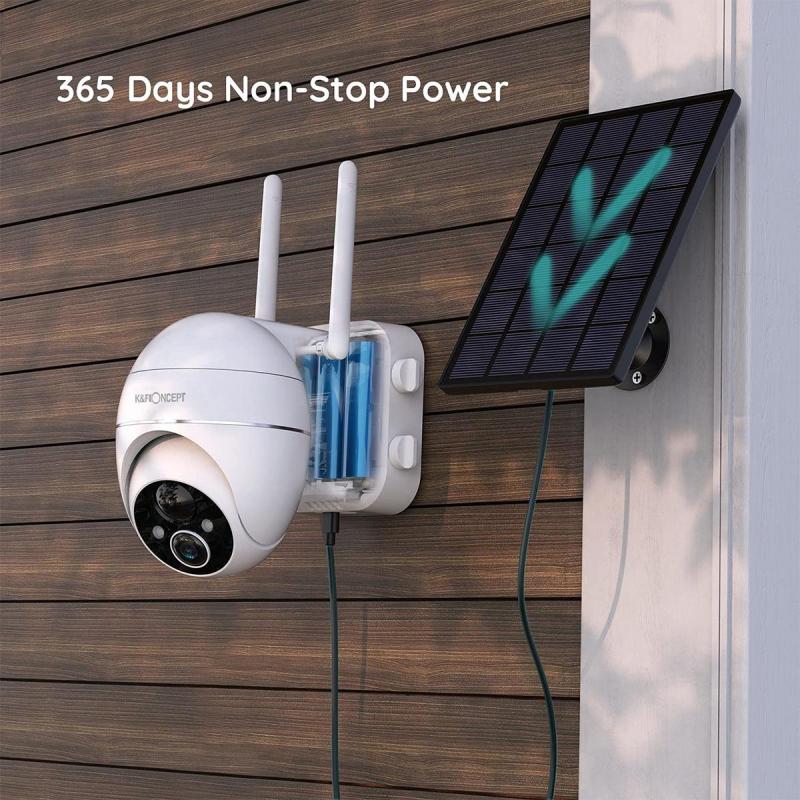
5. Power Source: Decide whether you want a wired or wireless camera. Wired cameras are generally more reliable but require more effort to install. Wireless cameras are easier to install but may need frequent battery changes or recharging.
Planning the Installation

Proper planning is crucial for effective camera placement and coverage. Here are some steps to follow:
1. Identify Vulnerable Areas: Determine which areas of your property are most vulnerable to intrusion. Common areas include front and back doors, windows, driveways, and garages.
2. Optimal Height and Angle: Install cameras at a height of 8-10 feet to avoid tampering and provide a wide field of view. Angle the cameras downward to capture faces and other identifying features.
3. Avoid Obstructions: Ensure there are no obstructions like trees, walls, or other structures that could block the camera’s view.
4. Lighting Conditions: Consider the lighting conditions in the area. Avoid pointing cameras directly at bright lights, as this can cause glare and reduce image quality.
Installing the Cameras
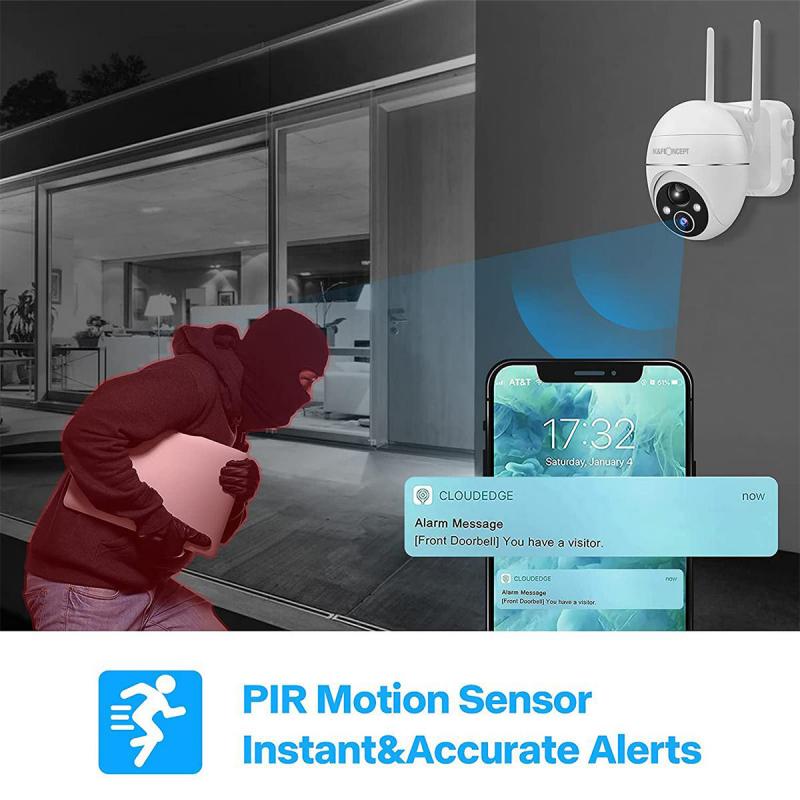
Once you have planned the installation, follow these steps to install your outdoor security cameras:
1. Mounting the Camera:
- Wired Cameras: Drill holes for the mounting screws and any necessary wiring. Use the provided template to ensure accurate placement. Secure the camera mount to the wall or ceiling using screws and anchors.
- Wireless Cameras: Wireless cameras are typically easier to mount. Use the provided screws and anchors to secure the camera mount to the desired location.
2. Running the Cables (for wired cameras):
- Power Cable: Run the power cable from the camera to the nearest power outlet. Use cable clips or conduit to secure the cable and protect it from the elements.
- Video Cable: If your camera uses a separate video cable, run it to the recording device (DVR/NVR). Ensure the cable is protected and hidden to prevent tampering.
3. Connecting the Camera:
- Wired Cameras: Connect the power and video cables to the camera. Ensure all connections are secure and weatherproof.
- Wireless Cameras: Connect the camera to your Wi-Fi network following the manufacturer’s instructions. Ensure the camera has a strong and stable connection to your network.
4. Adjusting the Camera: Once the camera is mounted and connected, adjust the angle and focus to ensure optimal coverage. Use the camera’s app or software to view the live feed and make necessary adjustments.
5. Testing the Camera: Test the camera to ensure it is working correctly. Check the live feed, motion detection, and recording features. Make any necessary adjustments to the camera’s position or settings.
Setting Up the Recording System
A recording system is essential for storing and reviewing footage from your security cameras. Here’s how to set it up:
1. Choose a Recording Device: Common recording devices include DVRs (Digital Video Recorders) and NVRs (Network Video Recorders). DVRs are used with analog cameras, while NVRs are used with IP cameras.
2. Connect the Cameras: Connect your cameras to the recording device using the appropriate cables (coaxial for DVRs, Ethernet for NVRs). Ensure all connections are secure.
3. Configure the Recording Settings: Set up the recording settings on your DVR/NVR. This includes choosing the recording mode (continuous, scheduled, or motion-activated), setting the resolution and frame rate, and configuring storage options.
4. Remote Access: Most modern recording devices offer remote access via a smartphone app or web browser. Set up remote access to view live feeds and recorded footage from anywhere.
Maintaining Your Security Cameras
Regular maintenance is essential to ensure your security cameras continue to function correctly. Here are some maintenance tips:
1. Clean the Lenses: Dirt, dust, and debris can accumulate on the camera lenses, reducing image quality. Clean the lenses regularly with a soft cloth and lens cleaner.
2. Check the Connections: Periodically check all connections to ensure they are secure and free from damage. Replace any damaged cables or connectors.
3. Update Firmware: Manufacturers often release firmware updates to improve camera performance and security. Check for updates regularly and install them as needed.
4. Test the System: Regularly test your security system to ensure all cameras are working correctly and recording footage. Check the live feed, motion detection, and recording features.
Installing outdoor security cameras is a vital step in protecting your property from intruders and other threats. By choosing the right camera, planning the installation, and following the proper steps, you can ensure your security system is effective and reliable. Regular maintenance and testing will help keep your cameras in optimal condition, providing you with peace of mind and enhanced security. Whether you opt for a wired or wireless system, the key is to ensure proper placement, secure connections, and regular upkeep. With these measures in place, you can rest assured that your property is well-protected.

