How To Install Wireless Security Cameras?
Installing wireless security cameras can be a straightforward process if you follow the right steps. This article will guide you through the entire process, from selecting the right cameras to ensuring they are properly set up and functioning. Whether you are a homeowner looking to enhance your security or a small business owner aiming to protect your assets, this guide will provide you with the knowledge you need to install wireless security cameras effectively.
Choosing the Right Wireless Security Cameras
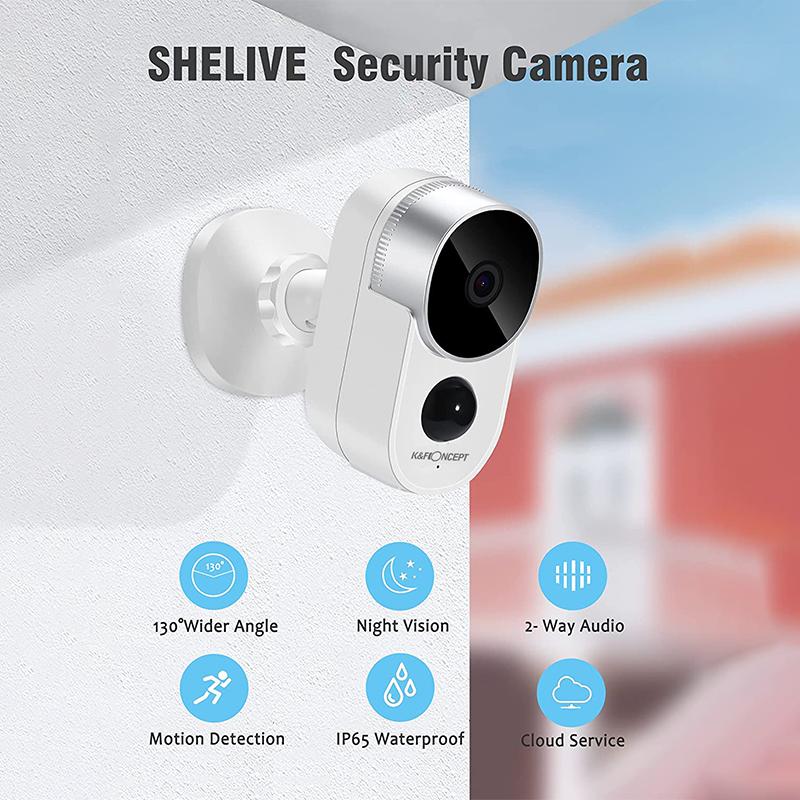
Before diving into the installation process, it’s crucial to select the right wireless security cameras for your needs. Here are some factors to consider:
1. Resolution: Higher resolution cameras provide clearer images. Look for cameras with at least 1080p resolution.
2. Field of View: Determine the area you want to cover and choose a camera with an appropriate field of view.
3. Night Vision: Ensure the camera has night vision capabilities if you need to monitor areas in low light or darkness.
4. Power Source: Decide whether you want battery-powered cameras or those that need to be plugged in.
5. Storage Options: Consider whether you want cloud storage, local storage, or both.
6. Smart Features: Features like motion detection, two-way audio, and integration with smart home systems can enhance the functionality of your cameras.
Preparing for Installation
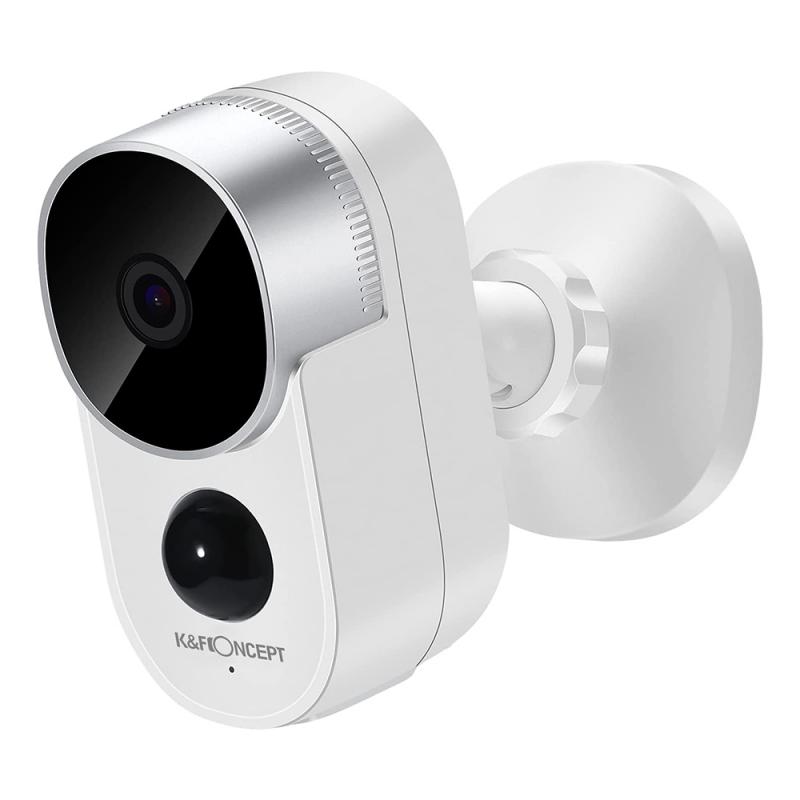
Once you have selected your cameras, follow these preparatory steps:
1. Read the Manual: Familiarize yourself with the camera’s manual. Each model may have specific requirements and instructions.
2. Charge the Cameras: If your cameras are battery-powered, ensure they are fully charged before installation.
3. Download the App: Most wireless security cameras come with a companion app. Download it to your smartphone or tablet.
4. Plan Your Layout: Decide where you want to place your cameras. Consider high-traffic areas, entry points, and any other vulnerable spots.
Installing the Cameras
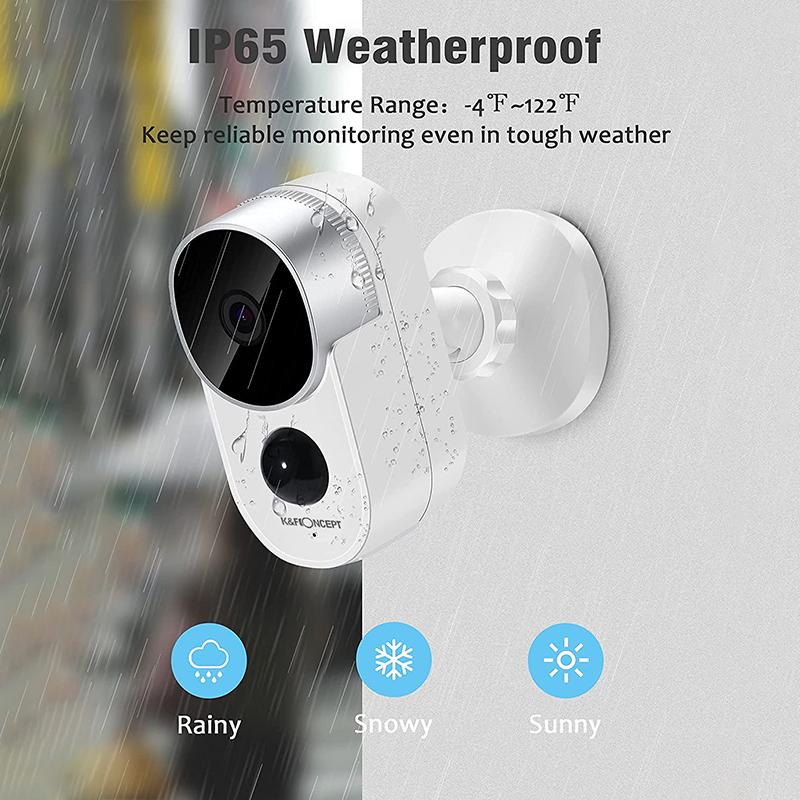
Now that you are prepared, follow these steps to install your wireless security cameras:
1. Mounting the Cameras:
- Choose the Location: Select a location that provides a clear view of the area you want to monitor. Ensure the camera is within range of your Wi-Fi network.
- Install the Mount: Use the provided screws and anchors to attach the camera mount to the wall or ceiling. Make sure it is secure.
- Attach the Camera: Place the camera onto the mount and adjust the angle to cover the desired area.
2. Connecting to Wi-Fi:
- Power On the Camera: Turn on the camera. If it’s battery-powered, insert the batteries. If it’s plug-in, connect it to a power source.
- Open the App: Open the companion app on your smartphone or tablet.
- Follow the Setup Instructions: The app will guide you through the process of connecting the camera to your Wi-Fi network. This usually involves scanning a QR code or entering your Wi-Fi credentials.
3. Configuring the Camera Settings:
- Name Your Camera: Give each camera a unique name to easily identify them in the app.
- Set Up Motion Detection: Adjust the motion detection settings to avoid false alarms. You can usually set the sensitivity and define specific areas to monitor.
- Enable Notifications: Configure the app to send notifications to your phone when motion is detected.
- Test the Camera: Check the live feed to ensure the camera is working correctly and covering the desired area.
Ensuring Optimal Performance
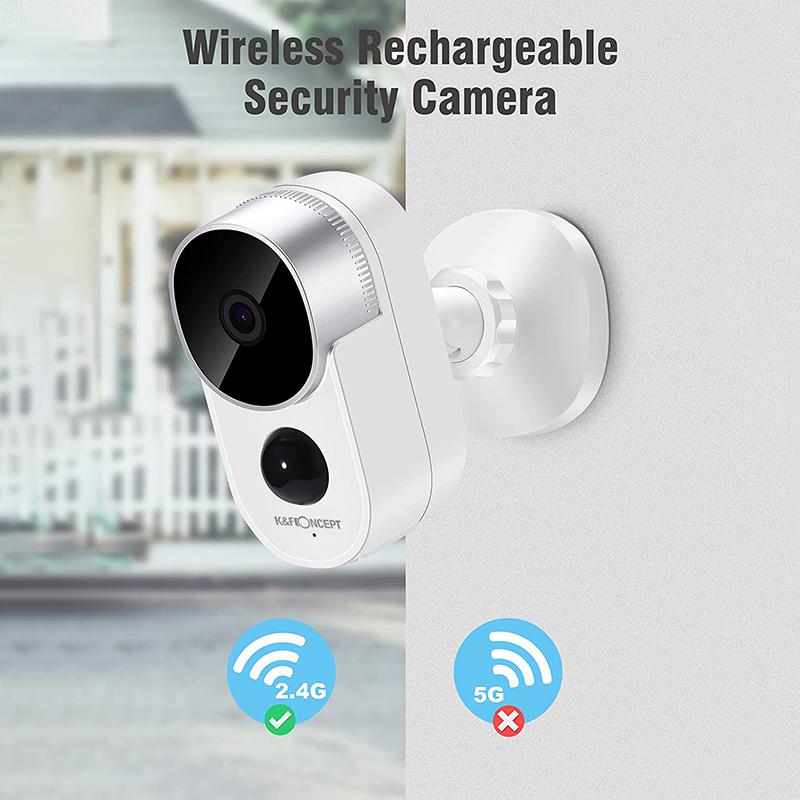
To ensure your wireless security cameras perform optimally, consider the following tips:
1. Regular Maintenance: Clean the camera lenses regularly to ensure clear images. Check for any obstructions that might block the camera’s view.
2. Update Firmware: Keep the camera’s firmware up to date to benefit from the latest features and security patches.
3. Check Battery Levels: If you have battery-powered cameras, monitor the battery levels and recharge or replace them as needed.
4. Optimize Wi-Fi: Ensure your Wi-Fi network is strong and stable. Consider using a Wi-Fi extender if the signal is weak in certain areas.
Troubleshooting Common Issues
Even with careful installation, you may encounter some issues. Here are common problems and their solutions:
1. Camera Not Connecting to Wi-Fi:
- Ensure the camera is within range of your Wi-Fi network.
- Check that you are entering the correct Wi-Fi password.
- Restart your router and camera.
2. Poor Video Quality:
- Ensure the camera lens is clean.
- Check your internet connection speed.
- Adjust the camera’s resolution settings in the app.
3. False Motion Alerts:
- Adjust the motion detection sensitivity.
- Define specific areas to monitor to avoid detecting irrelevant movements.
4. App Not Sending Notifications:
- Ensure notifications are enabled in the app settings.
- Check your phone’s notification settings to ensure the app is allowed to send alerts.
Enhancing Your Security System
To further enhance your security system, consider integrating additional features and devices:
1. Smart Home Integration: Connect your cameras to a smart home system like Amazon Alexa or Google Home for voice control and automation.
2. Additional Sensors: Add door/window sensors, motion detectors, and smart locks to create a comprehensive security system.
3. Professional Monitoring: Some camera systems offer professional monitoring services for an added layer of security.
Installing wireless security cameras is a practical and effective way to enhance the security of your home or business. By carefully selecting the right cameras, following the installation steps, and ensuring optimal performance, you can create a robust security system that provides peace of mind. Regular maintenance and troubleshooting will help keep your cameras functioning correctly, while additional features and integrations can further enhance your security setup. With this guide, you are well-equipped to install and manage your wireless security cameras successfully.








There are no comments for this blog.