How To Make A Solar Panel?
Creating your own solar panel can be a rewarding and educational experience. Whether you're looking to reduce your carbon footprint, save on energy costs, or simply enjoy a hands-on project, building a solar panel from scratch can be a fulfilling endeavor. This article will guide you through the process, from understanding the basic components to assembling and testing your solar panel.
Understanding Solar Panels
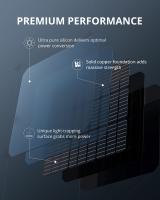
Before diving into the construction process, it's essential to understand what a solar panel is and how it works. A solar panel is a device that converts sunlight into electricity using photovoltaic (PV) cells. These cells are made of semiconductor materials, typically silicon, which generate electric current when exposed to sunlight.
Components Needed
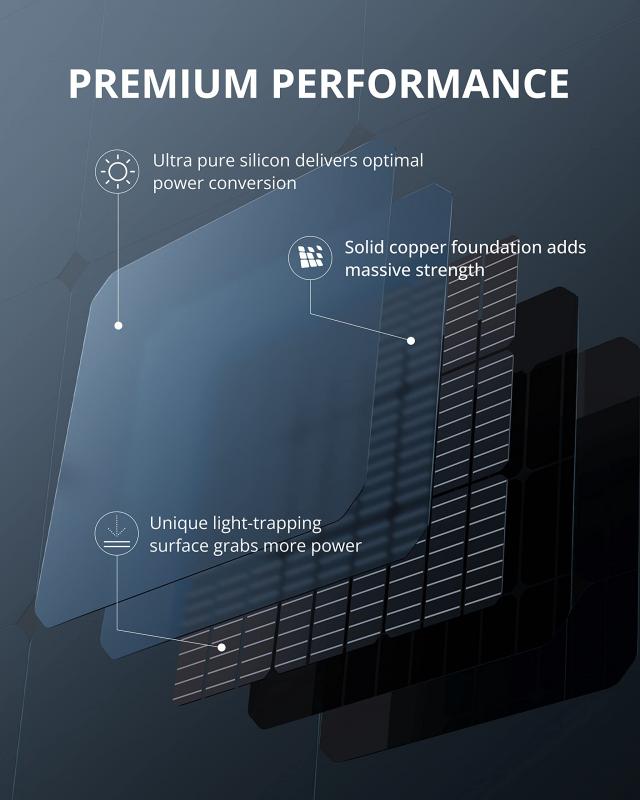
To build a solar panel, you'll need the following components:
1. Solar Cells: These are the heart of your solar panel. You can purchase individual cells or pre-tabbed cells, which are easier to work with.
2. Tabbing Wire: This is used to connect the solar cells together.
3. Flux Pen: Helps in soldering the tabbing wire to the solar cells.
4. Soldering Iron and Solder: Essential tools for connecting the cells.
5. Bus Wire: Used to connect strings of solar cells.
6. Glass or Plexiglass: Acts as the protective front layer of the panel.
7. Encapsulant: Protects the cells from moisture and physical damage.
8. Backsheet: Provides a protective backing for the panel.
9. Junction Box: Where the electrical connections are made.
10. Frame: Typically made of aluminum, it holds the entire panel together.
Step-by-Step Guide
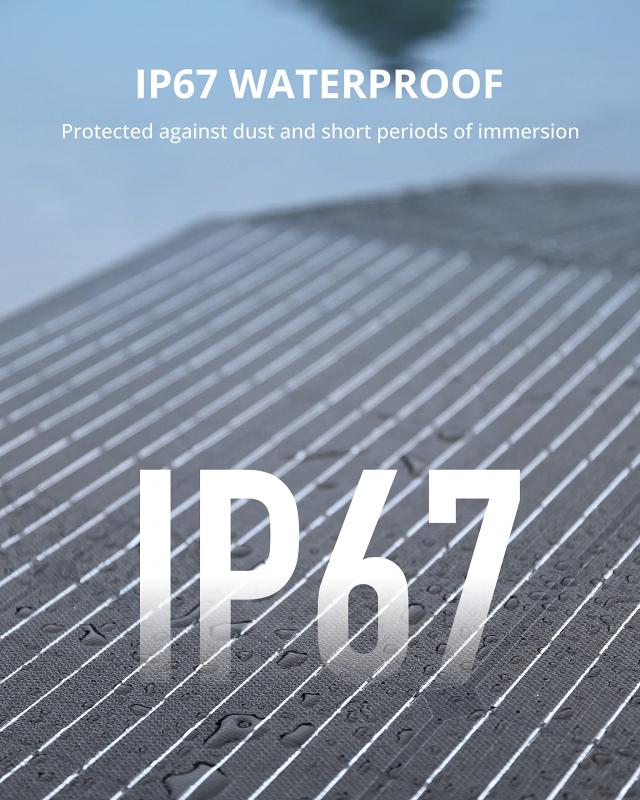
1. Preparing the Solar Cells
Start by laying out your solar cells on a flat surface. If you're using pre-tabbed cells, this step will be easier. If not, you'll need to tab the cells yourself. Use the flux pen to apply flux to the bus bars on the cells, then solder the tabbing wire to the bus bars. This process requires precision, so take your time to ensure good connections.
2. Connecting the Cells
Once the cells are tabbed, you need to connect them in series to achieve the desired voltage. For example, if each cell produces 0.5 volts and you want a 12-volt panel, you'll need 24 cells connected in series. Solder the tabbing wire from the positive side of one cell to the negative side of the next cell, creating a string of cells.
3. Assembling the Panel
After connecting the cells, it's time to assemble the panel. Place the glass or plexiglass on a flat surface and arrange the cells on top. Ensure they are evenly spaced and aligned. Once you're satisfied with the layout, use the encapsulant to secure the cells in place. This step is crucial for protecting the cells from moisture and physical damage.
4. Adding the Backsheet
Once the encapsulant has cured, flip the panel over and attach the backsheet. This provides additional protection and support for the cells. Use a strong adhesive to secure the backsheet to the encapsulant.
5. Installing the Junction Box
Next, install the junction box on the back of the panel. This is where the electrical connections will be made. Solder the bus wires from the strings of cells to the terminals in the junction box. Ensure all connections are secure and insulated to prevent short circuits.
6. Framing the Panel
Finally, attach the aluminum frame to the edges of the panel. This provides structural support and makes it easier to mount the panel. Use corner brackets and screws to secure the frame in place.
Testing Your Solar Panel
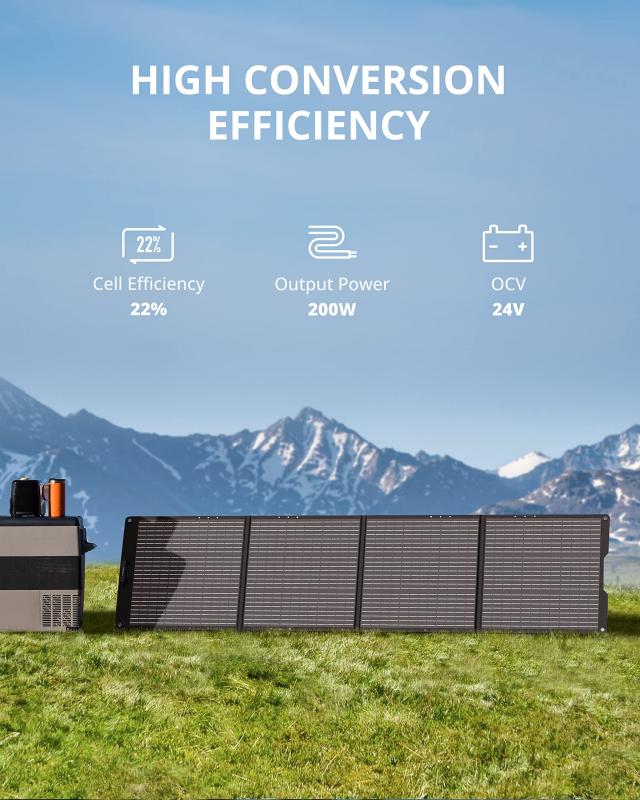
Before installing your solar panel, it's essential to test it to ensure it's working correctly. Use a multimeter to measure the voltage and current output of the panel. Place the panel in direct sunlight and check the readings. If the output matches your expectations, your panel is ready for installation.
Installation Tips
When installing your solar panel, consider the following tips:
1. Location: Choose a location that receives maximum sunlight throughout the day. Roofs, open fields, and south-facing walls are ideal spots.
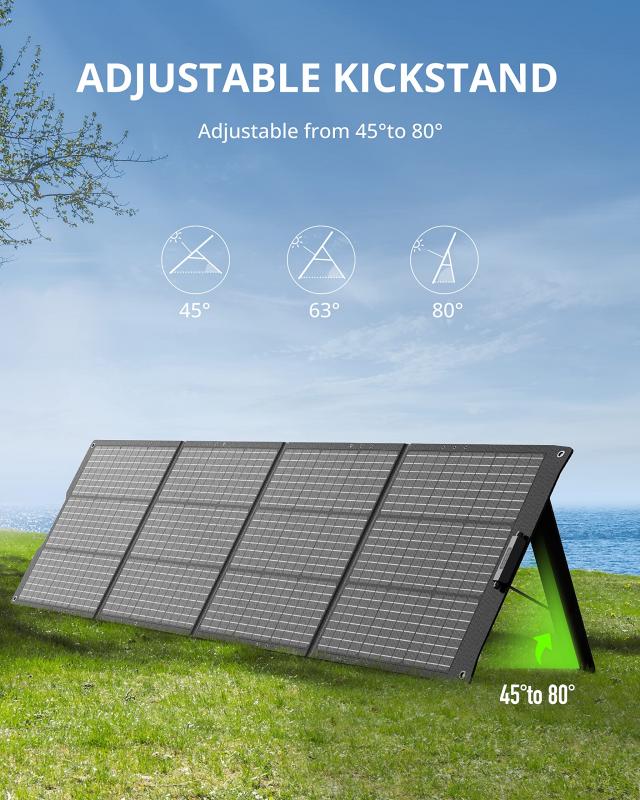
2. Angle: Tilt the panel at an angle that maximizes sunlight exposure. The optimal angle depends on your geographic location.
3. Mounting: Use sturdy mounts to secure the panel in place. Ensure the panel is stable and can withstand wind and weather conditions.
4. Wiring: Connect the panel to a charge controller, battery, and inverter to store and use the electricity generated. Follow proper wiring practices to ensure safety and efficiency.
Maintenance and Troubleshooting
Regular maintenance is essential to keep your solar panel functioning optimally. Clean the surface of the panel periodically to remove dust and debris. Inspect the connections and wiring for any signs of wear or damage. If you notice a drop in performance, check for shading, dirt buildup, or loose connections.
Building your own solar panel is a rewarding project that can provide you with a deeper understanding of renewable energy and its benefits. By following the steps outlined in this guide, you can create a functional solar panel that generates clean, renewable electricity. Whether you're looking to power a small device or contribute to a larger solar energy system, the skills and knowledge gained from this project will be invaluable. Embrace the challenge, and enjoy the satisfaction of creating your own source of sustainable energy.


