How To Make Your Microphone Sound Better?
Improving the sound quality of your microphone can significantly enhance your audio recordings, whether you're a podcaster, a musician, a gamer, or someone who frequently participates in virtual meetings. Achieving professional-grade audio doesn't necessarily require expensive equipment; often, it's about optimizing what you already have. In this article, we'll explore various strategies to make your microphone sound better, covering everything from hardware adjustments to software tweaks and environmental considerations.
Understanding Your Microphone

Before diving into specific techniques, it's essential to understand the type of microphone you're using. There are several types of microphones, each with its own characteristics:
1. Dynamic Microphones: These are durable and handle high sound pressure levels well, making them ideal for live performances.
2. Condenser Microphones: Known for their sensitivity and accuracy, these are commonly used in studio settings.
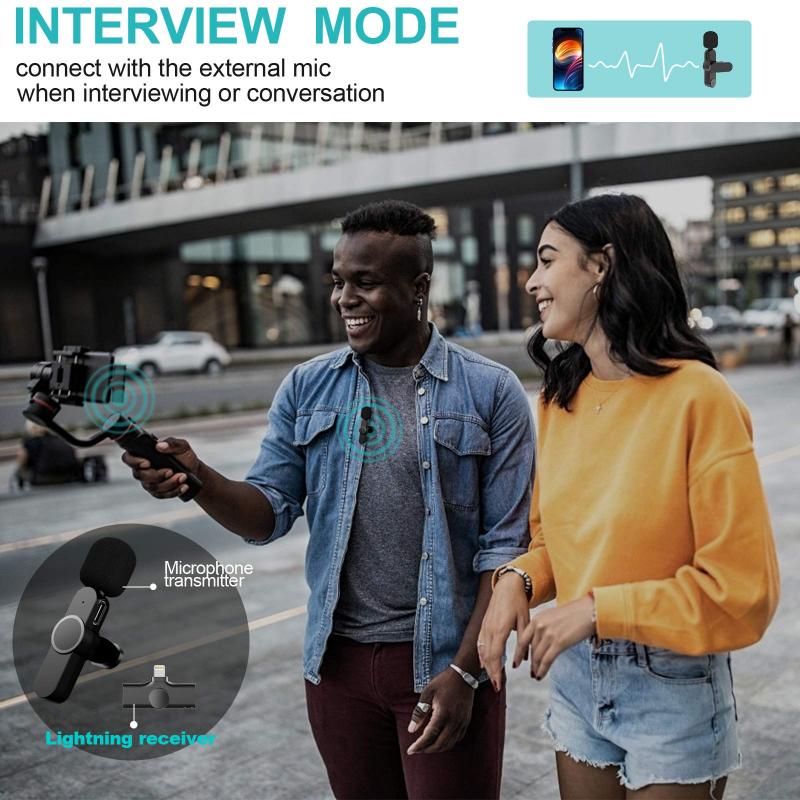
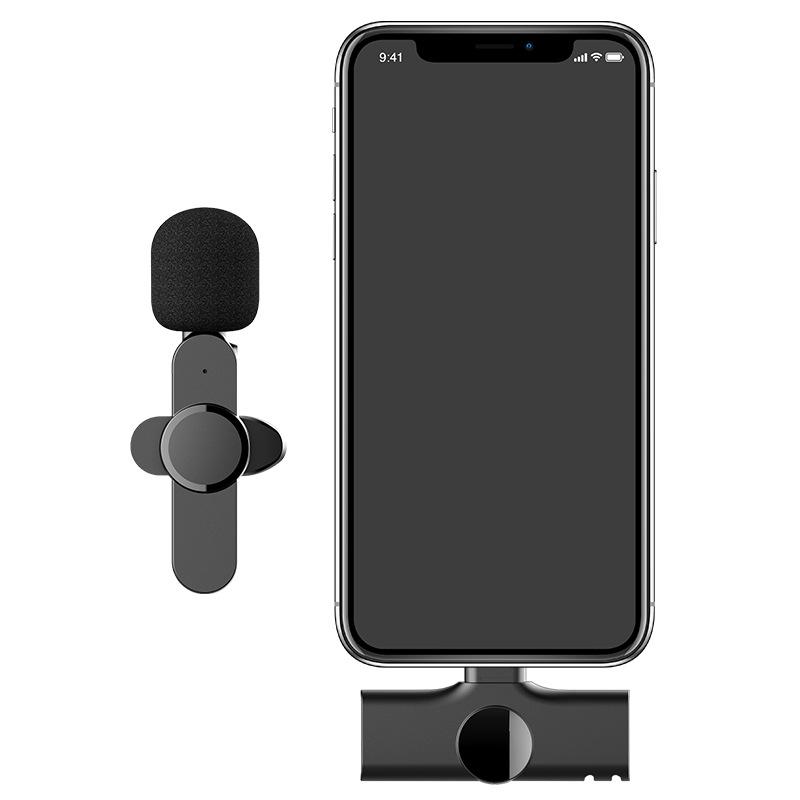
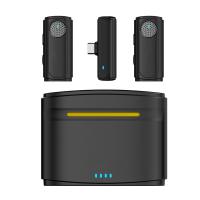
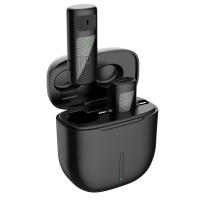
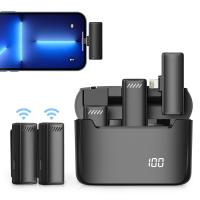
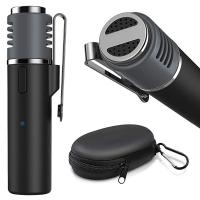
3. Lavalier Microphones: Small and clip-on, these are often used in video production.
4. USB Microphones: Convenient and easy to use, these are popular for podcasting and streaming.
Knowing your microphone type will help you apply the most effective techniques to improve its sound quality.
Hardware Adjustments
1. Use a Pop Filter
A pop filter is a simple and inexpensive accessory that can make a significant difference. It helps reduce plosive sounds (like "p" and "b" sounds) that can cause distortion. Place the pop filter a few inches away from the microphone to achieve the best results.
2. Invest in a Shock Mount
A shock mount isolates the microphone from vibrations that can travel through the mic stand or desk. This is particularly useful if you tend to move around or type while recording. By reducing these vibrations, you can achieve a cleaner sound.
3. Proper Positioning
The position of your microphone relative to your mouth is crucial. Generally, placing the microphone about 6-12 inches away from your mouth and slightly off to the side can help reduce unwanted breath noises and plosives. Experiment with different angles and distances to find the sweet spot.
4. Upgrade Your Microphone
If you're using a basic or built-in microphone, consider upgrading to a higher-quality model. While this involves some investment, the improvement in sound quality can be substantial. Look for microphones that suit your specific needs, whether it's for vocals, instruments, or general use.
Environmental Considerations
1. Choose a Quiet Room
Background noise can significantly affect your recording quality. Choose a quiet room and, if possible, use soundproofing materials like foam panels, carpets, and heavy curtains to minimize external noise. Even simple measures like closing windows and doors can make a difference.
2. Reduce Echo and Reverb
Hard surfaces can cause sound to bounce around, creating echo and reverb. To combat this, add soft furnishings like rugs, cushions, and curtains to your recording space. You can also use portable sound booths or reflection filters to create a more controlled environment.
Software Tweaks

1. Adjust Microphone Settings
Most operating systems and recording software allow you to adjust microphone settings. Ensure your microphone is set to the correct input level; too high, and you'll get distortion, too low, and you'll have to boost the signal later, which can introduce noise. Aim for a level where your loudest sounds peak just below the red zone.
2. Use Noise Reduction Tools
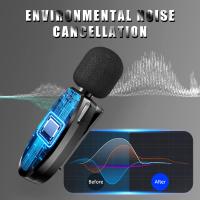
Many recording software programs come with built-in noise reduction tools. These can help eliminate background noise and hum. Be cautious not to overuse these tools, as they can sometimes affect the natural quality of your voice.
3. Equalization (EQ)
Equalization allows you to adjust the balance of different frequency ranges in your recording. For example, you can boost the mid-range frequencies to make your voice sound clearer or reduce the low frequencies to eliminate rumble. Experiment with different EQ settings to find what works best for your voice and microphone.
4. Compression
Compression evens out the dynamic range of your recording, making the quieter parts louder and the louder parts quieter. This can help your voice sound more consistent and professional. Be careful not to over-compress, as this can make your recording sound unnatural.
Practical Tips for Specific Use Cases
1. Podcasting
For podcasters, clarity and consistency are key. Use a high-quality condenser or dynamic microphone, and always record in a quiet, treated room. Consider using a digital audio interface for better sound quality and more control over your recordings.
2. Music Recording
Musicians should pay extra attention to the type of microphone used. Condenser microphones are generally preferred for their sensitivity and accuracy. Use pop filters and shock mounts, and always record in a well-treated room to capture the best sound.
3. Gaming and Streaming
For gamers and streamers, a good USB microphone can be a convenient and effective choice. Position the microphone correctly to avoid picking up keyboard and mouse noises. Use software tools to adjust settings and apply noise reduction as needed.
4. Virtual Meetings
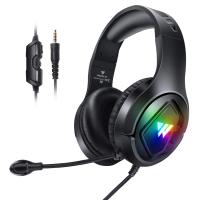
For virtual meetings, clarity is crucial. Use a good-quality USB or headset microphone, and ensure your environment is as quiet as possible. Adjust your microphone settings in your conferencing software to optimize sound quality.
Improving your microphone's sound quality involves a combination of hardware adjustments, environmental considerations, and software tweaks. By understanding your microphone type and applying these strategies, you can achieve professional-grade audio without breaking the bank. Whether you're podcasting, recording music, gaming, or participating in virtual meetings, these tips will help you sound your best.
Remember, the key to great sound is experimentation. Don't be afraid to try different setups and settings until you find what works best for you. With a little effort and attention to detail, you can significantly enhance your microphone's performance and take your audio recordings to the next level.






There are no comments for this blog.