How To Put Sd Card In Switch Lite?
The Nintendo Switch Lite is a compact and portable gaming console that has gained immense popularity due to its convenience and versatility. One of the key features that enhance the gaming experience on the Switch Lite is the ability to expand its storage using a microSD card. This allows users to store more games, save data, and downloadable content without worrying about running out of space. In this article, we will provide a comprehensive guide on how to insert an SD card into the Nintendo Switch Lite, along with some practical tips and considerations to ensure a smooth and efficient process.
Understanding the Need for an SD Card

The Nintendo Switch Lite comes with a limited amount of internal storage, which can quickly fill up with game downloads, updates, and save data. An SD card provides a cost-effective solution to expand the storage capacity, allowing you to store more games and content. Before we dive into the steps of inserting an SD card, it’s important to understand the types of SD cards compatible with the Switch Lite and how to choose the right one.
Choosing the Right SD Card
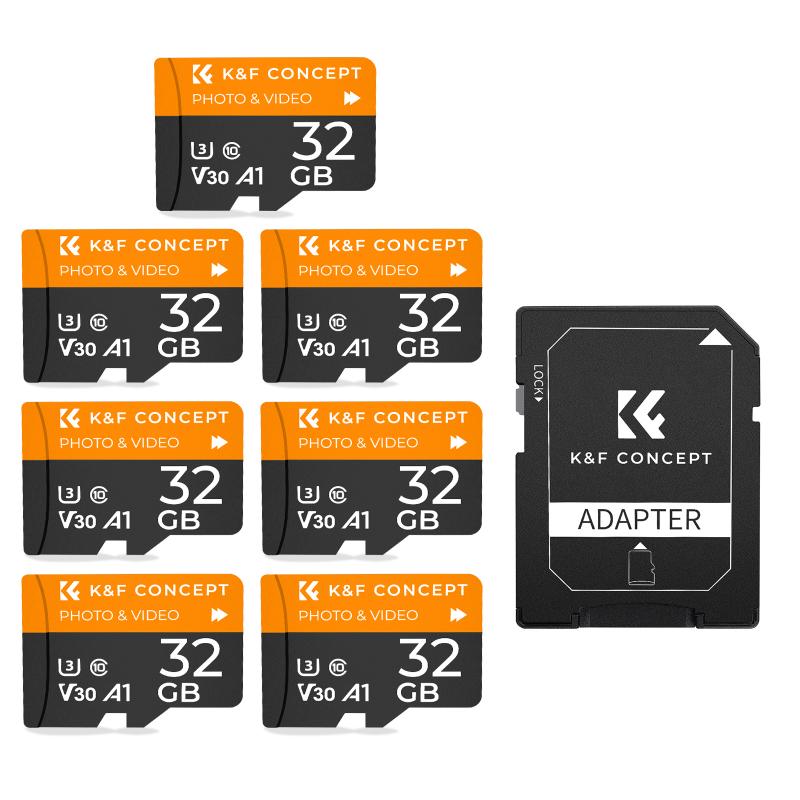
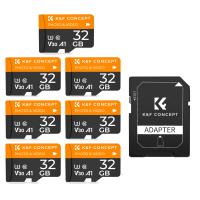
The Nintendo Switch Lite supports microSD, microSDHC, and microSDXC cards. Here are some key points to consider when choosing an SD card:
1. Storage Capacity: Depending on your gaming needs, you can choose from various storage capacities ranging from 32GB to 1TB. For most users, a 128GB or 256GB card should be sufficient.
2. Speed Class: The speed class of the SD card determines how quickly data can be read from and written to the card. For optimal performance, choose a card with a UHS-I (Ultra High Speed) rating, such as U1 or U3.
3. Brand and Reliability: Opt for reputable brands like SanDisk, Samsung, or Kingston to ensure reliability and durability. These brands are known for producing high-quality SD cards that are less likely to fail.
Steps to Insert an SD Card into the Switch Lite
Now that you have chosen the right SD card, follow these steps to insert it into your Nintendo Switch Lite:
1. Power Off the Console: Before inserting the SD card, make sure to power off your Nintendo Switch Lite completely. This prevents any potential data corruption or damage to the console.
2. Locate the SD Card Slot: The SD card slot on the Nintendo Switch Lite is located at the bottom of the console, near the right-hand side. You will see a small flap covering the slot.
3. Open the Flap: Gently open the flap to reveal the SD card slot. Be careful not to apply too much force to avoid damaging the flap or the slot.
4. Insert the SD Card: Hold the SD card with the label facing away from the console and the metal contacts facing down. Carefully insert the card into the slot until you feel a slight click, indicating that the card is securely in place.
5. Close the Flap: Once the SD card is inserted, close the flap to protect the card and the slot from dust and debris.
6. Power On the Console: Turn on your Nintendo Switch Lite. The console should automatically recognize the new SD card and prompt you to format it if necessary. Follow the on-screen instructions to complete the formatting process.
Managing Your SD Card
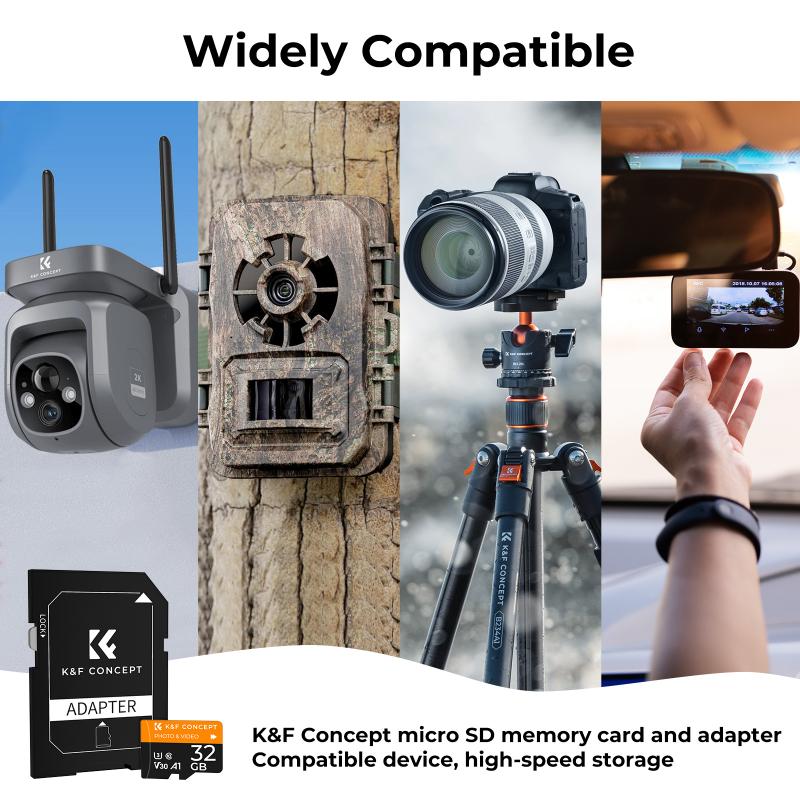
After successfully inserting and formatting the SD card, you can start using it to store games, save data, and other content. Here are some tips for managing your SD card effectively:
1. Transferring Data: If you have an existing SD card and want to transfer data to a new one, you can do so using a computer. Copy the contents of the old SD card to a folder on your computer, then transfer the data to the new SD card.
2. Organizing Content: Keep your SD card organized by regularly deleting unwanted games and data. This helps free up space and ensures that your console runs smoothly.
3. Backing Up Data: Periodically back up your SD card data to a computer or cloud storage. This protects your data in case the SD card gets corrupted or lost.
4. Monitoring Storage: Keep an eye on the available storage space on your SD card. You can check this by going to the System Settings on your Switch Lite and selecting "Data Management."
Troubleshooting Common Issues
While inserting and using an SD card on the Nintendo Switch Lite is generally straightforward, you may encounter some common issues. Here are some troubleshooting tips:
1. SD Card Not Recognized: If your console does not recognize the SD card, ensure that it is properly inserted and formatted. Try reinserting the card or using a different SD card to rule out compatibility issues.
2. Data Corruption: If you experience data corruption, back up your data immediately and reformat the SD card. Avoid removing the SD card while the console is powered on to prevent corruption.
3. Slow Performance: If you notice slow performance, consider using a higher-speed SD card. Ensure that your SD card meets the recommended speed class for optimal performance.
Expanding the storage capacity of your Nintendo Switch Lite with an SD card is a simple and effective way to enhance your gaming experience. By following the steps outlined in this guide, you can easily insert and manage an SD card on your console. Remember to choose a reliable SD card, back up your data regularly, and monitor your storage space to ensure a smooth and enjoyable gaming experience. With the right SD card, you can enjoy a vast library of games and content without worrying about running out of space.

