How To Record Audio From Pc?
Recording audio from a PC can be a crucial task for various purposes, such as creating podcasts, recording voiceovers, capturing streaming audio, or saving important conversations. Whether you are a professional content creator or a casual user, understanding the different methods and tools available for recording audio from your PC can significantly enhance your productivity and output quality. In this article, we will explore several practical ways to record audio from your PC, discuss the tools and software you can use, and provide step-by-step instructions to help you get started.
Understanding the Basics
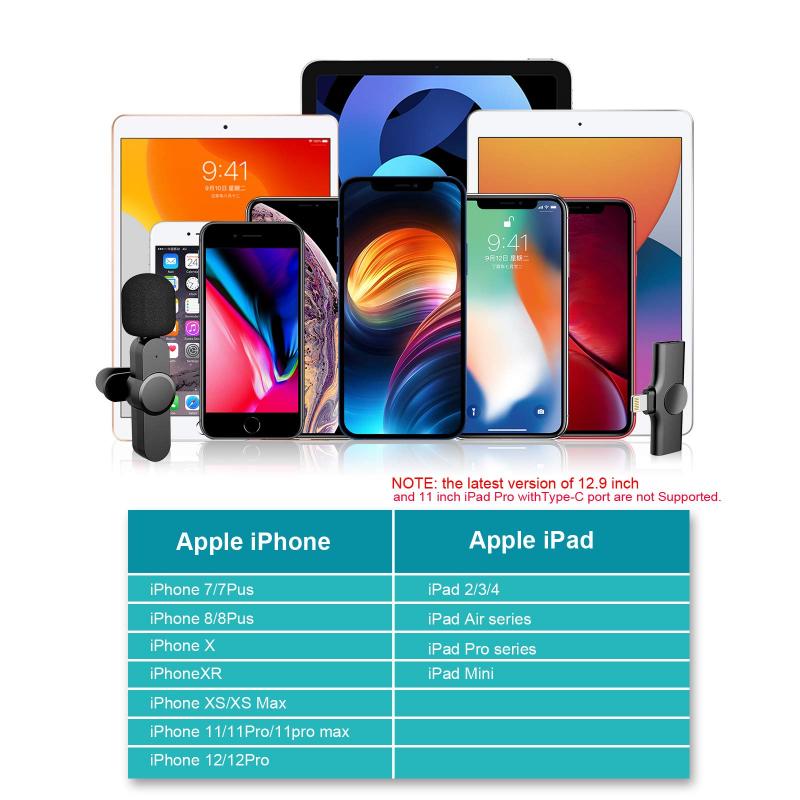
Before diving into the methods, it is essential to understand the basic components involved in recording audio from a PC. These include:
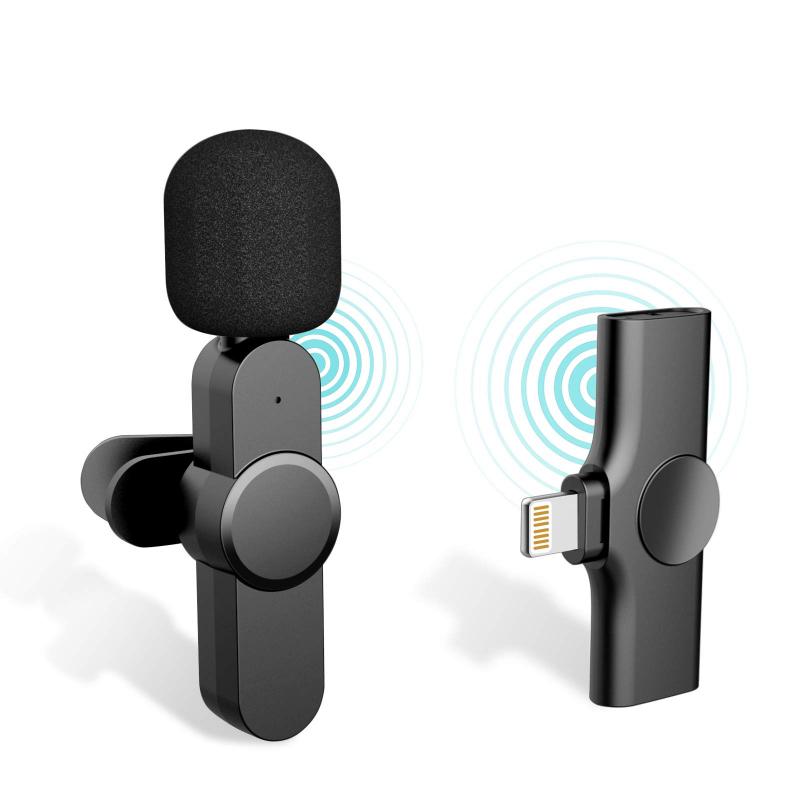
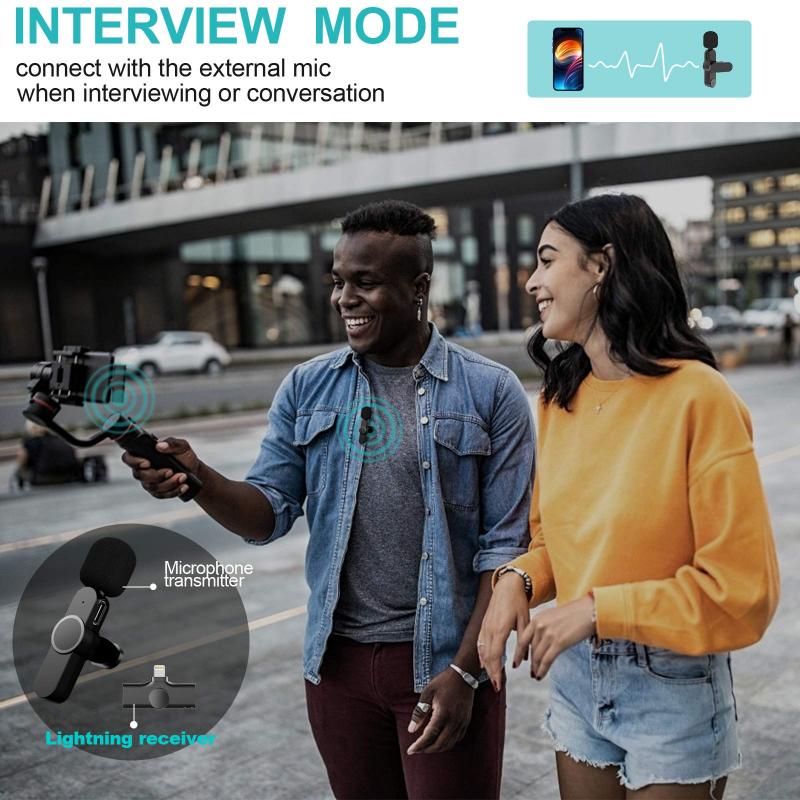
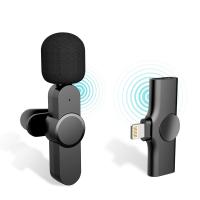
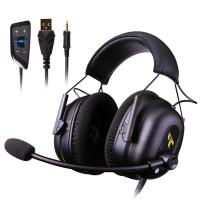
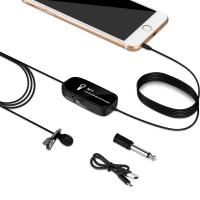
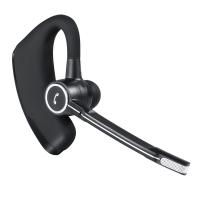
1. Microphone: An external or built-in microphone to capture your voice or other sounds.
2. Audio Interface: A device that connects your microphone to your computer, often providing better sound quality and additional features.
3. Recording Software: Applications or programs that allow you to record, edit, and save audio files.
4. Sound Settings: Configurations within your operating system that manage audio input and output.
Method 1: Using Built-in Tools
Most operating systems come with built-in tools that allow you to record audio without needing additional software. Here’s how you can use these tools:
Windows Voice Recorder
1. Open Voice Recorder: Search for "Voice Recorder" in the Windows search bar and open the application.
2. Start Recording: Click on the microphone icon to start recording. You can pause and resume the recording as needed.
3. Save the Recording: Once you are done, click the stop button. The recording will be saved automatically in the "Sound recordings" folder.
macOS QuickTime Player
1. Open QuickTime Player: Search for "QuickTime Player" in Spotlight and open the application.
2. New Audio Recording: Go to "File" > "New Audio Recording."
3. Start Recording: Click the red record button to start recording. You can adjust the input volume using the slider next to the record button.
4. Save the Recording: Click the stop button when you are finished. Go to "File" > "Save" to save your recording.
Method 2: Using Third-Party Software
While built-in tools are convenient, third-party software often provides more features and better control over your recordings. Here are some popular options:
Audacity
Audacity is a free, open-source audio recording and editing software that is widely used for its robust features.
1. Download and Install Audacity: Visit the Audacity website and download the software for your operating system. Follow the installation instructions.
2. Set Up Your Microphone: Open Audacity and go to "Edit" > "Preferences" > "Devices." Select your microphone under the "Recording" section.
3. Start Recording: Click the red record button to start recording. You can monitor the input levels and adjust the gain as needed.
4. Edit and Save: Once you are done, click the stop button. You can edit your recording using the various tools available in Audacity. Go to "File" > "Export" to save your recording in the desired format.
OBS Studio
OBS Studio is a free and open-source software for video recording and live streaming, but it also has powerful audio recording capabilities.
1. Download and Install OBS Studio: Visit the OBS Studio website and download the software for your operating system. Follow the installation instructions.
2. Set Up Audio Sources: Open OBS Studio and go to "Settings" > "Audio." Select your microphone and other audio sources.
3. Create a Scene: In the main interface, create a new scene and add audio sources by clicking the "+" button under the "Sources" section.
4. Start Recording: Click the "Start Recording" button. OBS Studio will record both audio and video, but you can configure it to record only audio if needed.
5. Save the Recording: Click the "Stop Recording" button when you are finished. The recording will be saved in the location specified in the settings.
Method 3: Recording Streaming Audio
If you want to record streaming audio from websites or applications, you can use specialized software designed for this purpose.
Audacity with WASAPI Loopback
Audacity can also be used to record streaming audio using the Windows WASAPI loopback feature.
1. Set Up WASAPI Loopback: Open Audacity and go to "Edit" > "Preferences" > "Devices." Select "Windows WASAPI" as the host and choose your output device (e.g., speakers or headphones) as the recording device.
2. Start Recording: Click the red record button to start recording. Play the streaming audio on your PC.
3. Save the Recording: Click the stop button when you are finished. Go to "File" > "Export" to save your recording.
Streaming Audio Recorder Software
There are several dedicated streaming audio recorder software options available, such as Apowersoft Streaming Audio Recorder and Audials One.
1. Download and Install the Software: Visit the software’s website and download the appropriate version for your operating system. Follow the installation instructions.
2. Set Up the Recorder: Open the software and configure the audio input settings to capture streaming audio.
3. Start Recording: Click the record button and play the streaming audio on your PC.
4. Save the Recording: Once you are done, stop the recording and save the file in the desired format.
Tips for High-Quality Recordings
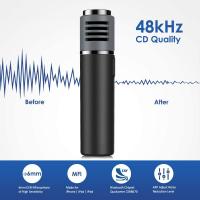
1. Use a Good Microphone: Invest in a high-quality microphone to ensure clear and crisp audio recordings.
2. Minimize Background Noise: Record in a quiet environment and use noise reduction techniques to minimize background noise.
3. Monitor Audio Levels: Keep an eye on the input levels to avoid clipping and distortion.
4. Edit and Enhance: Use audio editing software to trim, enhance, and clean up your recordings.
Recording audio from your PC can be a straightforward process if you have the right tools and knowledge. Whether you use built-in tools, third-party software, or specialized streaming audio recorders, there are plenty of options to suit your needs. By following the methods and tips outlined in this article, you can achieve high-quality audio recordings for any purpose. Happy recording!






There are no comments for this blog.