How To Record Audio With Macbook Pro?
Recording audio on a MacBook Pro is a common task that many users need to accomplish for various reasons, such as creating podcasts, recording music, capturing voice memos, or conducting interviews. This article will guide you through the different methods available for recording audio on a MacBook Pro, ensuring you can choose the best option for your specific needs.
Built-in Microphone and QuickTime Player
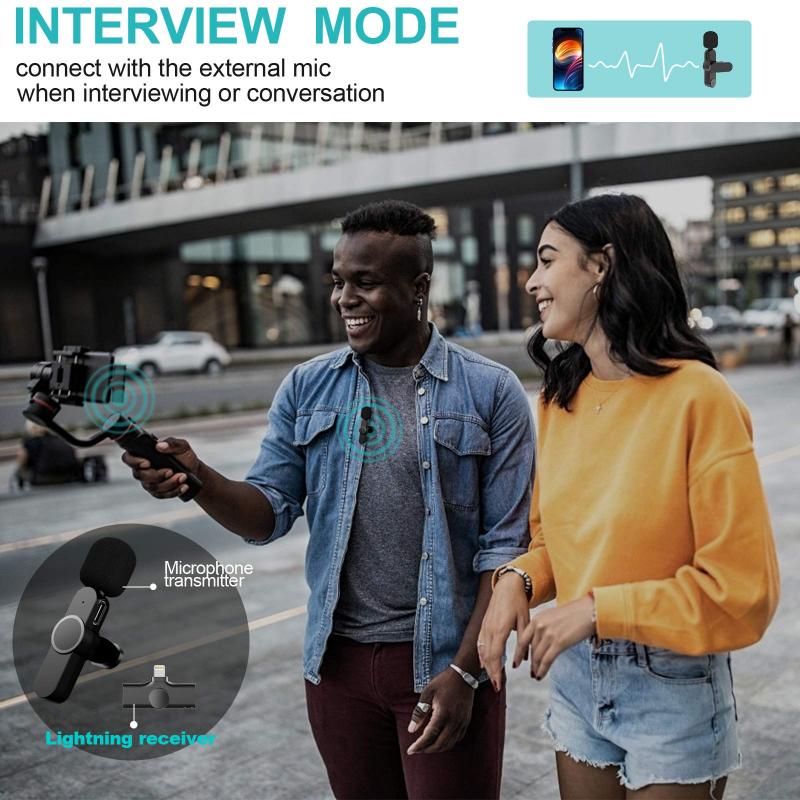
One of the simplest ways to record audio on a MacBook Pro is by using the built-in microphone and QuickTime Player, which comes pre-installed on all MacBooks.
Steps:
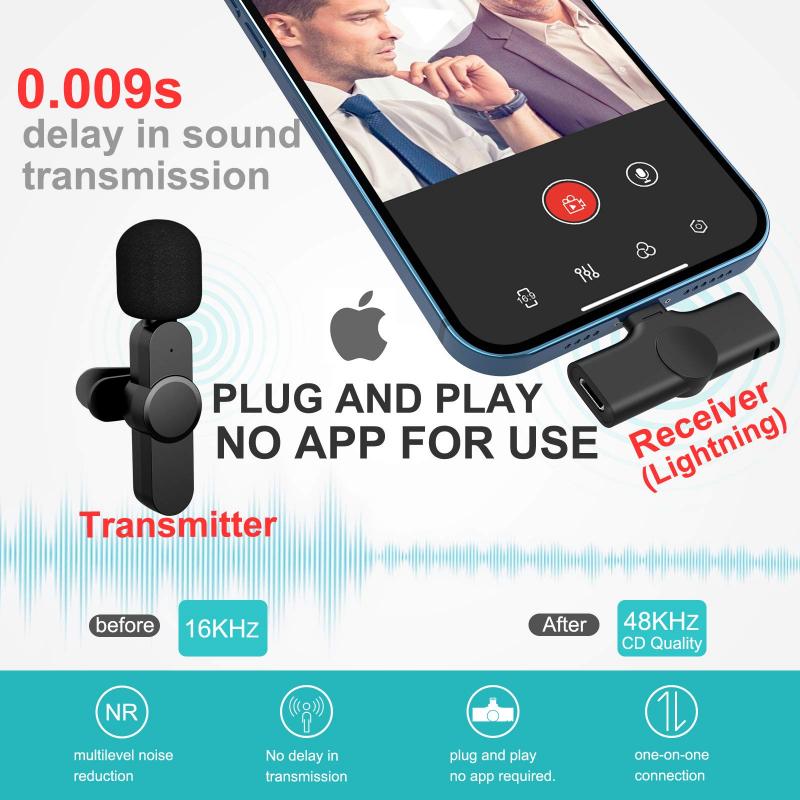
1. Open QuickTime Player: You can find it in the Applications folder or by using Spotlight search.
2. Start a New Audio Recording: Go to the menu bar, click on `File`, and select `New Audio Recording`.
3. Adjust Settings: In the audio recording window, you can adjust the input source and quality by clicking the small arrow next to the record button. Ensure the built-in microphone is selected.
4. Record: Click the red record button to start recording. Speak clearly into the built-in microphone.
5. Stop and Save: Click the stop button when you’re done. Save your recording by going to `File` and selecting `Save`.
Using GarageBand

GarageBand is a powerful audio recording and editing software that comes free with all MacBooks. It offers more advanced features compared to QuickTime Player.
Steps:
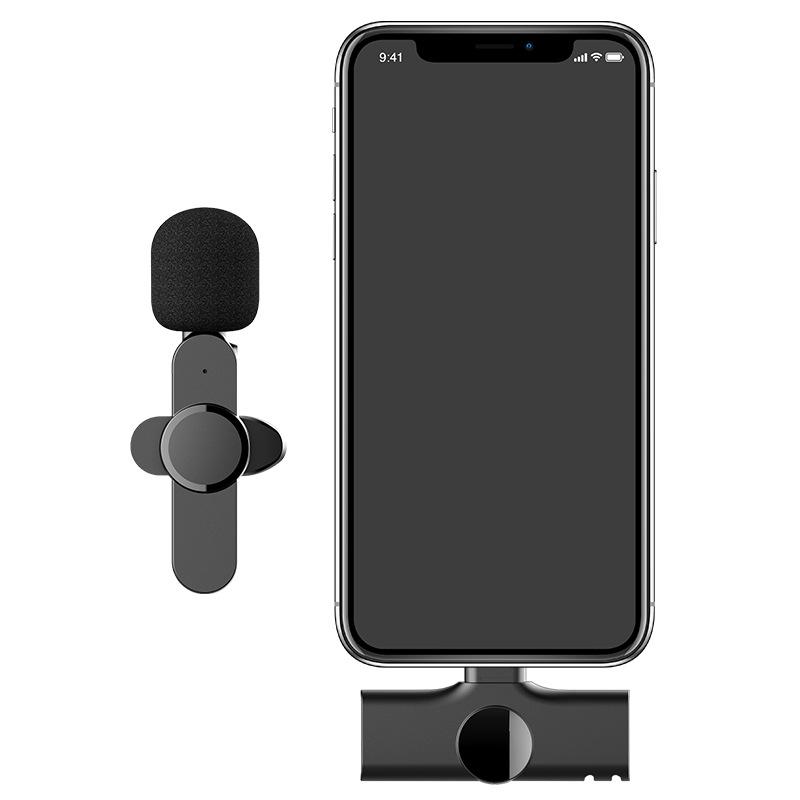
1. Open GarageBand: Find it in the Applications folder or use Spotlight search.
2. Create a New Project: Select `Empty Project` and click `Choose`.
3. Select Audio Track: In the new project window, select the microphone icon for an audio track and click `Create`.
4. Set Up Microphone: Ensure the input source is set to the built-in microphone or any external microphone you might be using.
5. Record: Click the red record button in the control bar to start recording. Speak or play your instrument clearly.
6. Stop and Edit: Click the stop button when you’re done. You can edit your recording using the various tools available in GarageBand.
7. Save and Export: Save your project by going to `File` and selecting `Save`. You can also export your recording by selecting `Share` and then `Export Song to Disk`.
Using External Microphones
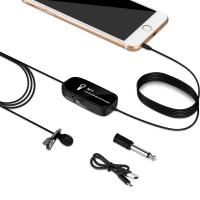
For higher quality recordings, you might want to use an external microphone. MacBook Pros support a variety of external microphones via USB or audio interfaces.
Steps:
1. Connect the Microphone: Plug your external microphone into the USB port or audio interface connected to your MacBook Pro.
2. Select the Microphone: Go to `System Preferences`, click on `Sound`, and select the `Input` tab. Choose your external microphone from the list of input devices.
3. Use Recording Software: You can use QuickTime Player, GarageBand, or any other recording software to record audio. Follow the same steps as mentioned above, but ensure the external microphone is selected as the input source.
Using Third-Party Software
There are several third-party applications available that offer advanced features for audio recording and editing. Some popular options include Audacity, Adobe Audition, and Logic Pro X.
Audacity:
1. Download and Install: Download Audacity from its official website and install it on your MacBook Pro.
2. Open Audacity: Launch the application.
3. Set Up Microphone: Go to `Audacity` > `Preferences` > `Devices` and select your input device (built-in or external microphone).
4. Record: Click the red record button to start recording.
5. Stop and Edit: Click the stop button when you’re done. Use Audacity’s editing tools to refine your recording.
6. Save and Export: Save your project by going to `File` and selecting `Save Project`. Export your recording by selecting `File` > `Export`.
Adobe Audition:
1. Download and Install: Adobe Audition is a professional-grade software available through Adobe Creative Cloud.
2. Open Adobe Audition: Launch the application.
3. Set Up Microphone: Go to `Preferences` > `Audio Hardware` and select your input device.
4. Record: Create a new audio file and click the red record button.
5. Stop and Edit: Click the stop button when you’re done. Use Adobe Audition’s advanced editing tools to enhance your recording.
6. Save and Export: Save your project and export your recording in the desired format.
Tips for High-Quality Recordings
1. Quiet Environment: Ensure you are in a quiet environment to minimize background noise.
2. Microphone Placement: Place the microphone at an appropriate distance from your mouth or instrument.
3. Pop Filter: Use a pop filter to reduce plosive sounds if you are recording vocals.
4. Soundproofing: Consider using soundproofing materials or a recording booth for professional-quality recordings.
5. Monitor Levels: Keep an eye on the input levels to avoid clipping and distortion.
Recording audio on a MacBook Pro can be accomplished using various methods, from the built-in microphone and QuickTime Player to more advanced software like GarageBand, Audacity, and Adobe Audition. By understanding the different tools and techniques available, you can choose the best method for your needs and ensure high-quality recordings. Whether you are a beginner or a professional, the MacBook Pro offers a versatile platform for all your audio recording projects.









There are no comments for this blog.