How To Record Pc Screen With Audio?
Recording your PC screen with audio is a task that many users find themselves needing to accomplish for various reasons, such as creating tutorials, capturing gameplay, or recording video calls. With the right tools and techniques, this process can be straightforward and efficient. In this article, we will explore the different methods and tools available for recording your PC screen with audio, ensuring you can find the best solution for your needs.
Understanding the Basics
Before diving into the specific tools and methods, it's essential to understand the basic requirements for recording your PC screen with audio. The primary components you need are:
1. Screen Recording Software: This is the core tool that captures the visual content on your screen.
2. Audio Input: This can be from your system's internal audio (e.g., sounds from applications) or an external source like a microphone.
3. Storage Space: Screen recordings, especially those with high resolution and frame rates, can take up significant storage space.
Built-in Tools
Windows 10 Game Bar
Windows 10 comes with a built-in screen recording tool called the Game Bar, which is primarily designed for recording gameplay but can be used for other purposes as well.
How to Use Windows 10 Game Bar:
1. Press `Win + G` to open the Game Bar.
2. Click on the "Start Recording" button (or press `Win + Alt + R`).
3. To record audio, ensure that the microphone icon is enabled.
4. Once you are done, press `Win + Alt + R` again to stop the recording.
5. The recorded video will be saved in the "Captures" folder within the "Videos" library.
Third-Party Software
While built-in tools are convenient, third-party software often provides more features and flexibility. Here are some popular options:
OBS Studio
OBS Studio (Open Broadcaster Software) is a free and open-source tool that is widely used for screen recording and live streaming.
How to Use OBS Studio:
1. Download and install OBS Studio from the official website.
2. Open OBS Studio and create a new scene by clicking the "+" button under the "Scenes" box.
3. Add a new source by clicking the "+" button under the "Sources" box and selecting "Display Capture" for screen recording.
4. To capture audio, add an "Audio Input Capture" source for your microphone and an "Audio Output Capture" source for system audio.
5. Click "Start Recording" to begin capturing your screen and audio.
6. Click "Stop Recording" when you are finished. The video will be saved in the location specified in the settings.
Camtasia
Camtasia is a premium screen recording and video editing software that offers a user-friendly interface and powerful features.
How to Use Camtasia:
1. Download and install Camtasia from the official website.
2. Open Camtasia and click "New Recording."
3. Select the area of the screen you want to record and ensure that the audio options (system audio and microphone) are enabled.
4. Click the "Record" button to start recording.
5. Click the "Stop" button when you are finished.
6. The recording will be imported into Camtasia's editor, where you can make any necessary edits before exporting the final video.
Online Tools
For those who prefer not to install software, several online tools can record your screen with audio. These tools are generally more limited in features but can be convenient for quick tasks.
Screencast-O-Matic
Screencast-O-Matic is a popular online screen recording tool that offers both free and paid versions.
How to Use Screencast-O-Matic:
1. Visit the Screencast-O-Matic website and click "Start Recording for Free."
2. Download and run the launcher if prompted.
3. Select the area of the screen you want to record and enable the audio options.
4. Click the "Record" button to start recording.
5. Click "Done" when you are finished.
6. You can save the recording to your computer or upload it to Screencast-O-Matic's cloud storage.
Tips for High-Quality Recordings
1. Plan Your Recording: Outline what you want to capture and ensure all necessary applications and windows are open and ready.
2. Check Audio Levels: Test your microphone and system audio levels to avoid distortion or low volume.
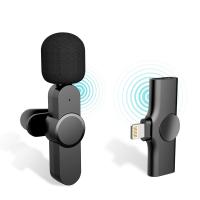
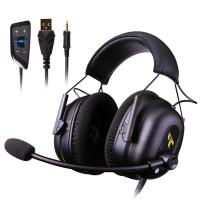
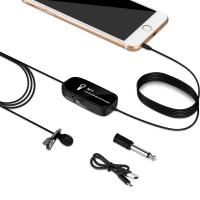
3. Use a Good Microphone: If possible, use an external microphone for better audio quality.
4. Minimize Background Noise: Record in a quiet environment to reduce unwanted noise.
5. Edit Your Recording: Use video editing software to trim unnecessary parts and enhance the overall quality.
Troubleshooting Common Issues
1. No Audio in Recording: Ensure that the audio sources are correctly configured in your recording software. Check that the microphone and system audio are not muted.
2. Laggy or Choppy Video: Lower the resolution or frame rate in your recording settings. Ensure your computer meets the software's system requirements.
3. Large File Sizes: Compress the video using video editing software or adjust the recording settings to a lower resolution or bitrate.
Recording your PC screen with audio can be a valuable skill for various purposes, from creating educational content to sharing gameplay. Whether you use built-in tools like the Windows 10 Game Bar, powerful third-party software like OBS Studio and Camtasia, or convenient online tools like Screencast-O-Matic, there are plenty of options to suit your needs. By following the tips and troubleshooting advice provided, you can ensure high-quality recordings that effectively capture both your screen and audio.







There are no comments for this blog.