How To Record Sound On Computer?
Recording sound on a computer is a fundamental skill that can be useful for a variety of purposes, from creating podcasts and music to capturing voice memos and conducting interviews. Whether you are a beginner or someone looking to refine your recording techniques, understanding the tools and methods available can significantly enhance the quality of your recordings. This article will guide you through the essential steps and considerations for recording sound on a computer, ensuring you achieve the best possible results.
Understanding Your Needs

Before diving into the technical aspects, it’s crucial to identify your specific needs. Are you recording a podcast, music, voiceovers, or just simple voice memos? Each of these applications may require different tools and techniques. For instance, recording music might necessitate more sophisticated equipment and software compared to recording a simple voice memo.
Basic Requirements
Regardless of your specific needs, there are some basic requirements you will need to get started:
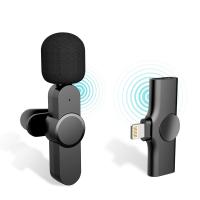
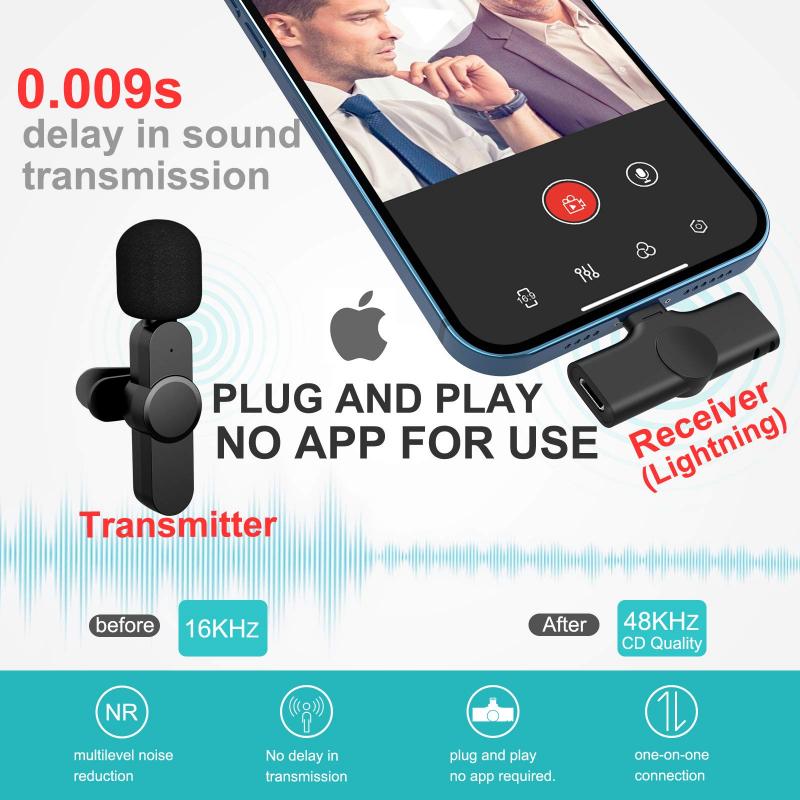
1. Microphone: The quality of your microphone can significantly impact the quality of your recordings. There are various types of microphones available, including USB microphones, condenser microphones, and dynamic microphones. USB microphones are generally easier to use and are suitable for most basic recording needs. Condenser microphones are more sensitive and are often used for studio recordings, while dynamic microphones are more durable and are typically used for live performances.
2. Computer: Ensure your computer has enough processing power and storage to handle audio recording and editing. Most modern computers should suffice, but if you plan on doing extensive editing or using multiple tracks, a more powerful machine may be necessary.
3. Audio Interface: An audio interface is a device that connects your microphone to your computer, converting the analog signal from the microphone into a digital signal that your computer can process. While USB microphones have built-in audio interfaces, using a separate audio interface can provide better sound quality and more flexibility.
4. Recording Software: There are numerous software options available for recording sound on a computer, ranging from free programs like Audacity to professional-grade software like Adobe Audition and Pro Tools. The choice of software will depend on your specific needs and budget.
Setting Up Your Equipment
Once you have gathered the necessary equipment, the next step is to set it up correctly. Here’s a step-by-step guide:
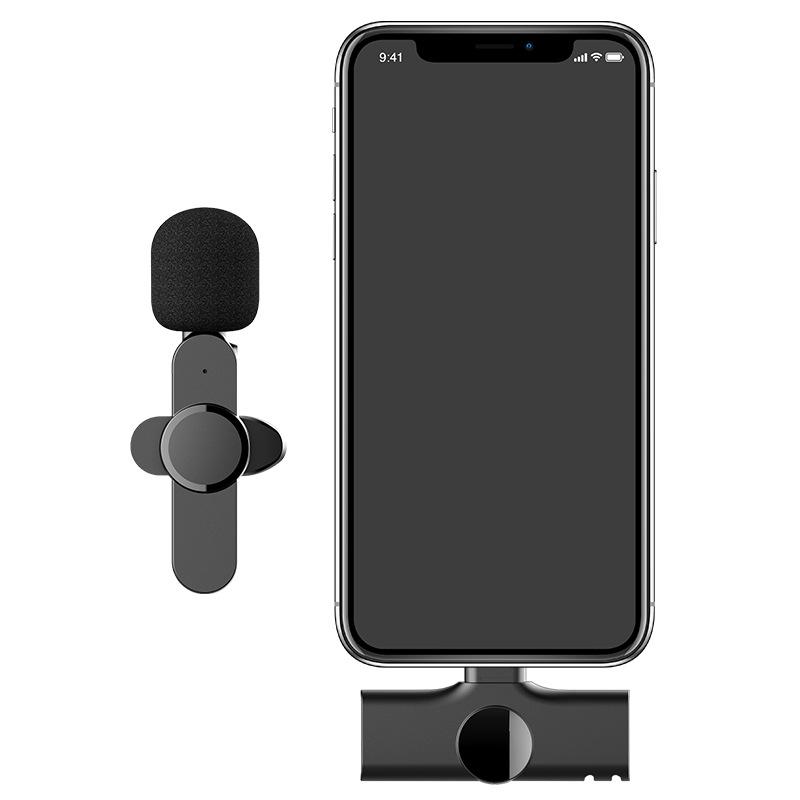
1. Connect Your Microphone: If you are using a USB microphone, simply plug it into an available USB port on your computer. If you are using a microphone with an XLR connection, connect it to your audio interface, and then connect the audio interface to your computer via USB or Thunderbolt.
2. Install Drivers and Software: If your microphone or audio interface requires drivers, make sure to install them. Also, install your chosen recording software and any additional plugins or tools you might need.
3. Configure Your Software: Open your recording software and configure the audio settings. Select your microphone or audio interface as the input device. Adjust the sample rate and bit depth according to your needs; a common setting is 44.1 kHz sample rate and 16-bit depth for general use, but higher settings may be preferable for professional recordings.
4. Set Up Your Recording Environment: Choose a quiet location to minimize background noise. Consider using soundproofing materials or a pop filter to further reduce unwanted noise and improve sound quality.
Recording Techniques

Now that your equipment is set up, it’s time to start recording. Here are some techniques to help you achieve the best results:
1. Microphone Placement: The placement of your microphone can greatly affect the sound quality. For voice recordings, position the microphone about 6-12 inches away from your mouth. For musical instruments, experiment with different placements to find the best sound. For example, placing a microphone close to the sound hole of an acoustic guitar will capture a different sound than placing it further away.
2. Monitor Levels: Keep an eye on the input levels in your recording software. Aim for levels that peak around -6 dB to -3 dB to avoid clipping and distortion. If the levels are too low, you may need to increase the gain on your microphone or audio interface.
3. Use Headphones: Wearing headphones while recording can help you monitor the sound in real-time and catch any issues early. Closed-back headphones are preferable as they provide better isolation and prevent sound from leaking into the microphone.
4. Record Multiple Takes: Don’t be afraid to record multiple takes. This gives you more options during the editing process and increases the chances of capturing the perfect performance.
Editing and Enhancing Your Recording
Once you have recorded your audio, the next step is to edit and enhance it. Here are some basic editing techniques:
1. Trimming and Cutting: Remove any unwanted sections, such as long pauses, mistakes, or background noise. Most recording software allows you to easily cut and trim audio clips.
2. Noise Reduction: Use noise reduction tools to minimize background noise. Be careful not to overdo it, as excessive noise reduction can affect the quality of the audio.
3. Equalization (EQ): Adjust the EQ settings to enhance the clarity and balance of your recording. For example, you can boost the high frequencies to add brightness or reduce the low frequencies to remove muddiness.
4. Compression: Apply compression to even out the volume levels and add punch to your recording. Compression reduces the dynamic range, making the quieter parts louder and the louder parts quieter.
5. Reverb and Effects: Add reverb or other effects to give your recording a sense of space and depth. Use these effects sparingly to avoid making the audio sound unnatural.
Exporting and Sharing Your Recording
After editing and enhancing your recording, the final step is to export and share it. Here’s how:
1. Choose the Right Format: Select an appropriate file format for your needs. Common formats include WAV for high-quality audio and MP3 for smaller file sizes and easier sharing.
2. Set the Export Settings: Configure the export settings in your recording software. Choose the sample rate, bit depth, and any other settings based on your requirements.
3. Save and Backup: Save your project and create backups to prevent data loss. Consider saving multiple versions of your project at different stages of the editing process.
4. Share Your Recording: Share your recording through various platforms, such as email, cloud storage, or social media. If you are publishing a podcast or music, consider using dedicated platforms like SoundCloud, Spotify, or Apple Podcasts.
Recording sound on a computer is a versatile and valuable skill that can be applied to various creative and professional projects. By understanding your needs, setting up the right equipment, using effective recording techniques, and mastering the editing process, you can achieve high-quality recordings that meet your goals. Whether you are a beginner or an experienced audio enthusiast, the tips and techniques outlined in this article will help you capture and produce excellent sound recordings on your computer.

