How To Record Sounds On Pc?
Recording sounds on a PC is a common task that can be required for various purposes, such as creating podcasts, recording music, capturing voiceovers, or even just saving audio notes. With the right tools and techniques, anyone can achieve high-quality sound recordings on their computer. This article will guide you through the essential steps and considerations for recording sounds on a PC, ensuring you get the best possible results.
1. Choosing the Right Equipment

Before you start recording, it's crucial to have the right equipment. The quality of your recordings will largely depend on the hardware you use. Here are the key components you need:
Microphone
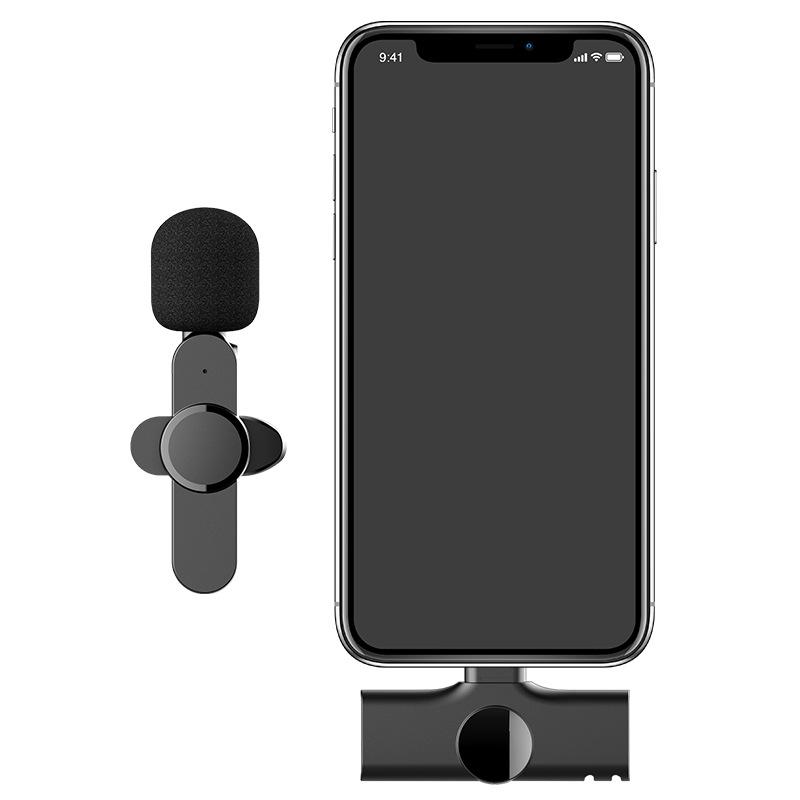
The microphone is the most critical piece of equipment for sound recording. There are various types of microphones available, each suited for different purposes:
- USB Microphones: These are easy to use and connect directly to your PC via a USB port. They are ideal for beginners and offer good sound quality.
- XLR Microphones: These require an audio interface to connect to your PC but offer superior sound quality and are preferred by professionals.
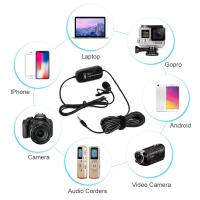
- Lavalier Microphones: These are small, clip-on microphones ideal for recording speech or interviews.
Audio Interface
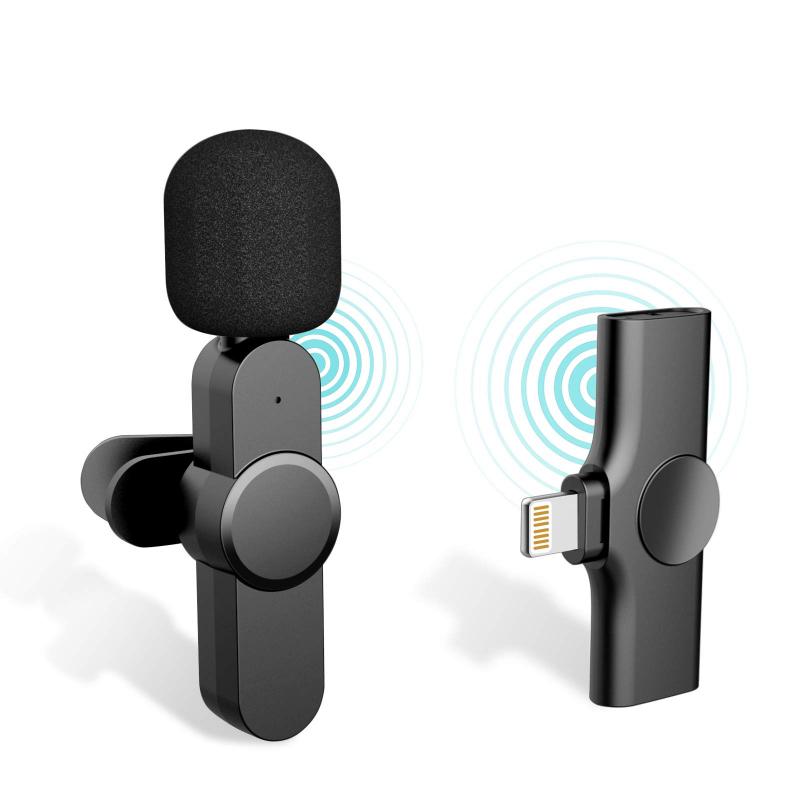
An audio interface is necessary if you are using an XLR microphone. It converts the analog signal from the microphone into a digital signal that your PC can process. It also provides better sound quality and more control over your recordings.
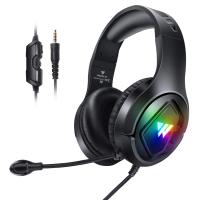
Headphones

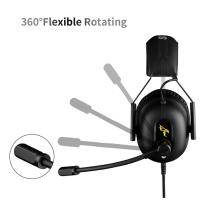
A good pair of headphones is essential for monitoring your recordings. They help you hear the details and make necessary adjustments in real-time.
2. Setting Up Your Recording Environment
The environment in which you record can significantly impact the quality of your sound. Here are some tips to optimize your recording space:
Choose a Quiet Room
Select a room with minimal background noise. Avoid rooms with loud appliances, traffic noise, or other disturbances.
Soundproofing
Consider adding some soundproofing to your recording space. This can be as simple as using heavy curtains, carpets, and furniture to absorb sound. For more professional setups, you can use acoustic panels and foam.
Positioning
Place your microphone on a stable surface and position it correctly. The ideal distance from the microphone varies depending on the type of microphone and the sound source, but generally, 6-12 inches is a good starting point.
3. Selecting Recording Software
There are numerous software options available for recording sounds on a PC. Here are some popular choices:
Audacity
Audacity is a free, open-source audio recording and editing software. It is user-friendly and offers a wide range of features, making it a great choice for beginners and professionals alike.
Adobe Audition
Adobe Audition is a professional-grade audio editing software. It offers advanced features and tools for recording, editing, and mixing audio. It is ideal for users who need more control and precision in their recordings.
GarageBand
GarageBand is a free audio recording and editing software for macOS users. It is easy to use and offers a variety of features for recording music, podcasts, and more.
4. Recording Process
Once you have your equipment set up and your software ready, you can start recording. Here are the steps to follow:
Setting Up Your Software
Open your recording software and create a new project. Configure the audio settings, such as sample rate and bit depth, to ensure high-quality recordings. A sample rate of 44.1 kHz and a bit depth of 16-bit are standard for most recordings.
Testing Your Setup
Before you start recording, do a test run to check the levels and ensure everything is working correctly. Speak or play your instrument into the microphone and monitor the levels on your software. Adjust the gain on your audio interface or microphone to avoid clipping (distortion) and ensure a clean recording.
Recording
Press the record button on your software and start recording. Speak or play naturally, and try to maintain a consistent distance from the microphone. If you make a mistake, don't worry; you can edit it out later.
Monitoring
Use your headphones to monitor the recording in real-time. This allows you to hear any issues and make adjustments as needed.
5. Editing and Exporting
After recording, you may need to edit your audio to remove any mistakes, background noise, or unwanted sections. Here are some basic editing steps:
Trimming
Use the trim tool in your software to cut out any unwanted sections at the beginning or end of your recording.
Noise Reduction
Most recording software offers noise reduction tools to remove background noise. Use these tools sparingly to avoid affecting the quality of your recording.
Equalization (EQ)
EQ allows you to adjust the balance of different frequency ranges in your recording. Use EQ to enhance the clarity and quality of your sound.
Compression
Compression reduces the dynamic range of your recording, making the quiet parts louder and the loud parts quieter. This can help create a more balanced and professional-sounding recording.
Exporting
Once you are satisfied with your edits, export your recording in the desired format. Common formats include WAV for high-quality audio and MP3 for smaller file sizes.
6. Tips for Better Recordings
Here are some additional tips to help you achieve better recordings:
Practice
The more you practice recording, the better you will become. Experiment with different techniques and settings to find what works best for you.
Use a Pop Filter
A pop filter is a screen placed in front of the microphone to reduce plosive sounds (such as "p" and "b" sounds). This can help improve the clarity of your recordings.
Stay Consistent
Try to maintain a consistent distance from the microphone and speak or play at a consistent volume. This will help create a more even and professional-sounding recording.
Backup Your Recordings
Always save and back up your recordings to avoid losing your work. Use external hard drives or cloud storage for added security.
Recording sounds on a PC can be a straightforward process with the right equipment, environment, and software. By following the steps outlined in this article, you can achieve high-quality recordings for various purposes. Remember to practice and experiment with different techniques to find what works best for you. With time and experience, you will become more proficient in recording and producing professional-sounding audio on your PC.

