How To Record Voice On I Phone?
Recording voice on an iPhone is a common task that many users need to accomplish for various reasons, such as creating voice memos, recording lectures, or capturing personal notes. This article will guide you through the different methods available for recording voice on an iPhone, ensuring you can choose the best option for your needs. We will cover the built-in Voice Memos app, third-party applications, and some tips for achieving high-quality recordings.
Using the Built-in Voice Memos App
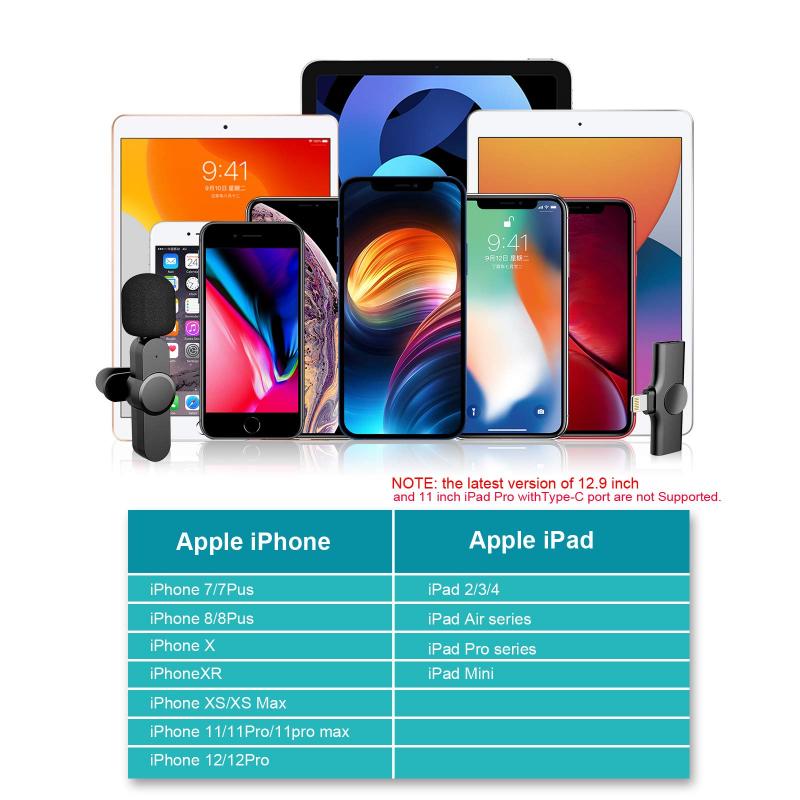
The Voice Memos app is a pre-installed application on all iPhones, making it the most accessible and straightforward option for recording voice. Here’s how to use it:
1. Open the Voice Memos App: Locate the Voice Memos app on your iPhone. It’s usually found in the Utilities folder or you can use the search function to find it quickly.
2. Start a New Recording: Tap the red record button at the bottom of the screen to start recording. You’ll see the waveform moving as it captures your voice.
3. Pause and Resume: If you need to pause the recording, tap the red button again. To resume, tap the same button.
4. Finish Recording: Once you’re done, tap the “Done” button. You’ll be prompted to name your recording, which helps in organizing your files.
5. Edit Your Recording: You can trim or delete parts of your recording by tapping on the recording, then tapping the three dots, and selecting “Edit Recording.”
6. Share Your Recording: To share your recording, tap on the recording, then tap the share icon. You can send it via email, message, or save it to cloud storage.
Using Third-Party Applications
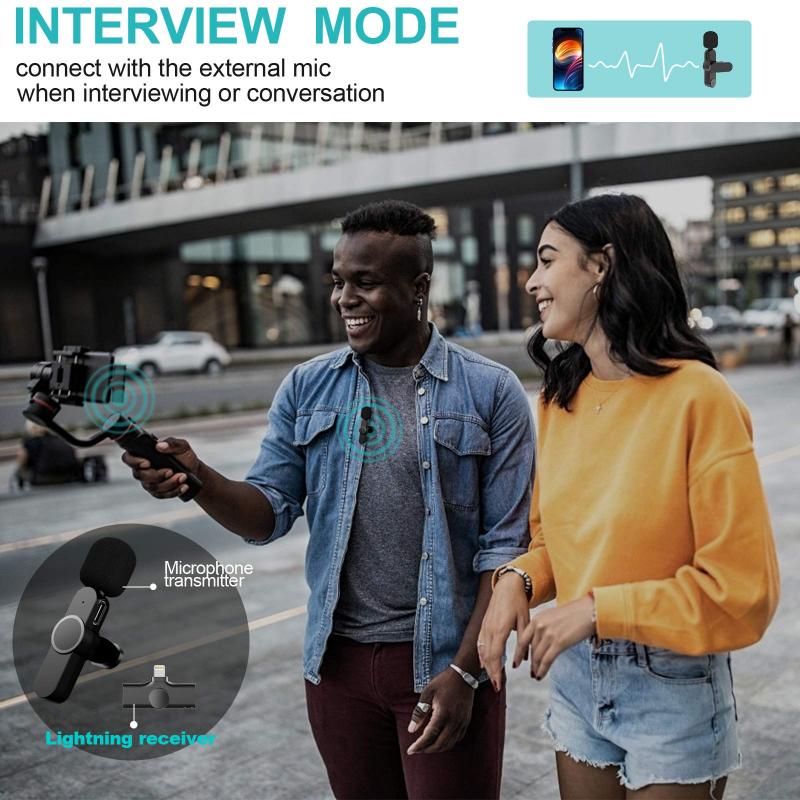
While the Voice Memos app is sufficient for most users, some may require additional features that third-party applications offer. Here are a few popular options:
1. Rev Voice Recorder: This app is excellent for those who need transcription services. It offers high-quality recording and the option to transcribe your recordings for a fee.
2. Otter.ai: Otter.ai not only records your voice but also provides real-time transcription. It’s perfect for meetings, lectures, and interviews.
3. Just Press Record: This app offers one-tap recording, transcription, and iCloud syncing. It’s user-friendly and supports multiple languages.
4. Voice Record Pro: This app provides extensive features like exporting in various formats, adding bookmarks, and applying effects to your recordings.
Tips for High-Quality Recordings
Regardless of the app you choose, here are some tips to ensure you get the best possible recording quality:
1. Find a Quiet Environment: Background noise can significantly affect the quality of your recording. Try to find a quiet space to minimize unwanted sounds.
2. Hold Your iPhone Steady: Movement can cause fluctuations in the recording volume and introduce noise. Hold your iPhone steady or place it on a stable surface.
3. Speak Clearly and Consistently: Ensure you speak directly into the microphone and maintain a consistent distance to avoid variations in volume.
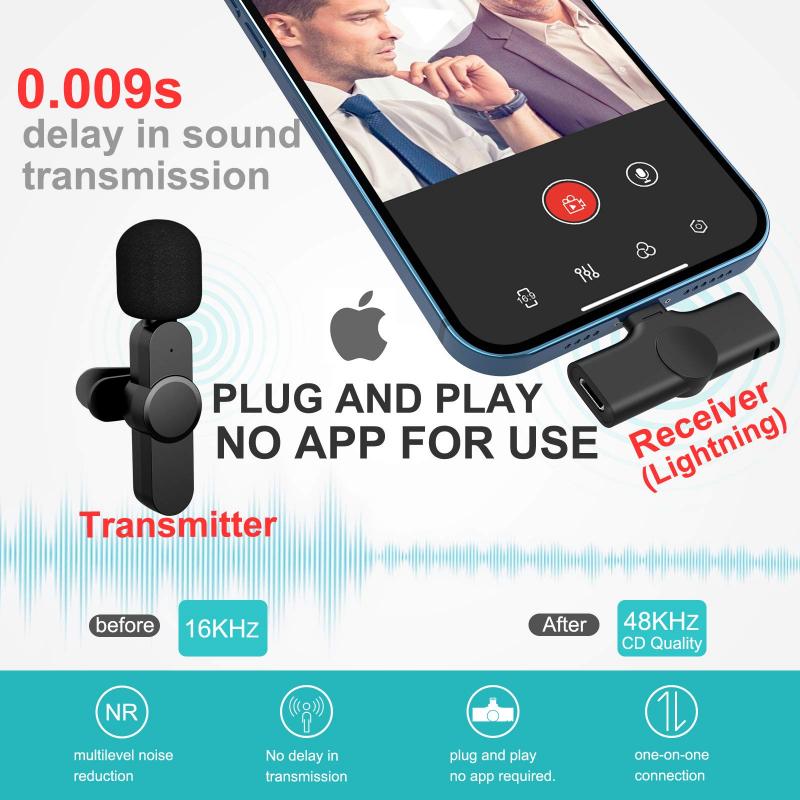
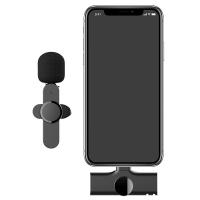
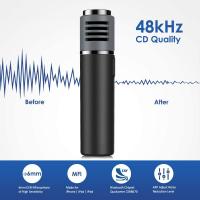
4. Use an External Microphone: For professional-quality recordings, consider using an external microphone. There are many options available that are compatible with iPhones.
5. Monitor Your Recording: If possible, use headphones to monitor your recording in real-time. This allows you to catch any issues immediately.
Organizing and Managing Your Recordings

Once you’ve made your recordings, it’s essential to keep them organized. Here are some tips for managing your voice recordings effectively:
1. Name Your Recordings: Give each recording a descriptive name to make it easier to find later. Avoid generic names like “Recording 1” or “Voice Memo.”
2. Create Folders: If you have many recordings, consider creating folders to categorize them. For example, you could have separate folders for work, personal notes, and lectures.
3. Backup Your Recordings: Regularly backup your recordings to cloud storage or your computer to prevent data loss.
4. Delete Unnecessary Recordings: Periodically review your recordings and delete any that you no longer need. This helps free up storage space on your iPhone.
Troubleshooting Common Issues
If you encounter any issues while recording voice on your iPhone, here are some common problems and their solutions:
1. Low Volume: If your recordings are too quiet, ensure you’re speaking directly into the microphone and check the microphone settings in your app.
2. Background Noise: Use noise-canceling features if available in your app, or try to record in a quieter environment.
3. App Crashes: Ensure your app is up to date. If the problem persists, try reinstalling the app or using a different one.
4. Storage Issues: If you’re running out of storage, delete unnecessary files or move them to cloud storage.
Recording voice on an iPhone is a simple task, thanks to the built-in Voice Memos app and various third-party applications. By following the steps outlined in this article, you can easily record, edit, and share high-quality voice recordings. Remember to choose the right app for your needs, follow best practices for recording, and keep your recordings organized. With these tips, you’ll be well-equipped to capture clear and professional-sounding voice recordings on your iPhone.







There are no comments for this blog.