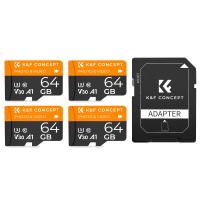
How To Remove An Sd Card?
Removing an SD card from a device might seem like a straightforward task, but it’s important to do it correctly to avoid data corruption or damage to the card or device. Whether you’re dealing with a smartphone, camera, or computer, the process involves a few careful steps. This article will guide you through the proper methods for safely removing an SD card from various devices, ensuring that your data remains intact and your hardware undamaged.
Understanding the Importance of Safe SD Card Removal

Before diving into the specific steps for different devices, it’s crucial to understand why safe removal is important. SD cards are used to store a variety of data, from photos and videos to important documents and application data. Improper removal can lead to:
1. Data Corruption: If the card is removed while data is being written or read, it can corrupt the files, making them inaccessible.
2. Physical Damage: Forcing the card out can damage the card itself or the card slot in the device.
3. Device Malfunction: In some cases, improper removal can cause the device to malfunction or fail to recognize the card in the future.
General Steps for Safe SD Card Removal

Regardless of the device, the general steps for removing an SD card safely are similar:
1. Stop All Operations: Ensure that no data is being read from or written to the SD card.
2. Unmount or Eject the Card: Use the device’s software to safely unmount or eject the card.
3. Physically Remove the Card: Carefully remove the card from the slot.
Removing an SD Card from a Smartphone

For Android Devices:
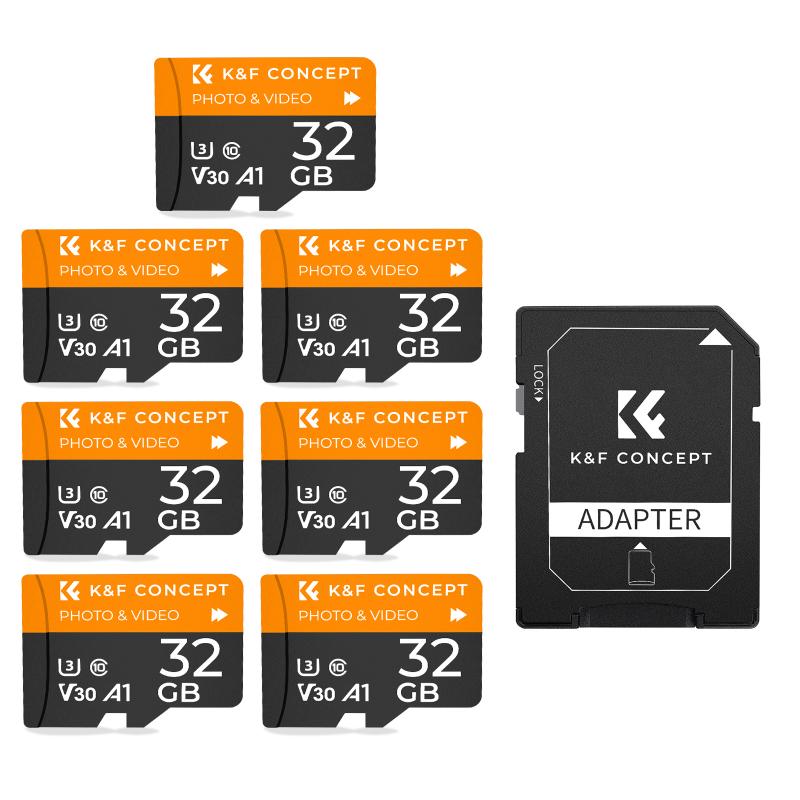
1. Navigate to Settings: Open the settings menu on your phone.
2. Storage Settings: Find and select the “Storage” option.
3. Unmount the SD Card: Tap on the SD card option and select “Unmount” or “Eject.”
4. Remove the Card: Once the system confirms it’s safe, open the SD card slot (usually located on the side of the phone) using a SIM card ejector tool or a paperclip. Gently pull out the SD card.
For iPhones (with SD Card Adapters):
1. Stop Data Transfer: Ensure no data is being transferred to or from the SD card.
2. Remove the Adapter: If you’re using an SD card adapter, simply unplug it from the Lightning port.
3. Eject the Card: Remove the SD card from the adapter.
Removing an SD Card from a Camera
1. Turn Off the Camera: Always turn off the camera before removing the SD card to prevent data corruption.
2. Open the Card Slot: Locate and open the SD card slot cover.
3. Eject the Card: Press the SD card gently until it clicks and pops out slightly. Pull the card out carefully.
Removing an SD Card from a Computer
For Windows PCs:
1. Stop Data Transfer: Ensure no files are being transferred to or from the SD card.
2. Eject the Card: Click on the “Safely Remove Hardware” icon in the system tray. Select the SD card and click “Eject.”
3. Remove the Card: Once the system confirms it’s safe, remove the SD card from the slot.
For Mac Computers:
1. Stop Data Transfer: Ensure no files are being transferred to or from the SD card.
2. Eject the Card: Drag the SD card icon to the Trash, or right-click and select “Eject.”
3. Remove the Card: Once the system confirms it’s safe, remove the SD card from the slot.
Troubleshooting Common Issues
Even with careful handling, you might encounter some issues when removing an SD card. Here are some common problems and their solutions:
1. Card Not Recognized: If the device doesn’t recognize the SD card after reinserting it, try restarting the device or using the card in another device to check if it’s a card issue.
2. Data Corruption: If files are corrupted, use data recovery software to attempt to retrieve the lost data.
3. Physical Damage: If the card or slot is damaged, you may need to replace the card or seek professional repair services for the device.
Best Practices for SD Card Maintenance
To ensure the longevity and reliability of your SD card, follow these best practices:
1. Regular Backups: Regularly back up the data on your SD card to another storage medium.
2. Avoid Physical Damage: Handle the card carefully and avoid exposing it to extreme temperatures, moisture, or physical shocks.
3. Use Quality Cards: Invest in high-quality SD cards from reputable manufacturers to reduce the risk of failure.
4. Format Properly: When reusing an SD card, format it using the device’s recommended method to ensure compatibility and performance.
Removing an SD card safely is a simple yet crucial task that can prevent data loss and hardware damage. By following the steps outlined in this article, you can ensure that your SD card and the data it holds remain safe and secure. Whether you’re using a smartphone, camera, or computer, taking a few extra moments to unmount or eject the card properly can save you from potential headaches down the line. Remember to handle your SD cards with care and follow best practices for maintenance to keep them functioning optimally for years to come.



![4K digital camera for photography and video [autofocus and stabilisation] 48 MP video blog camera with SD card, 3 4K digital camera for photography and video [autofocus and stabilisation] 48 MP video blog camera with SD card, 3](https://img.kentfaith.com/cache/catalog/products/us/GW41.0065/GW41.0065-1-200x200.jpg)


