How To Screen Record Calls With Sound?
Screen recording calls with sound is a common requirement for many users, whether for business, educational, or personal purposes. The process can vary depending on the device and operating system you are using. This article will guide you through the steps to screen record calls with sound on various platforms, including iOS, Android, Windows, and macOS. We will also discuss the legal considerations and best practices to ensure you are compliant with relevant laws and regulations.
Understanding the Basics

Before diving into the specific steps for each platform, it's important to understand the basic requirements for screen recording calls with sound:
1. Screen Recording Software: You need a reliable screen recording application that supports audio recording.
2. Microphone Access: Ensure that the application has access to your device's microphone.
3. Permissions: Depending on your location, you may need to inform the other party that the call is being recorded.
Legal Considerations

Recording calls without consent can be illegal in many jurisdictions. It's crucial to understand the laws in your area before recording any calls. In some places, only one party needs to consent to the recording, while in others, all parties involved must be informed and agree to the recording. Always make sure to get the necessary permissions to avoid legal issues.
Screen Recording on iOS
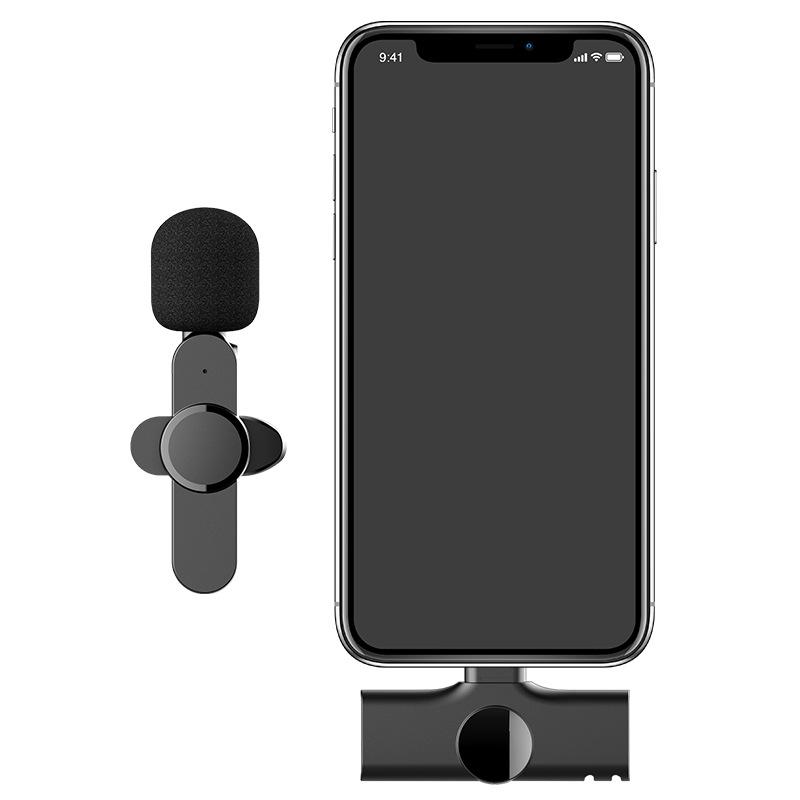
For iOS users, the built-in screen recording feature can be used to record calls with sound. However, recording internal audio directly from the call is not straightforward due to Apple's privacy policies. Here’s how you can do it:
1. Enable Screen Recording:
- Go to `Settings` > `Control Center` > `Customize Controls`.
- Add `Screen Recording` to the Control Center.
2. Start Recording:
- Open the Control Center by swiping down from the top-right corner of the screen (iPhone X and later) or up from the bottom (iPhone 8 and earlier).
- Press and hold the `Screen Recording` button.
- Tap the `Microphone` icon to enable audio recording.
- Start the screen recording.
3. Make the Call:
- Initiate the call using the Phone app or any other calling app.
- The screen recording will capture the call along with the audio from the microphone.
Screen Recording on Android

Android devices offer more flexibility when it comes to screen recording calls with sound. Many third-party apps are available that can record both the screen and internal audio. Here’s a general method using a popular app like AZ Screen Recorder:
1. Install AZ Screen Recorder:
- Download and install AZ Screen Recorder from the Google Play Store.
2. Configure Settings:
- Open the app and go to `Settings`.
- Enable `Record Audio` and select the audio source (internal audio or microphone).
3. Start Recording:
- Open AZ Screen Recorder and tap the `Record` button.
- Initiate the call using your preferred calling app.
- The app will record the screen and audio during the call.
Screen Recording on Windows
For Windows users, recording calls with sound can be achieved using built-in tools like the Xbox Game Bar or third-party applications like OBS Studio. Here’s how to use the Xbox Game Bar:
1. Enable Xbox Game Bar:
- Go to `Settings` > `Gaming` > `Xbox Game Bar`.
- Ensure the Xbox Game Bar is turned on.
2. Start Recording:
- Press `Win + G` to open the Xbox Game Bar.
- Click on the `Capture` widget and then the `Record` button.
- Initiate the call using your preferred calling application (e.g., Skype, Zoom).
3. Record Audio:
- Ensure that the microphone is enabled in the Xbox Game Bar settings.
- The Xbox Game Bar will record the screen and audio during the call.
Screen Recording on macOS
macOS users can use the built-in QuickTime Player to record calls with sound. Here’s how:
1. Open QuickTime Player:
- Launch QuickTime Player from the Applications folder.
2. Start a New Screen Recording:
- Go to `File` > `New Screen Recording`.
- Click the `Record` button.
3. Configure Audio:
- Click the arrow next to the `Record` button and select the microphone as the audio source.
4. Initiate the Call:
- Start the call using your preferred calling application (e.g., FaceTime, Skype).
- QuickTime Player will record the screen and audio during the call.
Best Practices for Screen Recording Calls
1. Inform All Parties: Always inform the other party that the call is being recorded. This is not only a legal requirement in many places but also a good practice to maintain transparency.
2. Test Your Setup: Before recording an important call, test your setup to ensure that both the screen and audio are being captured correctly.
3. Check Storage Space: Screen recordings can take up a significant amount of storage space. Ensure you have enough free space on your device before starting the recording.
4. Review and Edit: After recording, review the footage to ensure it meets your needs. Use editing software if necessary to trim or enhance the recording.
Screen recording calls with sound can be a valuable tool for various purposes, from business meetings to personal conversations. By following the steps outlined in this article, you can successfully record calls on iOS, Android, Windows, and macOS devices. Always remember to comply with legal requirements and inform all parties involved in the call. With the right tools and practices, you can ensure that your screen recordings are clear, complete, and useful.

