How To Set Time On Smart Watch?
Setting the time on a smartwatch can be a straightforward process, but it can vary depending on the brand and model of the device. In this article, we will explore the general steps to set the time on a smartwatch, discuss common issues users might face, and provide solutions to those problems. Whether you are a new smartwatch owner or looking to help someone else, this guide will cover everything you need to know.
Understanding Your Smartwatch
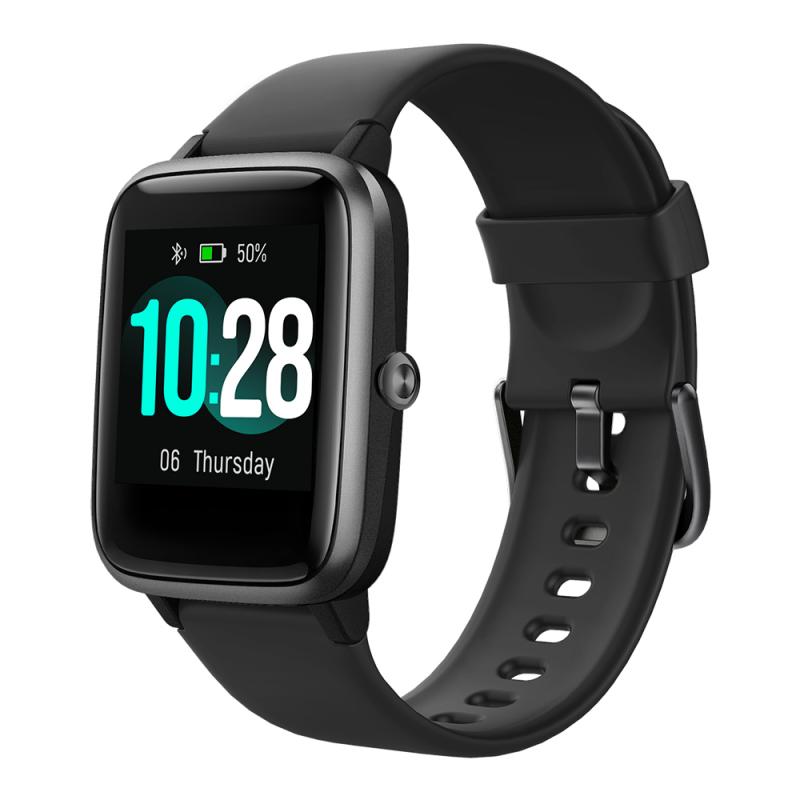
Before diving into the steps, it’s essential to understand that smartwatches generally fall into two categories: those that sync with your smartphone and those that operate independently. Most modern smartwatches sync with your smartphone, which means they automatically update the time based on your phone’s settings. However, some models allow for manual time setting.
Syncing with Your Smartphone
For most smartwatches, the easiest way to set the time is to sync it with your smartphone. Here’s how you can do it:
1. Download the Companion App: Most smartwatches come with a companion app that you need to download on your smartphone. Examples include the Apple Watch app for iOS devices and the Wear OS app for Android devices.
2. Pair Your Devices: Open the companion app and follow the on-screen instructions to pair your smartwatch with your smartphone. This usually involves turning on Bluetooth and selecting your smartwatch from a list of available devices.
3. Automatic Time Sync: Once paired, your smartwatch should automatically sync with your smartphone, updating the time and date settings to match those on your phone.
Manually Setting the Time
If your smartwatch does not automatically sync with your smartphone or if you prefer to set the time manually, follow these steps:
1. Access Settings: Navigate to the settings menu on your smartwatch. This is usually done by swiping down from the top of the screen or pressing a physical button.
2. Find the Time Settings: Look for an option labeled “Time,” “Date & Time,” or something similar. This is where you can manually adjust the time settings.
3. Set the Time: Select the option to set the time manually. You will typically be able to adjust the hours, minutes, and possibly the seconds. Some smartwatches also allow you to set the date and time zone.
4. Save Changes: After setting the time, make sure to save your changes. This is usually done by pressing a confirmation button or tapping “OK.”
Common Issues and Solutions
While setting the time on a smartwatch is generally straightforward, you might encounter some issues. Here are common problems and their solutions:
1. Bluetooth Connection Issues: If your smartwatch is not syncing with your smartphone, ensure that Bluetooth is enabled on both devices. Restarting both devices can also help resolve connection issues.
2. App Compatibility: Make sure you are using the correct companion app for your smartwatch. Using an incompatible app can prevent proper syncing.
3. Software Updates: Outdated software can cause syncing issues. Check for updates for both your smartwatch and the companion app.
4. Time Zone Settings: If the time is incorrect even after syncing, check the time zone settings on both your smartphone and smartwatch. Ensure they are set to the correct time zone.
5. Battery Issues: Low battery levels can sometimes cause syncing problems. Ensure both your smartwatch and smartphone have sufficient battery life.
Advanced Settings and Features
Some smartwatches offer advanced time-setting features that can enhance your experience. Here are a few you might find useful:
1. World Clock: If you travel frequently, a world clock feature can be incredibly useful. This allows you to keep track of time in multiple time zones.
2. Alarm and Timer: Many smartwatches come with built-in alarm and timer functions. These can be set directly from the time settings menu.
3. 24-Hour Format: If you prefer a 24-hour time format over the 12-hour format, you can usually change this in the time settings.
4. Automatic Time Zone Adjustment: Some smartwatches can automatically adjust the time zone based on your location. This feature is particularly useful for frequent travelers.
Brand-Specific Instructions
While the general steps outlined above apply to most smartwatches, some brands have specific instructions. Here are a few examples:
Apple Watch
1. Open the Watch App: On your iPhone, open the Watch app.
2. Go to General Settings: Navigate to “General” and then “Date & Time.”
3. Set Automatically: Ensure the “Set Automatically” option is enabled. If you need to set the time manually, disable this option and adjust the time.
Samsung Galaxy Watch
1. Open Settings: On your Galaxy Watch, go to the settings menu.
2. Select General: Navigate to “General” and then “Date and Time.”
3. Set Time: Choose whether to set the time automatically or manually adjust it.
Fitbit
1. Open the Fitbit App: On your smartphone, open the Fitbit app.
2. Go to Account Settings: Tap on your profile picture and navigate to “Advanced Settings.”
3. Time Zone: Ensure the time zone is set correctly. If needed, disable automatic time zone and set it manually.
Setting the time on your smartwatch is a fundamental task that ensures you get the most out of your device. Whether you are syncing with your smartphone or setting the time manually, the steps are generally straightforward. By understanding the common issues and solutions, you can troubleshoot any problems that arise. Additionally, exploring advanced settings and brand-specific instructions can further enhance your user experience.
By following this comprehensive guide, you can ensure that your smartwatch is always displaying the correct time, allowing you to make the most of its features and functionalities. Whether you are a new user or a seasoned smartwatch owner, these tips and tricks will help you keep your device running smoothly.


