How To Set Up Photography Lights?
Setting up photography lights can be a daunting task for beginners, but with the right guidance, it becomes a manageable and even enjoyable process. Proper lighting is crucial in photography as it can dramatically affect the quality and mood of your images. Whether you are setting up a home studio or preparing for an on-location shoot, understanding the basics of lighting will help you achieve professional results. In this article, we will explore the essential steps and considerations for setting up photography lights, covering various types of lighting, equipment, and techniques.
Understanding the Basics of Photography Lighting
Before diving into the setup process, it’s important to understand the fundamental principles of photography lighting. The three main types of lighting used in photography are:
1. Key Light: This is the primary light source and is usually the brightest. It sets the overall exposure and defines the subject's form.
2. Fill Light: This light is used to fill in the shadows created by the key light, reducing contrast and softening the image.
3. Back Light (or Rim Light): This light is placed behind the subject to create a rim of light that separates the subject from the background, adding depth and dimension.
Choosing the Right Lighting Equipment
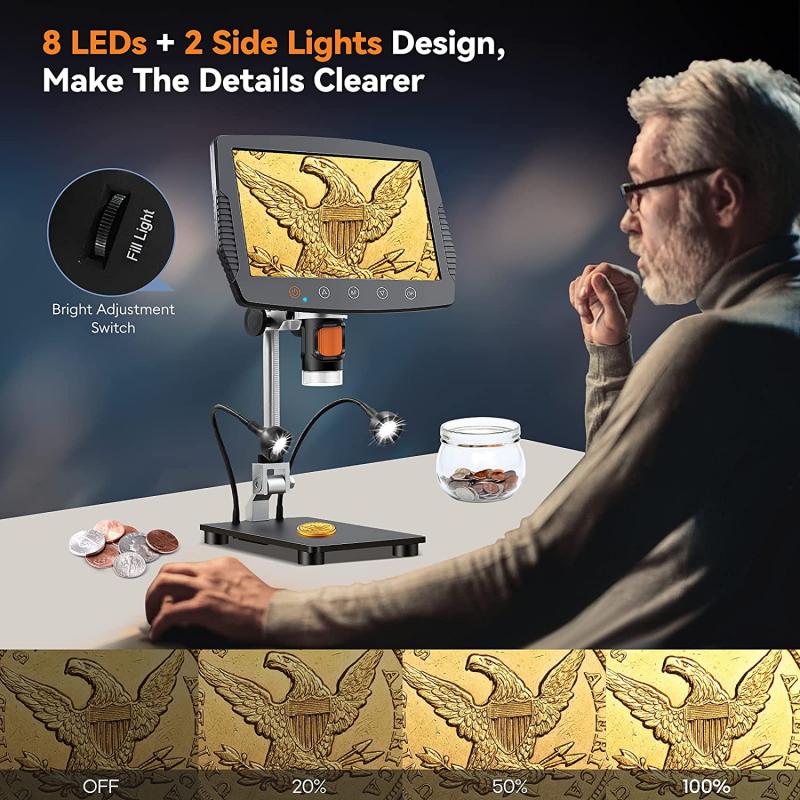
The type of lighting equipment you choose will depend on your specific needs and budget. Here are some common types of lighting equipment used in photography:
1. Continuous Lights: These lights provide a constant light source, making it easier to see how the light affects the subject in real-time. They are ideal for beginners and are commonly used in video production.
2. Strobe Lights: These lights produce a brief, intense burst of light and are commonly used in studio photography. They require more setup and understanding of light modifiers but offer greater control and power.
3. Speedlights: These are portable, battery-powered flashes that can be used on or off-camera. They are versatile and great for on-location shoots.
Setting Up Your Photography Lights
Now that you have a basic understanding of the types of lights and equipment, let’s go through the steps to set up your photography lights.
Step 1: Plan Your Shoot

Before setting up your lights, plan your shoot by considering the following:
- Subject: What are you photographing? A person, product, or scene?
- Location: Are you shooting indoors or outdoors? In a studio or on location?
- Mood: What mood or atmosphere do you want to create? Bright and airy, dark and moody, etc.?
Step 2: Position Your Key Light
The key light is the most important light in your setup. Position it at a 45-degree angle to your subject, either to the left or right. This angle creates natural-looking shadows and highlights, adding depth to your image. The height of the key light should be slightly above the subject’s eye level, angled downwards.
Step 3: Add a Fill Light
Next, add a fill light to reduce the shadows created by the key light. Position the fill light on the opposite side of the key light, also at a 45-degree angle. The fill light should be less intense than the key light. You can achieve this by moving the fill light further away from the subject or using a lower power setting.
Step 4: Set Up the Back Light
The back light, or rim light, is placed behind the subject, aimed at the back of their head or shoulders. This light helps to separate the subject from the background, adding depth and dimension. The back light should be positioned higher than the subject and angled downwards.
Step 5: Adjust and Modify Your Lights
Once you have positioned your key, fill, and back lights, it’s time to fine-tune your setup. Use light modifiers such as softboxes, umbrellas, and reflectors to control the quality and direction of the light. Softboxes and umbrellas diffuse the light, creating a softer, more flattering effect. Reflectors can be used to bounce light back onto the subject, filling in shadows without the need for an additional light source.
Practical Tips for Effective Lighting
Here are some practical tips to help you achieve the best results with your photography lighting setup:
1. Experiment with Angles: Don’t be afraid to move your lights around and experiment with different angles. Small adjustments can make a big difference in the final image.
2. Use a Light Meter: A light meter can help you measure the intensity of light and ensure consistent exposure across your images.
3. Balance Natural and Artificial Light: If you are shooting in a location with natural light, try to balance it with your artificial lights. Use curtains or blinds to control the amount of natural light entering the space.
4. Consider Color Temperature: Different light sources have different color temperatures, which can affect the overall color balance of your image. Use gels or adjust the white balance on your camera to match the color temperature of your lights.
5. Practice and Review: Practice setting up your lights and review your images to see what works and what doesn’t. Over time, you will develop a better understanding of how to achieve the desired lighting effects.
Setting up photography lights may seem complex at first, but with practice and experimentation, it becomes an intuitive part of the photographic process. By understanding the basics of lighting, choosing the right equipment, and following a systematic setup process, you can create professional-quality images that capture the desired mood and atmosphere. Remember to plan your shoot, position your lights thoughtfully, and use light modifiers to control the quality of light. With these tips and techniques, you’ll be well on your way to mastering photography lighting and enhancing your photographic skills.






There are no comments for this blog.