How To Test Microphone On Mac?
Testing a microphone on a Mac is a common task that many users need to perform, whether for professional audio recording, video conferencing, or casual communication. Ensuring that your microphone is working correctly can save you from potential issues during important calls or recordings. In this article, we will explore various methods to test your microphone on a Mac, troubleshoot common problems, and provide tips for optimizing your audio setup.
Understanding the Basics

Before diving into the testing methods, it's essential to understand the basic components involved in using a microphone with your Mac. These include:
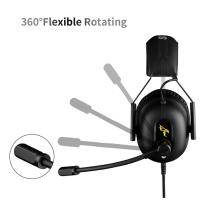
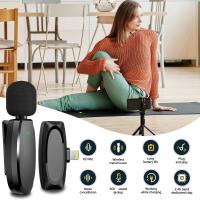
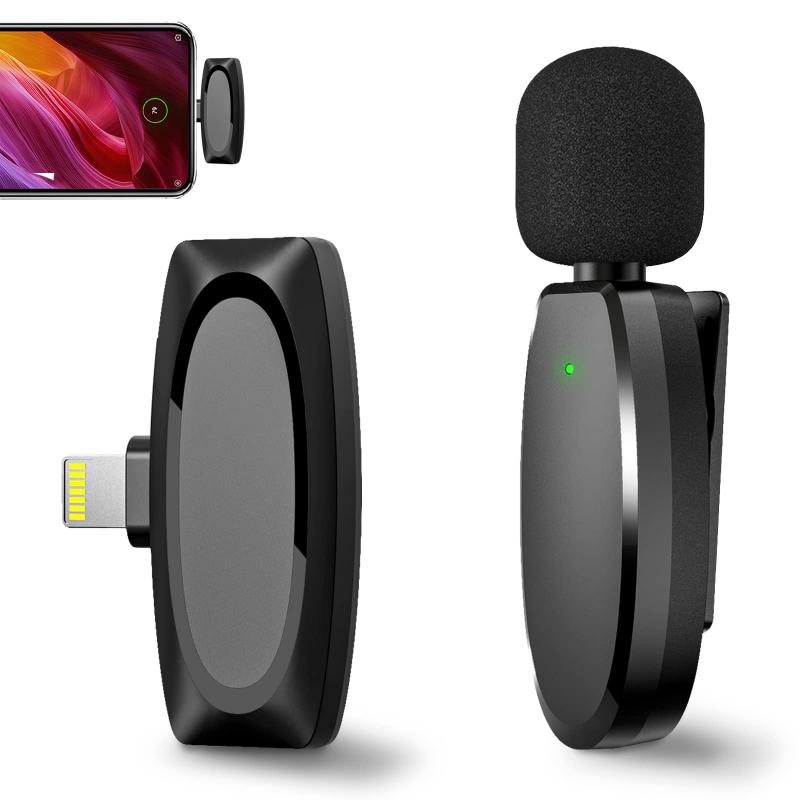
1. Microphone Hardware: This could be an internal microphone (built into your Mac) or an external microphone (connected via USB, audio jack, or Bluetooth).
2. System Preferences: The settings on your Mac that control audio input and output.
3. Audio Software: Applications that use the microphone, such as FaceTime, Zoom, GarageBand, or Audacity.
Method 1: Using System Preferences
The most straightforward way to test your microphone is through the System Preferences on your Mac. Here’s how you can do it:
1. Open System Preferences: Click on the Apple logo in the top-left corner of your screen and select "System Preferences."
2. Select Sound: In the System Preferences window, click on the "Sound" icon.
3. Input Tab: Navigate to the "Input" tab to see a list of available microphones.
4. Select Your Microphone: Click on the microphone you want to test. If you’re using an external microphone, make sure it’s connected and selected.
5. Test the Microphone: Speak into the microphone and observe the input level meter. The bars should move in response to your voice, indicating that the microphone is picking up sound.
Method 2: Using Voice Memos
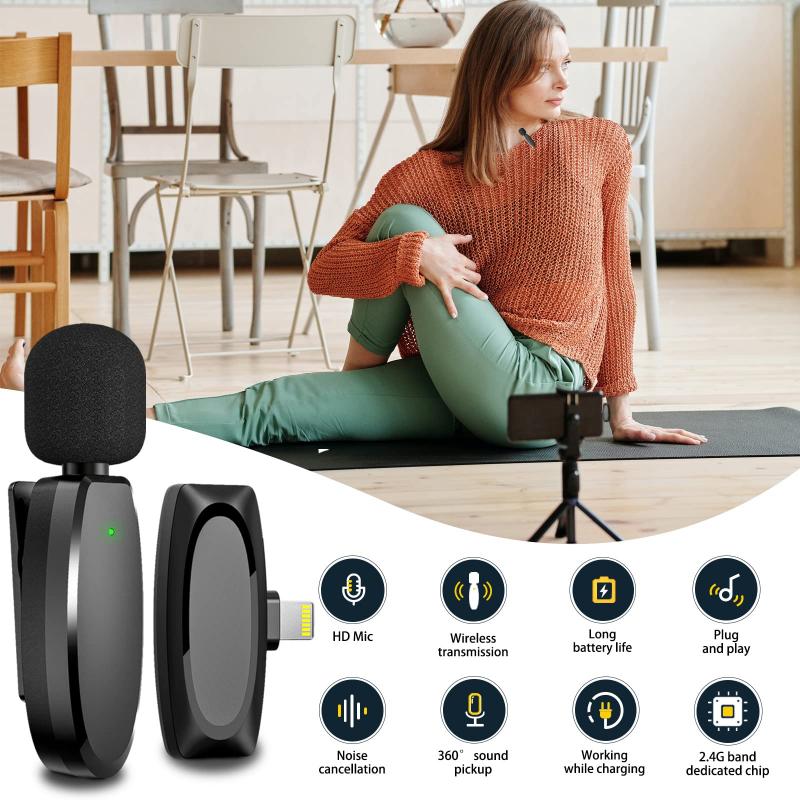
Voice Memos is a built-in application on macOS that allows you to record audio. It’s a handy tool for testing your microphone:
1. Open Voice Memos: You can find it in the Applications folder or by using Spotlight search (Cmd + Space and type "Voice Memos").
2. Record a Memo: Click on the red record button and speak into your microphone.
3. Playback the Recording: Stop the recording and play it back to check the audio quality. If you can hear your voice clearly, your microphone is working correctly.
Method 3: Using Third-Party Applications

Several third-party applications can help you test your microphone and provide more advanced features:
1. Audacity: A free, open-source audio recording and editing software. It offers detailed audio input monitoring and recording capabilities.
2. GarageBand: A more advanced option available on macOS, ideal for musicians and podcasters. It provides comprehensive tools for recording and editing audio.
3. Zoom: If you frequently use video conferencing software, you can test your microphone within the application. Go to Zoom’s settings, select "Audio," and use the "Test Mic" feature.
Troubleshooting Common Issues
If your microphone isn’t working correctly, here are some common issues and solutions:
1. Microphone Not Detected: Ensure that your external microphone is properly connected. Try unplugging and replugging it or using a different USB port.
2. Low Input Levels: If the input levels are too low, check the input volume slider in the Sound preferences and increase it. Also, ensure that the microphone is not muted.
3. Software Permissions: Some applications require permission to access your microphone. Go to System Preferences > Security & Privacy > Privacy tab, and ensure that the relevant applications have microphone access.
4. Background Noise: If you’re experiencing background noise, try using a noise-canceling microphone or enable noise reduction features in your audio software.
Optimizing Your Audio Setup
To get the best performance from your microphone, consider the following tips:
1. Positioning: Place the microphone at an appropriate distance from your mouth. Too close can cause distortion, while too far can result in low volume.
2. Environment: Choose a quiet environment with minimal background noise. Use soundproofing materials if necessary.
3. Pop Filter: Use a pop filter to reduce plosive sounds (like "p" and "b" sounds) that can cause distortion.
4. Regular Maintenance: Keep your microphone clean and free from dust. Regularly check cables and connections for any signs of wear or damage.
Testing your microphone on a Mac is a simple process that can be done using built-in tools like System Preferences and Voice Memos, or through third-party applications like Audacity and Zoom. By following the steps outlined in this article, you can ensure that your microphone is functioning correctly and troubleshoot any issues that may arise. Additionally, optimizing your audio setup can significantly improve the quality of your recordings and communications. Whether you’re a professional podcaster, a remote worker, or someone who enjoys casual chats with friends, having a reliable microphone setup is essential for clear and effective communication.


