How To Test Microphone On Pc?
Testing a microphone on a PC is a common task that many users need to perform, whether for work, gaming, or communication purposes. Ensuring that your microphone is functioning correctly can save you from potential issues during important calls or recordings. In this article, we will explore various methods to test your microphone on a PC, troubleshoot common problems, and provide tips for optimizing your microphone's performance.
Understanding the Basics
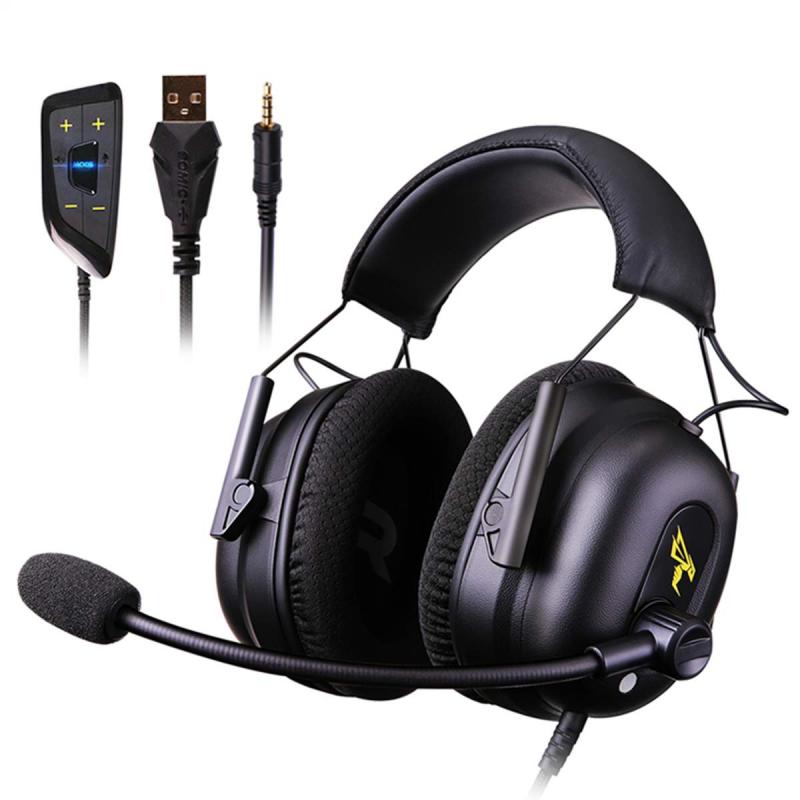
Before diving into the testing methods, it's essential to understand the basic components involved in using a microphone with a PC. These include:
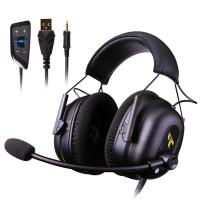
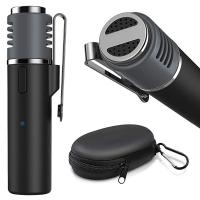
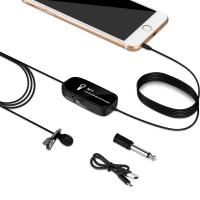
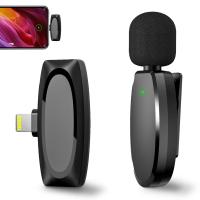
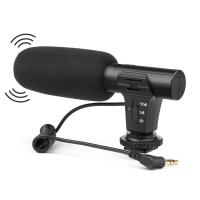
1. Microphone Hardware: This could be a built-in microphone, an external USB microphone, or a microphone connected via an audio jack.
2. Audio Drivers: These are software components that allow your operating system to communicate with your audio hardware.
3. Audio Settings: These settings can be found in your operating system and various applications that use the microphone.
Method 1: Using Windows Sound Settings
One of the simplest ways to test your microphone on a Windows PC is through the built-in sound settings.
1. Access Sound Settings:
- Right-click on the speaker icon in the taskbar and select "Open Sound settings."
- Under the "Input" section, you will see your microphone listed. Make sure it is selected as the default input device.
2. Test Your Microphone:
- Click on "Device properties" under the microphone section.
- You will see a "Test your microphone" option. Speak into your microphone, and you should see the input level bar move, indicating that your microphone is picking up sound.
3. Adjust Microphone Levels:
- If the input level is too low or too high, you can adjust the microphone volume by clicking on "Additional device properties" and navigating to the "Levels" tab.
Method 2: Using the Control Panel
Another way to test your microphone is through the Control Panel.
1. Open Control Panel:
- Type "Control Panel" in the Windows search bar and open it.
- Navigate to "Hardware and Sound" and then "Sound."
2. Access Recording Devices:
- Click on the "Recording" tab. Here, you will see a list of all available recording devices, including your microphone.
- Speak into your microphone, and you should see the green bars move next to your microphone, indicating that it is picking up sound.
3. Configure and Test:
- Right-click on your microphone and select "Properties."
- Go to the "Listen" tab and check the "Listen to this device" option. This will allow you to hear your microphone input through your speakers or headphones.
- Go to the "Levels" tab to adjust the microphone volume if necessary.
Method 3: Using Third-Party Software
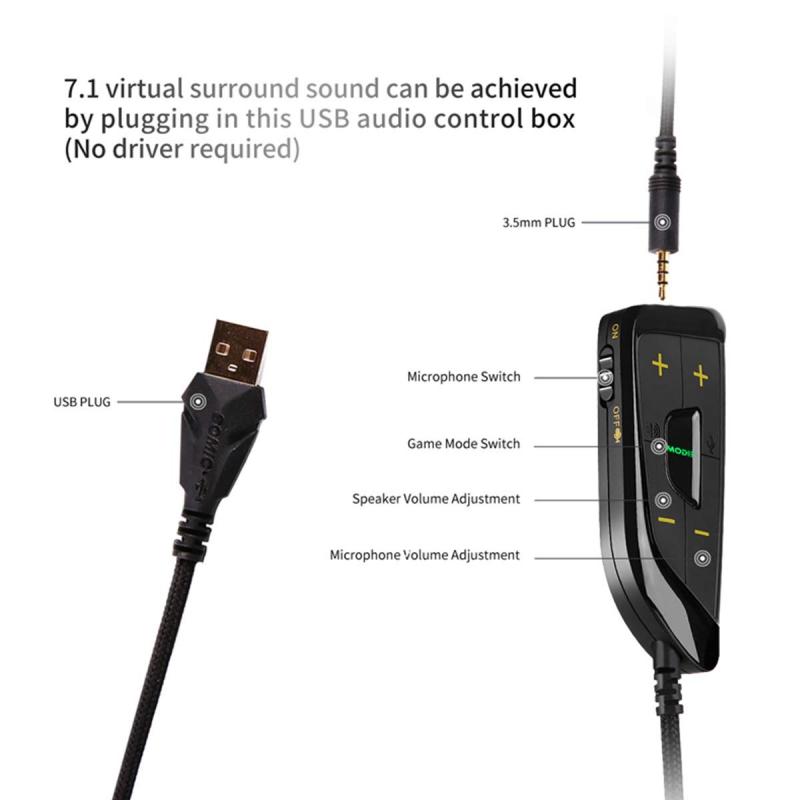
There are several third-party applications available that can help you test and configure your microphone. Some popular options include:
1. Audacity:
- Audacity is a free, open-source audio recording and editing software. It allows you to record audio from your microphone and play it back to check the quality.
- Download and install Audacity from its official website.
- Open Audacity, select your microphone as the input device, and click the record button. Speak into your microphone and then stop the recording. Play back the recording to check the sound quality.
2. VoiceMeeter:
- VoiceMeeter is a virtual audio mixer that allows you to manage audio inputs and outputs on your PC.
- Download and install VoiceMeeter from its official website.
- Open VoiceMeeter and configure your microphone as an input device. You can then monitor the input levels and adjust settings to optimize performance.
Troubleshooting Common Issues
If your microphone is not working correctly, there are several common issues you can troubleshoot:
1. Check Connections:
- Ensure that your microphone is properly connected to your PC. If you are using an external microphone, check the USB or audio jack connection.
2. Update Audio Drivers:
- Outdated or corrupted audio drivers can cause microphone issues. Update your audio drivers through the Device Manager or the manufacturer's website.
3. Check Privacy Settings:
- Windows 10 has privacy settings that can block applications from accessing your microphone. Go to "Settings" > "Privacy" > "Microphone" and ensure that microphone access is enabled for the apps you are using.
4. Disable Exclusive Mode:
- Some applications can take exclusive control of your microphone, preventing other apps from using it. Go to "Sound" settings, select your microphone, and click on "Properties." Under the "Advanced" tab, uncheck the "Allow applications to take exclusive control of this device" option.
5. Test with Different Applications:
- Sometimes, the issue may be with a specific application rather than the microphone itself. Test your microphone with different applications to see if the problem persists.
Optimizing Microphone Performance
To get the best performance from your microphone, consider the following tips:
1. Use a Pop Filter:
- A pop filter can reduce plosive sounds (like "p" and "b" sounds) that can cause distortion in your recordings.
2. Adjust Microphone Position:
- Position your microphone at an appropriate distance from your mouth. Too close, and you may get distortion; too far, and your voice may sound faint.
3. Reduce Background Noise:
- Use noise-canceling software or enable noise suppression features in your audio settings to minimize background noise.
4. Regular Maintenance:
- Keep your microphone clean and free from dust. Regularly check connections and cables for any signs of wear and tear.
Testing your microphone on a PC is a straightforward process that can be done using built-in Windows tools, the Control Panel, or third-party software. By following the methods outlined in this article, you can ensure that your microphone is functioning correctly and troubleshoot any issues that may arise. Additionally, optimizing your microphone's performance with the tips provided will help you achieve the best possible audio quality for your needs. Whether you're using your microphone for work, gaming, or communication, these steps will help you maintain clear and reliable audio.







There are no comments for this blog.