How To Test The Webcam?
Testing a webcam is a crucial step to ensure that it functions correctly, whether for professional video conferences, online classes, or casual video chats with friends and family. In this article, we will explore various methods to test your webcam, troubleshoot common issues, and optimize its performance. By the end of this guide, you will have a comprehensive understanding of how to ensure your webcam is working perfectly.
Understanding the Basics
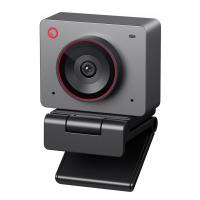
Before diving into the testing process, it’s essential to understand the basic components and functionalities of a webcam. A webcam typically includes a camera lens, a microphone, and sometimes an indicator light. It connects to your computer via USB or is built into your laptop or monitor. The primary purpose of a webcam is to capture video and audio, which can then be transmitted over the internet.
Methods to Test Your Webcam
1. Using Built-in Camera Applications
Most operating systems come with built-in camera applications that allow you to test your webcam easily.
- Windows: Open the Camera app by searching for "Camera" in the Start menu. If the webcam is working correctly, you should see a live video feed.
- Mac: Open the Photo Booth app from the Applications folder. If the webcam is functioning, you will see a live video feed.
2. Online Webcam Test Tools
Several online tools can help you test your webcam without installing any software. These tools are convenient and easy to use.
- Webcam Test: Visit websites like webcamtests.com or webcammictest.com. These sites will ask for permission to access your webcam. Once granted, you should see a live video feed if the webcam is working correctly.
3. Video Conferencing Applications
You can also test your webcam using video conferencing applications like Zoom, Skype, or Google Meet.
- Zoom: Open Zoom and go to Settings > Video. You should see a preview of your webcam feed.
- Skype: Open Skype and go to Settings > Audio & Video. You should see a live video feed from your webcam.
- Google Meet: Start a new meeting and check the video preview before joining.
Troubleshooting Common Webcam Issues
Even after testing, you might encounter some issues with your webcam. Here are some common problems and their solutions:
1. Webcam Not Detected
- Check Connections: Ensure that your webcam is properly connected to your computer. If it’s a USB webcam, try plugging it into a different USB port.
- Update Drivers: Outdated drivers can cause detection issues. Go to Device Manager (Windows) or System Preferences > Software Update (Mac) and update your webcam drivers.
- Enable Webcam: Sometimes, the webcam might be disabled in the device settings. Go to Device Manager (Windows) or System Preferences > Security & Privacy (Mac) and enable the webcam.
2. Poor Video Quality
- Lighting: Ensure that you have adequate lighting. Natural light is best, but you can also use artificial lighting to improve video quality.
- Clean the Lens: Dust and smudges on the lens can affect video quality. Use a microfiber cloth to clean the lens.
- Resolution Settings: Check the resolution settings in your webcam software or video conferencing app. Higher resolution settings will provide better video quality.
3. No Audio
- Check Microphone Settings: Ensure that the microphone is not muted and the correct microphone is selected in your audio settings.
- Update Audio Drivers: Outdated audio drivers can cause issues. Update your audio drivers through Device Manager (Windows) or System Preferences > Software Update (Mac).
- Test with Another Application: Test the microphone with another application to ensure it’s not an issue with the specific software you are using.
Optimizing Webcam Performance
Once you have tested and troubleshooted your webcam, you can take additional steps to optimize its performance.
1. Adjust Camera Settings
Most webcams come with software that allows you to adjust settings like brightness, contrast, and saturation. Experiment with these settings to find the best configuration for your environment.
2. Use a Tripod or Mount
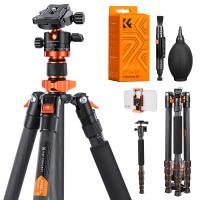
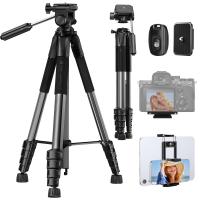
If you are using an external webcam, consider using a tripod or mount to stabilize the camera. This will help prevent shaky video and allow you to position the camera at the best angle.
3. Upgrade Your Webcam
If you are still not satisfied with the performance, it might be time to upgrade your webcam. Look for webcams with higher resolution, better low-light performance, and advanced features like autofocus and built-in microphones.
Testing your webcam is a straightforward process that can save you from potential embarrassment during important video calls. By using built-in camera applications, online tools, and video conferencing apps, you can quickly verify that your webcam is functioning correctly. If you encounter any issues, troubleshooting steps like checking connections, updating drivers, and adjusting settings can help resolve them. Finally, optimizing your webcam’s performance through proper lighting, cleaning the lens, and using a tripod can enhance your video quality significantly.
By following this comprehensive guide, you can ensure that your webcam is always ready for any video call, whether it’s for work, school, or socializing. Happy video chatting!


