How To Use A Light Microscope?
Using a light microscope is a fundamental skill in many scientific fields, including biology, materials science, and medical research. This article will guide you through the essential steps and best practices for using a light microscope effectively. Whether you are a student, a researcher, or a hobbyist, understanding how to properly use a light microscope can significantly enhance your ability to observe and analyze microscopic structures.
Understanding the Components of a Light Microscope
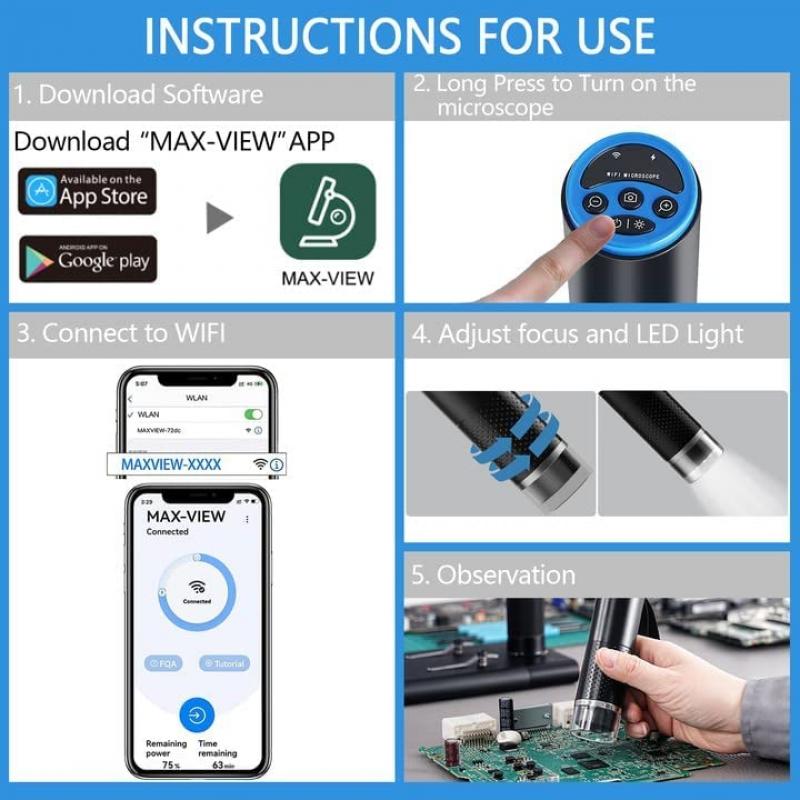
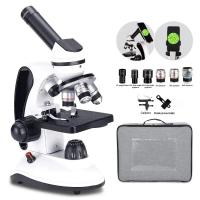
Before diving into the usage, it's crucial to familiarize yourself with the main components of a light microscope:
1. Eyepiece (Ocular Lens): The lens you look through, usually with a magnification of 10x.
2. Objective Lenses: These are the primary lenses that magnify the specimen. They typically come in 4x, 10x, 40x, and 100x magnifications.
3. Stage: The platform where the slide is placed.
4. Illuminator: The light source, usually located at the base.
5. Condenser: Focuses the light onto the specimen.
6. Diaphragm: Controls the amount of light reaching the specimen.
7. Coarse and Fine Focus Knobs: Used to bring the specimen into focus.
Preparing the Microscope
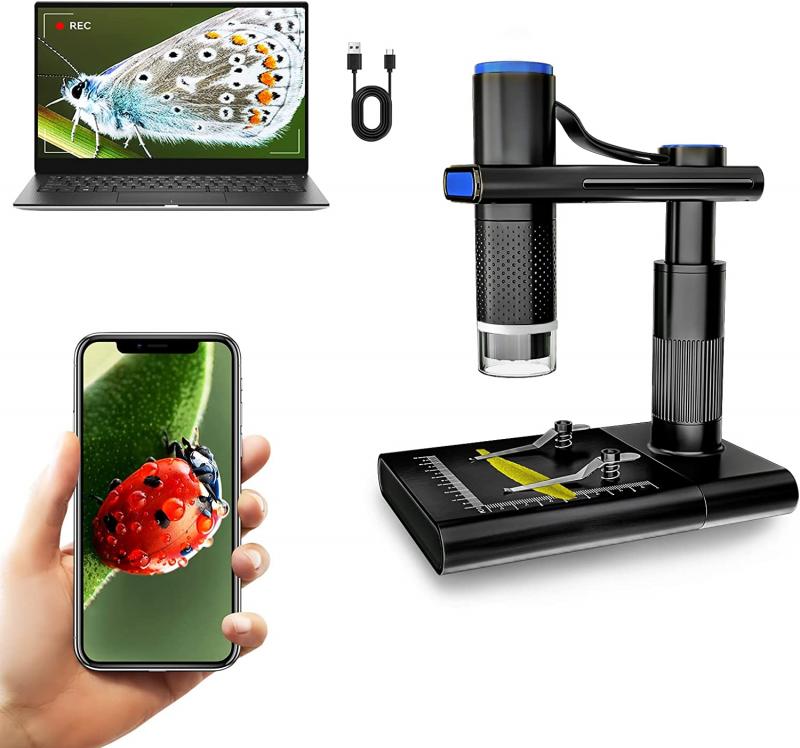
1. Clean the Lenses: Use lens paper to gently clean the eyepiece and objective lenses. Avoid using regular tissue or cloth as they can scratch the lenses.
2. Turn On the Illuminator: Ensure the light source is functioning correctly. Adjust the brightness to a comfortable level.
Preparing the Specimen
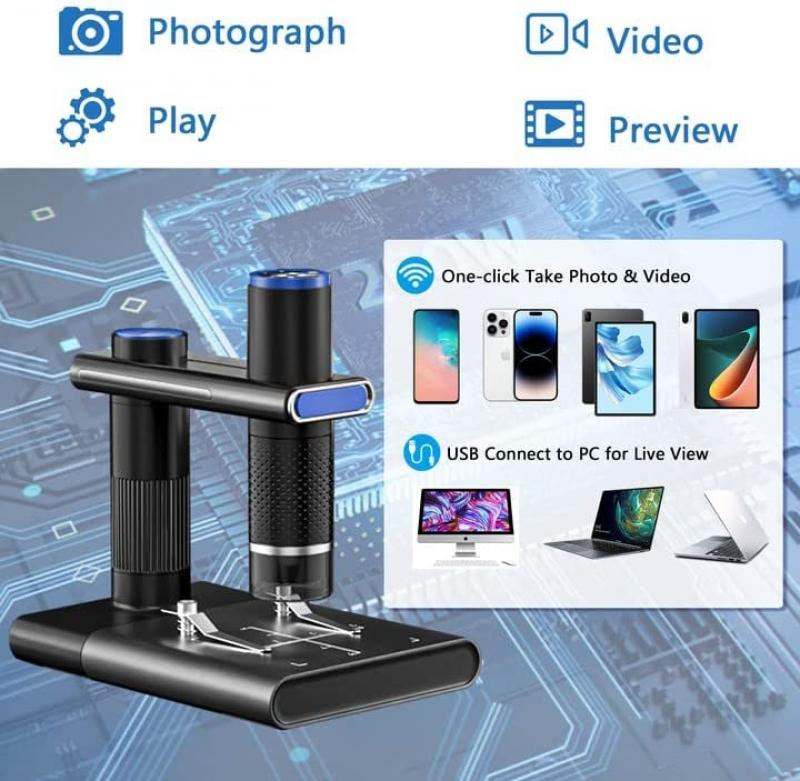
1. Slide Preparation: Place the specimen on a clean slide. If necessary, add a drop of water or stain to enhance visibility.
2. Cover Slip: Gently place a cover slip over the specimen to flatten it and protect the objective lenses from coming into direct contact with the specimen.
Placing the Slide on the Stage

1. Position the Slide: Place the slide on the stage and secure it using the stage clips.
2. Center the Specimen: Use the stage controls to move the slide so that the specimen is directly under the objective lens.
Focusing the Microscope
1. Start with the Lowest Magnification: Begin with the 4x objective lens. This provides a broader field of view and makes it easier to locate the specimen.
2. Coarse Focus: Use the coarse focus knob to bring the specimen into general focus.
3. Fine Focus: Once the specimen is visible, switch to the fine focus knob to sharpen the image.
Increasing Magnification
1. Switch to Higher Magnifications: Once the specimen is in focus at low magnification, rotate the nosepiece to switch to a higher magnification objective lens (10x, 40x, or 100x).
2. Refocus: Use the fine focus knob to adjust the focus as you increase magnification. Avoid using the coarse focus knob at higher magnifications to prevent damaging the slide or the objective lens.
Adjusting the Light
1. Condenser and Diaphragm: Adjust the condenser and diaphragm to control the amount of light and improve contrast. A higher magnification typically requires more light.
2. Brightness: Adjust the illuminator's brightness to a comfortable level. Too much light can wash out the image, while too little can make it difficult to see details.
Observing the Specimen
1. Scan the Slide: Move the slide around to observe different areas of the specimen. This can help you find regions of interest and get a comprehensive view.
2. Take Notes: Document your observations, including the magnification level and any notable features of the specimen.
Troubleshooting Common Issues
1. Blurry Image: Ensure the slide is properly centered and the lenses are clean. Adjust the focus knobs slowly and carefully.
2. Insufficient Light: Check the illuminator and adjust the diaphragm and condenser. Ensure the light source is not obstructed.
3. Specimen Not Visible: Start with the lowest magnification and ensure the slide is correctly positioned. Double-check that the specimen is properly prepared and stained if necessary.
Advanced Techniques
1. Oil Immersion: For the highest magnification (100x), you may need to use oil immersion. Place a drop of immersion oil on the cover slip and carefully lower the 100x objective lens into the oil. This technique increases resolution and clarity.
2. Phase Contrast: If your microscope is equipped with phase contrast capabilities, use this feature to enhance the contrast of transparent specimens without staining.
Maintenance and Care
1. Regular Cleaning: Clean the lenses and other components regularly using appropriate materials. Store the microscope in a dust-free environment.
2. Proper Storage: Cover the microscope with a dust cover when not in use. Store it in a dry, cool place to prevent damage from humidity and temperature fluctuations.
3. Handling with Care: Always handle the microscope with care, especially when moving it. Use both hands, one on the arm and one under the base, to ensure stability.
Mastering the use of a light microscope is a valuable skill that opens up a world of microscopic exploration. By following the steps outlined in this guide, you can effectively prepare, observe, and analyze specimens with confidence. Remember to start with the basics, practice regularly, and gradually explore advanced techniques as you become more comfortable with the equipment. Whether you are conducting scientific research, studying biology, or simply satisfying your curiosity, a light microscope is an indispensable tool that can provide profound insights into the microscopic world.









There are no comments for this blog.