How To Use Headphones On Pc With Mic?
Using headphones with a built-in microphone on a PC can significantly enhance your audio experience, whether you're gaming, attending virtual meetings, or simply enjoying multimedia content. However, many users encounter challenges when trying to set up their headphones and mic correctly. This article will guide you through the process, addressing common issues and providing practical solutions to ensure you get the best performance from your audio equipment.
Understanding Your Headphones and PC Ports
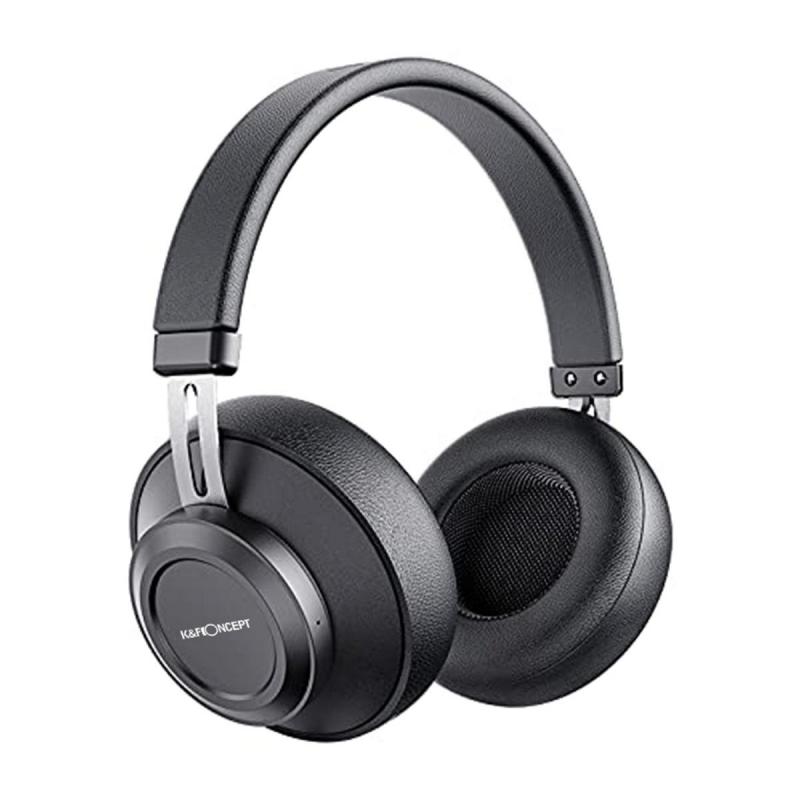
Before diving into the setup process, it's essential to understand the types of ports available on your PC and the connectors on your headphones. Most modern PCs come with separate jacks for headphones and microphones, typically color-coded (green for headphones and pink for microphones). However, some newer models, especially laptops, feature a single combined audio jack (TRRS) that supports both headphones and microphones.
Step-by-Step Guide to Setting Up Headphones with Mic on PC
1. Identify Your Connectors
- Separate Jacks: If your PC has separate jacks for headphones and microphones, you will need a headphone splitter if your headphones have a single TRRS connector. This splitter will divide the single connector into two separate plugs for the headphone and microphone jacks.
- Single Jack: If your PC has a single combined audio jack, you can directly plug in your headphones with a built-in mic.
2. Plugging in Your Headphones
- Separate Jacks: Use the splitter to connect your headphones. Insert the headphone plug into the green jack and the microphone plug into the pink jack.
- Single Jack: Simply plug your headphones into the combined audio jack.
3. Configuring Audio Settings
Once your headphones are connected, you need to configure your PC's audio settings to ensure the microphone works correctly.
- Windows 10:
1. Right-click the sound icon in the taskbar and select "Open Sound settings."
2. Under "Input," select your headphone's microphone from the dropdown menu.
3. Click on "Device properties" to adjust the microphone volume and test the mic.
- Windows 11:
1. Right-click the sound icon in the taskbar and select "Sound settings."
2. Under "Input," choose your headphone's microphone.
3. Click on "Device properties" to adjust settings and test the mic.
4. Testing Your Microphone
To ensure your microphone is working correctly, you can use the built-in Windows Voice Recorder or any other recording software. Speak into the microphone and play back the recording to check the audio quality.
Troubleshooting Common Issues
Despite following the setup steps, you might encounter some issues. Here are common problems and their solutions:
1. Microphone Not Detected
- Check Connections: Ensure that all plugs are securely connected to the correct jacks.
- Update Drivers: Outdated or missing audio drivers can cause detection issues. Update your audio drivers through the Device Manager.
- Enable Microphone: Go to "Sound settings" and ensure the microphone is enabled and set as the default input device.
2. Poor Audio Quality
- Adjust Settings: In the "Device properties" section, adjust the microphone volume and boost settings.
- Check for Interference: Ensure there are no electronic devices causing interference near your microphone.
- Use Noise Reduction: Some headphones come with software that offers noise reduction features. Enable these settings to improve audio quality.
3. Echo or Feedback
- Reduce Volume: Lower the volume of your speakers or headphones to minimize feedback.
- Positioning: Ensure the microphone is not too close to the speakers.
- Use Headphones: Using headphones instead of speakers can significantly reduce echo and feedback.
Advanced Tips for Optimal Performance
For users looking to get the most out of their headphones and microphone setup, here are some advanced tips:
1. Use a Dedicated Sound Card
A dedicated sound card can provide better audio quality and more control over your audio settings compared to the built-in sound card on your motherboard. This is especially beneficial for gamers and content creators.
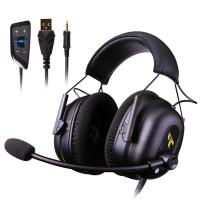
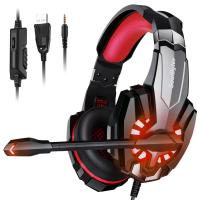
2. Invest in a Quality Headset
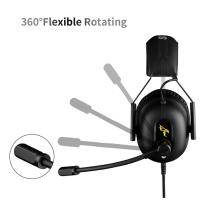
While budget headphones can get the job done, investing in a high-quality headset can offer superior sound and microphone quality. Look for headsets with noise-canceling features and comfortable designs for extended use.
3. Utilize Software Enhancements
Many headphones come with companion software that offers various enhancements such as equalizers, surround sound, and microphone tuning. Utilize these tools to customize your audio experience to your liking.
4. Regular Maintenance
Keep your headphones and microphone clean and free from dust. Regularly check the cables and connectors for any signs of wear and tear. Proper maintenance can extend the lifespan of your audio equipment and ensure consistent performance.
Setting up headphones with a built-in microphone on a PC may seem daunting at first, but with the right knowledge and tools, it can be a straightforward process. By following the steps outlined in this article, you can ensure that your headphones and microphone are correctly configured, providing you with clear audio and seamless communication. Whether you're gaming, working, or enjoying multimedia content, a properly set up audio system can significantly enhance your overall experience.


