How To Use Iphone As Microphone?
In today's digital age, the versatility of our devices often goes underappreciated. One such underutilized feature is using an iPhone as a microphone. Whether you're a podcaster, a musician, or someone who needs a quick and easy way to amplify your voice, your iPhone can serve as a handy tool. This article will guide you through the various methods and applications to turn your iPhone into a functional microphone, addressing common user demands and practical issues.
Why Use an iPhone as a Microphone?
Before diving into the how-to, it's essential to understand why you might want to use your iPhone as a microphone. Here are some scenarios where this feature can be particularly useful:
1. Podcasting and Recording: If you're starting a podcast or need to record audio on the go, your iPhone can serve as a reliable microphone.
2. Public Speaking: In situations where a traditional microphone isn't available, your iPhone can be a quick substitute.
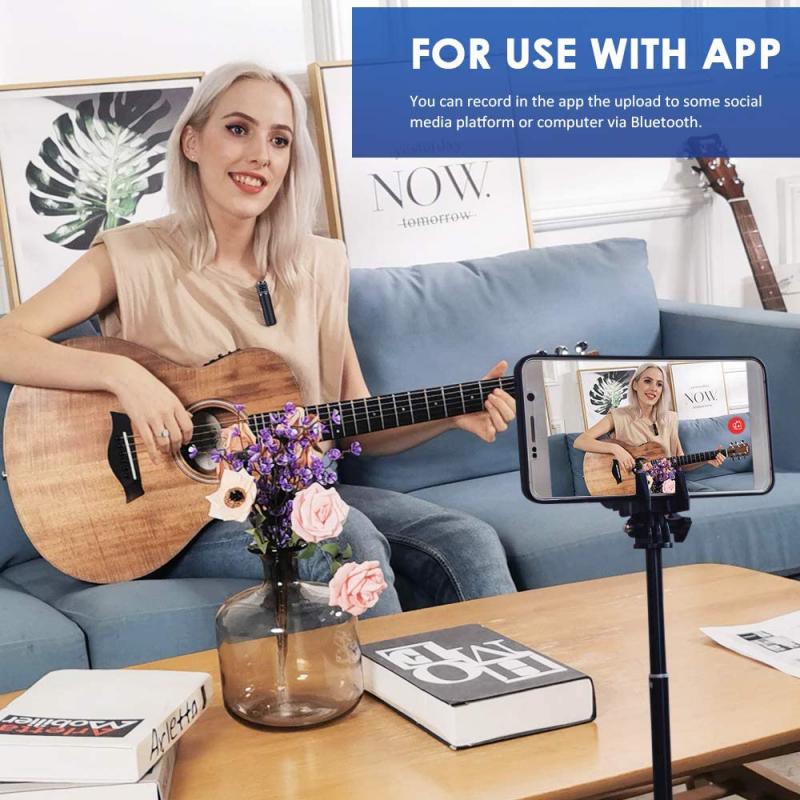
3. Musical Performances: Musicians can use their iPhones to amplify their instruments or vocals during impromptu performances.
4. Voice Amplification: For individuals with soft voices or those who need to project their voice in a large room, an iPhone can help amplify their speech.
Methods to Use Your iPhone as a Microphone
1. Using Built-in Apps
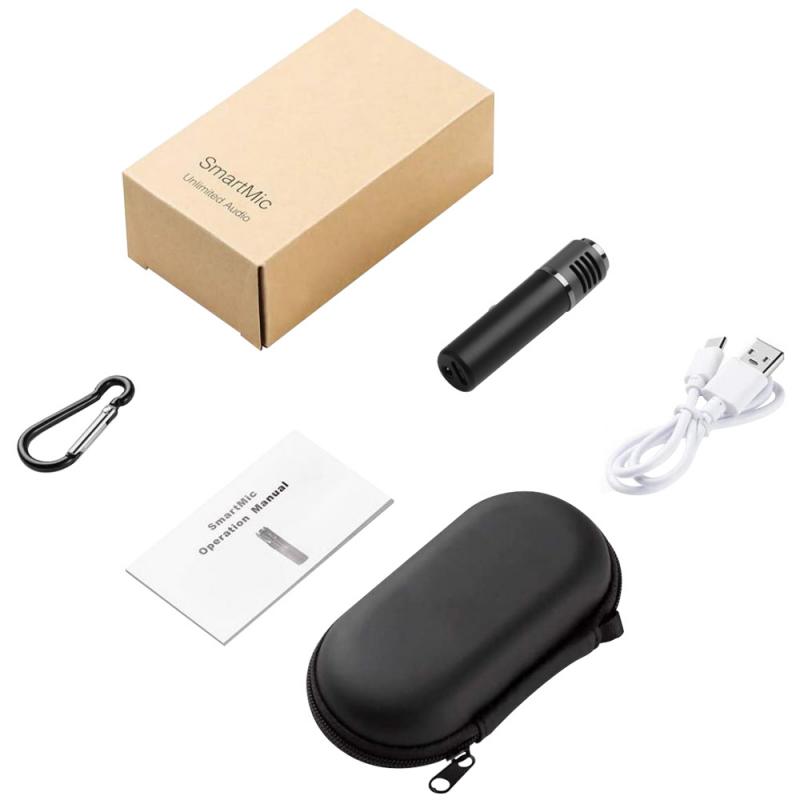
Voice Memos: The simplest way to use your iPhone as a microphone is through the built-in Voice Memos app. While primarily designed for recording, it can also serve as a basic microphone.
- How to Use:
1. Open the Voice Memos app.
2. Press the red record button to start recording.
3. Speak into the iPhone's microphone.
4. Press the stop button to end the recording.
5. You can then play back the recording or share it via email or messaging apps.
GarageBand: For more advanced users, GarageBand offers a range of features that can turn your iPhone into a professional-grade microphone.
- How to Use:
1. Open GarageBand and create a new project.
2. Select the "Audio Recorder" option.
3. Choose the "Voice" setting for optimal audio quality.
4. Press the record button and start speaking or playing your instrument.
5. You can edit, mix, and export the audio file as needed.
2. Using Third-Party Apps
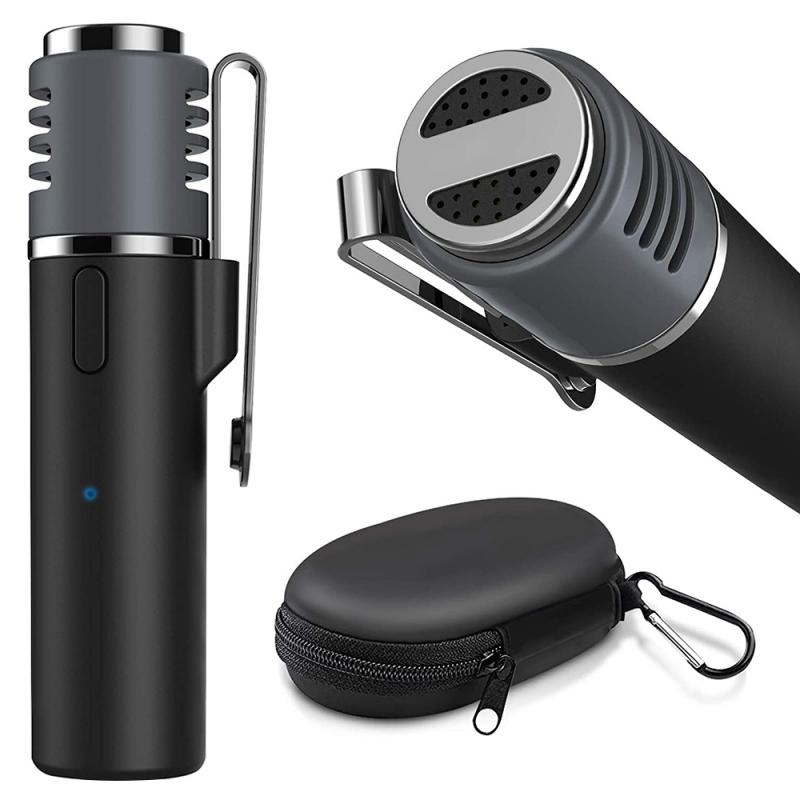
Several third-party apps can enhance your iPhone's microphone capabilities. Here are a few popular options:
Megaphone: This app turns your iPhone into a live microphone, amplifying your voice in real-time.
- How to Use:
1. Download and install the Megaphone app from the App Store.
2. Open the app and grant the necessary permissions.
3. Connect your iPhone to a speaker using a 3.5mm audio cable or Bluetooth.
4. Speak into your iPhone, and your voice will be amplified through the connected speaker.
Microphone Pro: This app offers various settings and effects to customize your microphone experience.
- How to Use:
1. Download and install Microphone Pro from the App Store.
2. Open the app and adjust the settings to your preference.
3. Connect your iPhone to a speaker.
4. Use the app to amplify your voice or instrument.
3. Using External Hardware
For those seeking higher audio quality, external hardware can be used in conjunction with your iPhone.
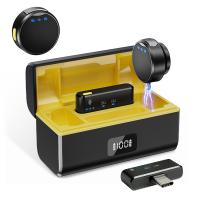
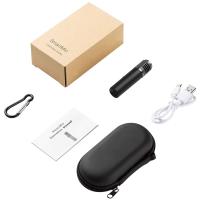
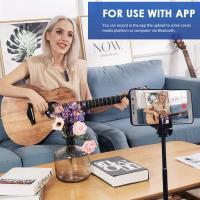
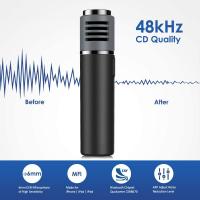
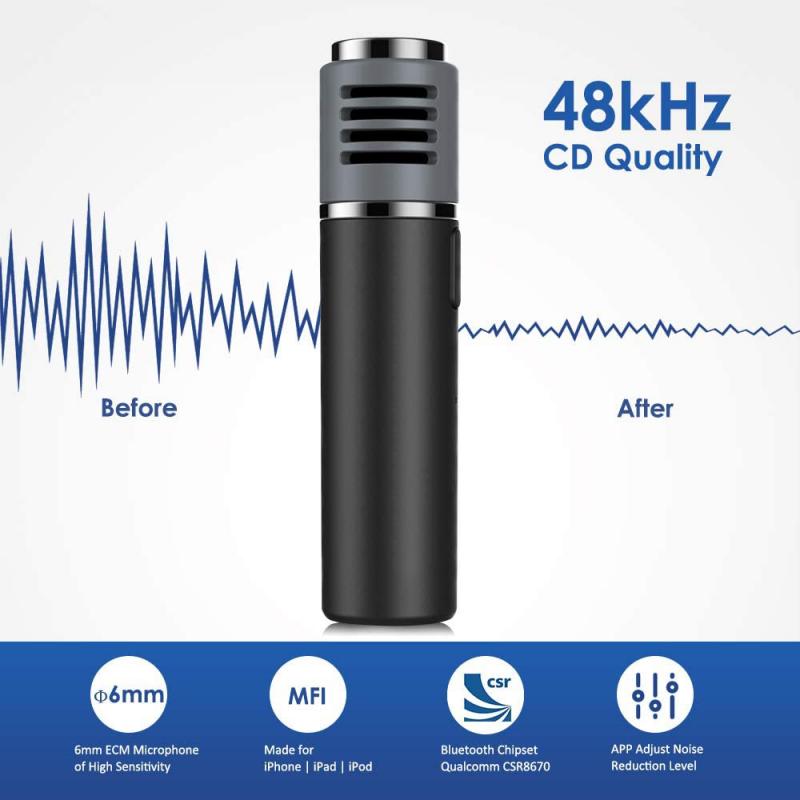
External Microphones: Devices like the Shure MV88 or Rode iXY can be connected to your iPhone's Lightning port, offering superior audio quality.
- How to Use:
1. Connect the external microphone to your iPhone.
2. Open your preferred recording or amplification app.
3. Adjust the settings for optimal audio quality.
4. Start recording or amplifying your voice.
Audio Interfaces: For musicians, an audio interface like the iRig can connect instruments directly to your iPhone.
- How to Use:
1. Connect your instrument to the audio interface.
2. Connect the audio interface to your iPhone.
3. Open a recording app like GarageBand.
4. Adjust the settings and start recording.
Practical Tips for Using Your iPhone as a Microphone
1. Positioning: Ensure your iPhone's microphone is positioned correctly. For voice recording, hold the iPhone about 6-12 inches from your mouth. For instruments, experiment with different distances to find the best sound.
2. Environment: Record in a quiet environment to minimize background noise. Use a pop filter or windscreen to reduce plosive sounds and wind noise.
3. Settings: Adjust the app settings for optimal audio quality. Experiment with different effects and filters to enhance your recording.
4. Battery Life: Using your iPhone as a microphone can drain the battery quickly. Ensure your device is fully charged or connected to a power source during extended use.
Troubleshooting Common Issues
1. Audio Quality: If the audio quality is poor, check the microphone settings and ensure there are no obstructions. Using an external microphone can significantly improve quality.
2. Latency: Some apps may introduce latency, causing a delay between speaking and hearing your voice. Use apps designed for real-time amplification to minimize latency.
3. Connectivity: Ensure your iPhone is properly connected to any external hardware or speakers. Check for loose connections or compatibility issues.
Using your iPhone as a microphone is a versatile and practical solution for various scenarios. Whether you're recording a podcast, amplifying your voice, or performing music, your iPhone can serve as a reliable tool. By utilizing built-in apps, third-party applications, and external hardware, you can achieve high-quality audio with minimal effort. Remember to follow practical tips and troubleshoot common issues to ensure the best experience. With these guidelines, you'll be well-equipped to make the most of your iPhone's microphone capabilities.

