How To Use Iphone As Webcam Mac?
In today's digital age, the need for high-quality video communication has never been more critical. Whether you're attending virtual meetings, live streaming, or creating content, having a reliable webcam is essential. However, not everyone has access to a high-end webcam. Fortunately, if you own an iPhone and a Mac, you can use your iPhone as a webcam, leveraging its superior camera quality. This article will guide you through the process, providing practical solutions and tips to ensure a seamless experience.
Why Use an iPhone as a Webcam?
Before diving into the how-to, it's essential to understand why you might want to use your iPhone as a webcam. iPhones, especially the newer models, come equipped with high-resolution cameras that often surpass the quality of standard webcams. By using your iPhone as a webcam, you can achieve better video quality for your meetings, streams, or recordings without investing in additional hardware.
Prerequisites
To use your iPhone as a webcam for your Mac, you'll need the following:
1. iPhone: Preferably a model with a high-quality camera.
2. Mac: Running macOS.
3. USB Cable: To connect your iPhone to your Mac.
4. App: A third-party app that facilitates the connection between your iPhone and Mac.
Step-by-Step Guide
1. Choose the Right App
Several apps can turn your iPhone into a webcam for your Mac. Some popular options include:
- EpocCam: A widely-used app that supports both Windows and macOS.
- iVCam: Another versatile app with various features.
- Camo: Known for its high-quality video output and extensive customization options.
For this guide, we'll focus on using EpocCam, but the steps are similar for other apps.
2. Install the App on Your iPhone and Mac
- On Your iPhone: Go to the App Store, search for "EpocCam," and install it.
- On Your Mac: Visit the EpocCam website, download the macOS drivers, and install them. This step is crucial as it allows your Mac to recognize your iPhone as a webcam.
3. Connect Your iPhone to Your Mac
- Wired Connection: Using a USB cable, connect your iPhone to your Mac. This method ensures a stable connection and better video quality.
- Wireless Connection: If you prefer a wireless setup, ensure both your iPhone and Mac are connected to the same Wi-Fi network. Note that a wired connection is generally more reliable.
4. Launch the App
- On Your iPhone: Open the EpocCam app. You should see a screen indicating that the app is ready to stream video.
- On Your Mac: Open the video conferencing or streaming software you plan to use (e.g., Zoom, Skype, OBS). In the video settings, select "EpocCam" as your camera source.
5. Adjust Settings
To optimize your video quality, you may need to adjust some settings:
- Resolution: Higher resolutions provide better video quality but require more bandwidth. Choose a resolution that balances quality and performance.
- Frame Rate: A higher frame rate results in smoother video but can also increase the load on your system. A frame rate of 30fps is generally sufficient for most purposes.
- Lighting: Ensure you have adequate lighting to enhance video quality. Natural light or a ring light can make a significant difference.
Troubleshooting Common Issues
While using your iPhone as a webcam is generally straightforward, you may encounter some issues. Here are common problems and their solutions:
1. Connection Issues
- Wired Connection: Ensure the USB cable is properly connected. Try using a different cable or USB port if the issue persists.
- Wireless Connection: Check that both devices are on the same Wi-Fi network. Restart your router if necessary.
2. App Not Recognized
- Drivers: Ensure the EpocCam drivers are correctly installed on your Mac. Reinstall them if needed.
- Permissions: Check that the app has the necessary permissions to access your camera and microphone.
3. Poor Video Quality
- Resolution and Frame Rate: Lower the resolution or frame rate to improve performance.
- Lighting: Improve your lighting setup to enhance video quality.
Advanced Tips
For those looking to get the most out of their iPhone webcam setup, here are some advanced tips:
1. Use a Tripod
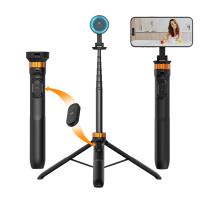
Stability is key to professional-looking video. Use a tripod or a phone stand to keep your iPhone steady during use.
2. External Microphone
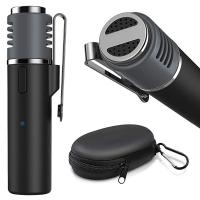
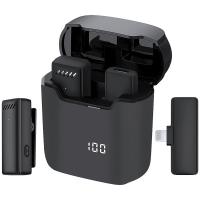
While the iPhone's built-in microphone is decent, an external microphone can significantly improve audio quality. Consider using a USB or Bluetooth microphone for better sound.
3. Background and Framing
Pay attention to your background and framing. A clean, uncluttered background and proper framing can make your video appear more professional.
Using your iPhone as a webcam for your Mac is a cost-effective way to achieve high-quality video for various purposes. By following the steps outlined in this guide, you can set up your iPhone as a webcam quickly and efficiently. Whether you're attending virtual meetings, live streaming, or creating content, this setup can significantly enhance your video quality, making you look more professional and polished.
Remember, the key to a successful setup is choosing the right app, ensuring a stable connection, and optimizing your settings. With a bit of practice and adjustment, you'll be able to make the most of your iPhone's impressive camera capabilities. Happy streaming!





There are no comments for this blog.