How To Work Microphone?
Understanding how to work a microphone is essential for various applications, from professional audio recording to casual communication. This article will guide you through the fundamental aspects of using a microphone, covering different types of microphones, their setup, and best practices for optimal performance.
Types of Microphones
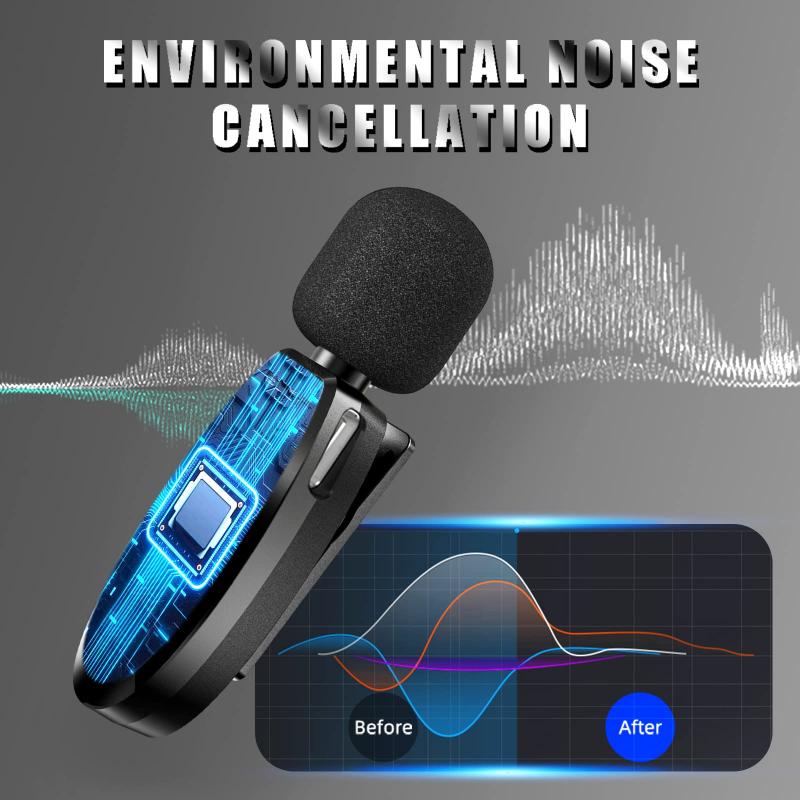
Before diving into the specifics of how to work a microphone, it's important to understand the different types available. Each type has unique characteristics and is suited for different applications.
1. Dynamic Microphones: These are robust and versatile, making them ideal for live performances. They can handle high sound pressure levels without distortion.
2. Condenser Microphones: Known for their sensitivity and accuracy, condenser microphones are commonly used in studio settings. They require an external power source, usually provided by phantom power.
3. Ribbon Microphones: These are delicate and provide a warm, vintage sound. They are often used for recording vocals and certain instruments in a controlled environment.
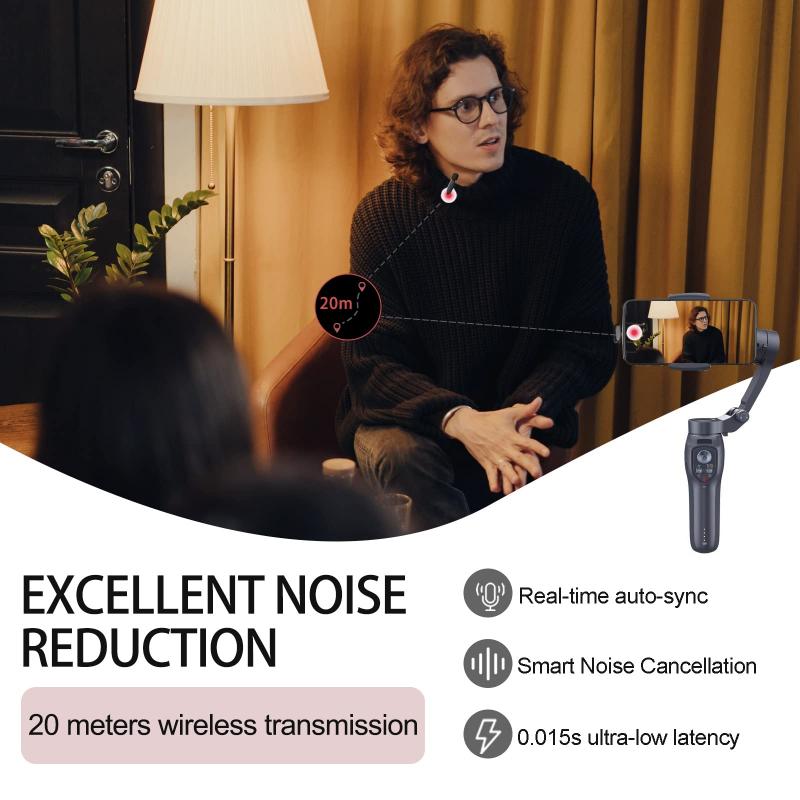
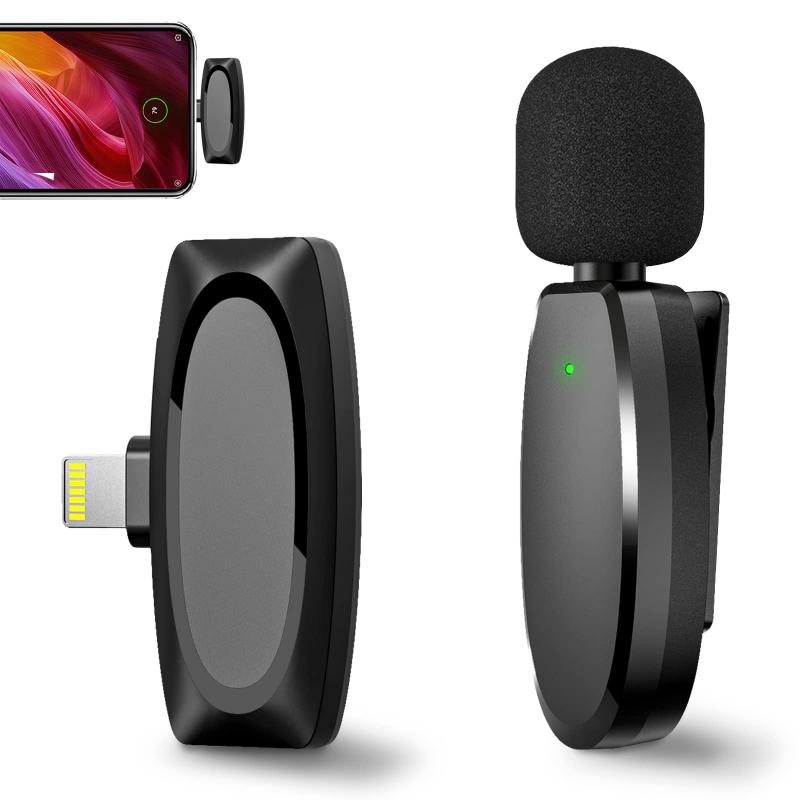
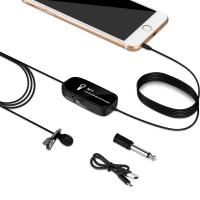
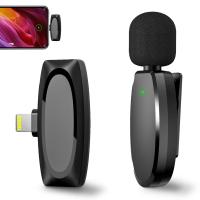
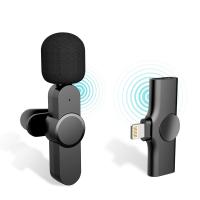
4. Lavalier Microphones: Small and discreet, lavalier microphones are typically used in broadcasting and public speaking.
5. USB Microphones: These are convenient for home recording and podcasting, as they can be directly connected to a computer without the need for additional equipment.
Setting Up Your Microphone

Proper setup is crucial for achieving the best sound quality. Here are the steps to set up different types of microphones:
Dynamic Microphones
1. Connect the Microphone: Use an XLR cable to connect the microphone to an audio interface or mixer.
2. Position the Microphone: Place the microphone close to the sound source, typically 6-12 inches away. Adjust the angle to capture the desired sound.
3. Adjust Levels: Use the gain control on your audio interface or mixer to set the input level. Avoid setting it too high to prevent distortion.
Condenser Microphones
1. Connect the Microphone: Use an XLR cable to connect the microphone to an audio interface or mixer that provides phantom power.
2. Enable Phantom Power: Turn on the phantom power (+48V) on your audio interface or mixer.
3. Position the Microphone: Place the microphone at an appropriate distance from the sound source, usually 6-12 inches for vocals. Use a pop filter to reduce plosive sounds.
4. Adjust Levels: Set the input level using the gain control. Monitor the levels to ensure they are not peaking.
USB Microphones
1. Connect the Microphone: Plug the USB microphone directly into your computer's USB port.
2. Install Drivers: If necessary, install the drivers provided by the manufacturer.
3. Select the Microphone: In your computer's sound settings, select the USB microphone as the input device.
4. Position the Microphone: Place the microphone close to the sound source, typically 6-12 inches away.
5. Adjust Levels: Use the software settings to adjust the input level.
Best Practices for Using a Microphone
To achieve the best sound quality, follow these best practices:
1. Use a Pop Filter: A pop filter helps reduce plosive sounds (like "p" and "b" sounds) that can cause distortion.
2. Maintain Consistent Distance: Keep a consistent distance from the microphone to ensure even sound levels.
3. Avoid Handling Noise: Minimize handling noise by using a shock mount or stand.
4. Monitor Levels: Continuously monitor the input levels to avoid clipping and distortion.
5. Use Proper Acoustics: Record in a room with good acoustics to reduce unwanted reflections and background noise.
Troubleshooting Common Issues
Even with proper setup, you may encounter some common issues. Here are solutions to a few of them:
1. No Sound: Ensure all connections are secure and the microphone is selected as the input device. Check if phantom power is enabled for condenser microphones.
2. Distorted Sound: Lower the input gain to prevent clipping. Ensure the microphone is not too close to the sound source.
3. Background Noise: Use a noise gate or high-pass filter to reduce background noise. Record in a quieter environment if possible.
4. Feedback: Position the microphone away from speakers and reduce the volume of the speakers.
Advanced Techniques
For those looking to take their microphone usage to the next level, here are some advanced techniques:
1. Multi-Microphone Setup: Use multiple microphones to capture different aspects of a sound source. For example, use one microphone for vocals and another for instruments.
2. Stereo Recording: Use two microphones to create a stereo image. This technique is often used for recording acoustic instruments and ensembles.
3. Room Miking: Place a microphone at a distance to capture the natural reverb of the room. This adds depth and space to the recording.
4. Microphone Polar Patterns: Experiment with different polar patterns (e.g., cardioid, omnidirectional, figure-8) to capture sound from different directions and reduce unwanted noise.
Working a microphone effectively requires understanding the type of microphone you are using, setting it up correctly, and following best practices to achieve optimal sound quality. By addressing common issues and exploring advanced techniques, you can enhance your recordings and ensure professional results. Whether you are a musician, podcaster, or public speaker, mastering microphone usage is a valuable skill that will significantly improve your audio production.






There are no comments for this blog.