Can I Use My Phone As A Webcam?
In today's digital age, the need for high-quality video communication has never been more critical. Whether it's for remote work, online classes, or virtual social gatherings, having a reliable webcam is essential. However, not everyone has access to a dedicated webcam, and even if they do, the quality might not always be up to par. This is where the idea of using your smartphone as a webcam comes into play. Smartphones, especially modern ones, come equipped with high-resolution cameras that can rival, if not surpass, many standalone webcams. In this article, we will explore how you can use your phone as a webcam, the benefits of doing so, and some practical tips to get the best results.
Why Use Your Phone as a Webcam?
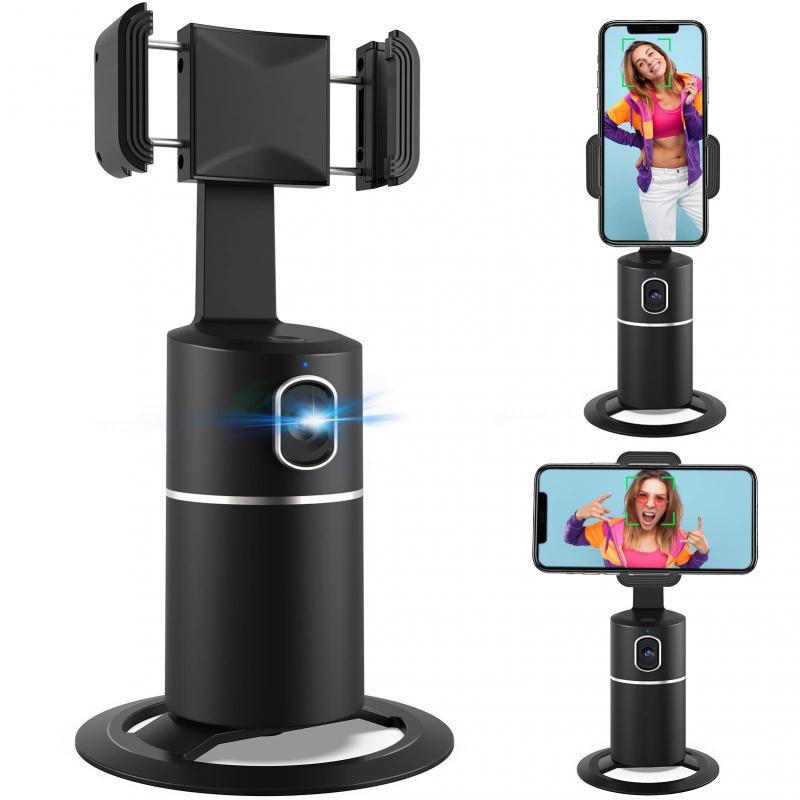
Before diving into the how-to, it's essential to understand why you might want to use your phone as a webcam in the first place. Here are some compelling reasons:
1. Superior Camera Quality: Most modern smartphones come with high-resolution cameras that offer better image quality than many standard webcams. This can be particularly beneficial for professional video calls or content creation.
2. Cost-Effective: If you already own a smartphone, using it as a webcam can save you the cost of purchasing a separate device.
3. Portability: Smartphones are portable and can be easily positioned anywhere, giving you more flexibility in setting up your video calls.
4. Multi-Functionality: Your smartphone can serve multiple purposes, reducing the need for additional gadgets.
How to Use Your Phone as a Webcam
Using your phone as a webcam involves a few steps, but it's relatively straightforward. Here’s a step-by-step guide:
Step 1: Choose the Right App
Several apps can turn your smartphone into a webcam. Some popular options include:
- DroidCam (available for both Android and iOS)
- EpocCam (available for both Android and iOS)
- iVCam (available for both Android and iOS)
- Iriun (available for both Android and iOS)
Each app has its own set of features, so you might want to explore a few to see which one best meets your needs.
Step 2: Install the App on Your Phone and Computer
Once you've chosen an app, you'll need to install it on both your smartphone and your computer. Most of these apps have companion software that you need to download and install on your computer to facilitate the connection.
Step 3: Connect Your Phone to Your Computer
There are generally two ways to connect your phone to your computer: via USB or Wi-Fi.
- USB Connection: This method is usually more stable and offers better video quality. To connect via USB, you’ll need a USB cable compatible with your phone. Once connected, the app should automatically detect your phone and start streaming video.
- Wi-Fi Connection: This method offers more flexibility but can be less stable depending on your network. To connect via Wi-Fi, both your phone and computer need to be on the same network. Open the app on both devices, and they should automatically pair.
Step 4: Configure the App Settings
Once connected, you may need to configure some settings to optimize the video quality. Most apps allow you to adjust the resolution, frame rate, and other parameters. Make sure to test these settings to find the best balance between video quality and performance.
Step 5: Select Your Phone as the Webcam in Your Video Conferencing Software
Finally, you’ll need to select your phone as the webcam in your video conferencing software (e.g., Zoom, Skype, Microsoft Teams). This is usually done in the settings menu under the video or camera options. Select the app you’re using (e.g., DroidCam, EpocCam) as the video source.
Tips for Optimal Performance
To get the best results when using your phone as a webcam, consider the following tips:
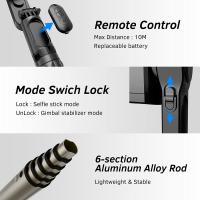
1. Stable Mounting: Use a tripod or a stable mount to keep your phone steady. Shaky video can be distracting and unprofessional.
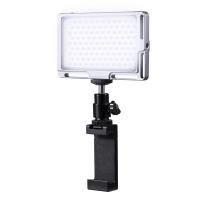
2. Good Lighting: Ensure you have good lighting to improve video quality. Natural light is best, but if that’s not an option, consider using a ring light or other artificial lighting.
3. Battery Management: Using your phone as a webcam can drain its battery quickly. If you’re using a USB connection, your phone will likely charge while in use. If you’re using Wi-Fi, make sure your phone is fully charged or connected to a power source.
4. Close Background Apps: To ensure smooth performance, close any unnecessary apps running in the background on your phone.
5. Test Before Important Calls: Always do a test run before any important video calls to ensure everything is working correctly.
Potential Drawbacks
While using your phone as a webcam has many advantages, there are some potential drawbacks to be aware of:
1. Battery Drain: As mentioned earlier, using your phone as a webcam can quickly drain its battery, especially if you’re using a Wi-Fi connection.
2. Overheating: Prolonged use can cause your phone to overheat, which may affect performance and longevity.
3. Network Stability: If you’re using a Wi-Fi connection, network stability can be an issue, leading to lag or dropped connections.
4. Limited Functionality: While smartphone cameras are excellent, they may lack some features found in dedicated webcams, such as wide-angle lenses or advanced autofocus capabilities.
Using your phone as a webcam is a practical and cost-effective solution for anyone needing high-quality video communication. With the right app and setup, you can achieve excellent video quality that rivals, if not surpasses, many standalone webcams. While there are some potential drawbacks, the benefits often outweigh them, making this a viable option for many users.
By following the steps outlined in this article and considering the tips for optimal performance, you can easily transform your smartphone into a powerful webcam. Whether you’re working from home, attending online classes, or catching up with friends and family, this setup can significantly enhance your video communication experience.





There are no comments for this blog.