How Can You Fix Headphones?
Headphones are an essential part of our daily lives, whether we use them for listening to music, attending virtual meetings, or enjoying a podcast. However, like any other electronic device, they can sometimes malfunction or break. Understanding how to fix headphones can save you money and extend the life of your device. In this article, we will explore various common issues with headphones and provide practical solutions to fix them.
Identifying the Problem
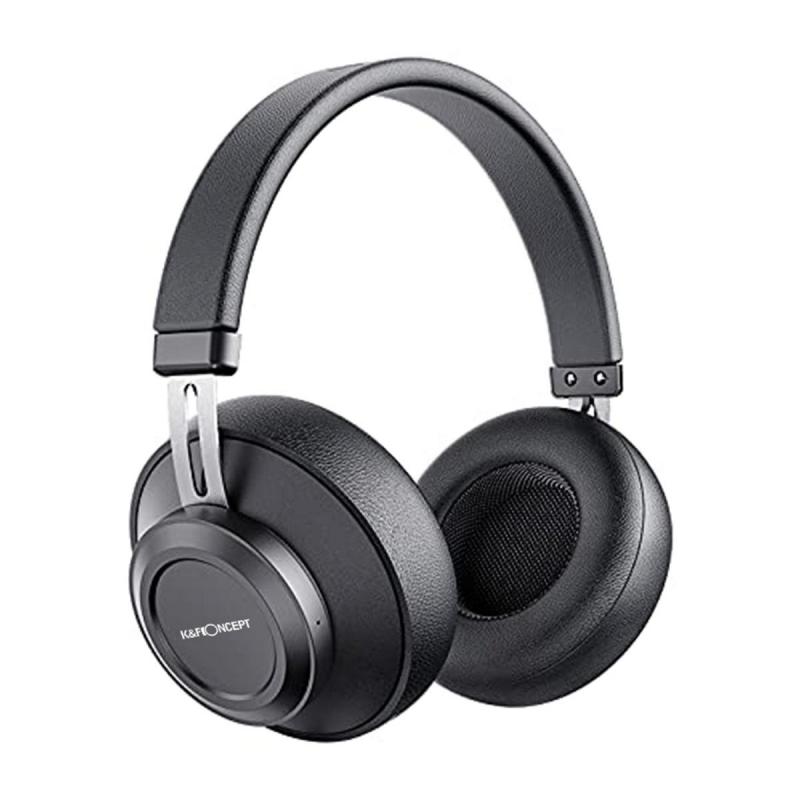
Before diving into the repair process, it is crucial to identify the specific issue with your headphones. Common problems include:
1. No Sound or Intermittent Sound: This could be due to a broken wire, a faulty jack, or issues with the internal components.
2. One Side Not Working: Often caused by a damaged wire or a problem with the speaker on one side.
3. Distorted Sound: This can be due to dirt or debris in the headphone jack or speaker, or a damaged diaphragm.
4. Loose or Broken Headband: Physical damage to the headband can make the headphones uncomfortable or unusable.
5. Microphone Not Working: For headphones with a built-in microphone, this could be due to a faulty connection or a software issue.
Tools and Materials Needed
Before starting any repair, gather the necessary tools and materials. These may include:
- Screwdrivers (small Phillips and flathead)
- Soldering iron and solder
- Multimeter
- Replacement parts (wires, jacks, speakers)
- Electrical tape or heat shrink tubing
- Super glue or epoxy
- Cleaning supplies (alcohol wipes, compressed air)
Fixing Common Issues
1. No Sound or Intermittent Sound
Step 1: Check the Source
First, ensure that the problem is not with the audio source. Test the headphones with different devices to rule out issues with the source.
Step 2: Inspect the Cable
Look for visible signs of damage along the cable. If you find any kinks, cuts, or frayed areas, this could be the cause.
Step 3: Test the Jack
Use a multimeter to check for continuity in the headphone jack. If the jack is faulty, it will need to be replaced.
Step 4: Repair or Replace the Cable
If the cable is damaged, you can either repair it by soldering the broken wires or replace it entirely. To repair, cut out the damaged section, strip the wires, and solder them back together. Use electrical tape or heat shrink tubing to insulate the connections.
2. One Side Not Working
Step 1: Check the Balance Settings
Ensure that the audio balance settings on your device are not set to one side.
Step 2: Inspect the Cable and Jack
Similar to the previous issue, check for visible damage and test the jack with a multimeter.
Step 3: Open the Headphone
If the problem persists, you may need to open the headphone casing. Use a small screwdriver to remove any screws and carefully pry open the casing.
Step 4: Test the Speaker
Use a multimeter to test the speaker on the non-working side. If it shows no continuity, the speaker may need to be replaced.
Step 5: Repair Internal Wiring
If the speaker is fine, check the internal wiring for any loose or broken connections. Solder any broken wires back in place.
3. Distorted Sound
Step 1: Clean the Headphone Jack
Dirt and debris can cause distorted sound. Use compressed air or an alcohol wipe to clean the headphone jack.
Step 2: Inspect the Diaphragm
If cleaning does not help, the diaphragm inside the speaker may be damaged. Open the headphone casing and inspect the diaphragm for any tears or damage.
Step 3: Replace the Speaker
If the diaphragm is damaged, you will need to replace the speaker. Solder the new speaker in place and reassemble the headphones.
4. Loose or Broken Headband
Step 1: Assess the Damage
Determine whether the headband is loose or broken. If it is loose, tightening any screws or bolts may fix the issue.
Step 2: Use Glue or Epoxy
For a broken headband, use super glue or epoxy to bond the broken pieces together. Hold the pieces in place until the glue sets.
Step 3: Reinforce the Repair
For added strength, you can use electrical tape or a small piece of metal to reinforce the repaired area.
5. Microphone Not Working
Step 1: Check Software Settings
Ensure that the microphone is enabled in your device's settings and that the correct input source is selected.
Step 2: Inspect the Cable and Jack
Check for visible damage to the cable and test the jack with a multimeter.
Step 3: Open the Microphone Casing
If the problem persists, open the microphone casing and inspect the internal wiring.
Step 4: Repair or Replace the Microphone
Solder any loose wires back in place or replace the microphone if it is faulty.
Preventive Maintenance
To extend the life of your headphones and prevent future issues, consider the following tips:
- Store Properly: Always store your headphones in a case or pouch to protect them from physical damage.
- Avoid Tangles: Keep the cable untangled to prevent kinks and breaks.
- Clean Regularly: Clean the headphone jack and speakers regularly to prevent dirt and debris buildup.
- Handle with Care: Avoid pulling on the cable or dropping the headphones.
Fixing headphones can be a straightforward process if you know what to look for and have the right tools. By identifying the problem, gathering the necessary materials, and following the appropriate steps, you can repair common issues and extend the life of your headphones. Whether it's a simple cleaning or a more complex repair, taking the time to fix your headphones can save you money and ensure you continue to enjoy high-quality sound.


