How Do I Put Pictures On Sd Card?
In today's digital age, managing and transferring photos is a common task for many people. Whether you're looking to free up space on your device, create backups, or simply organize your photos, knowing how to transfer pictures to an SD card is essential. This article will guide you through the process of putting pictures on an SD card, covering various devices and methods to ensure you can accomplish this task efficiently and effectively.
Understanding SD Cards

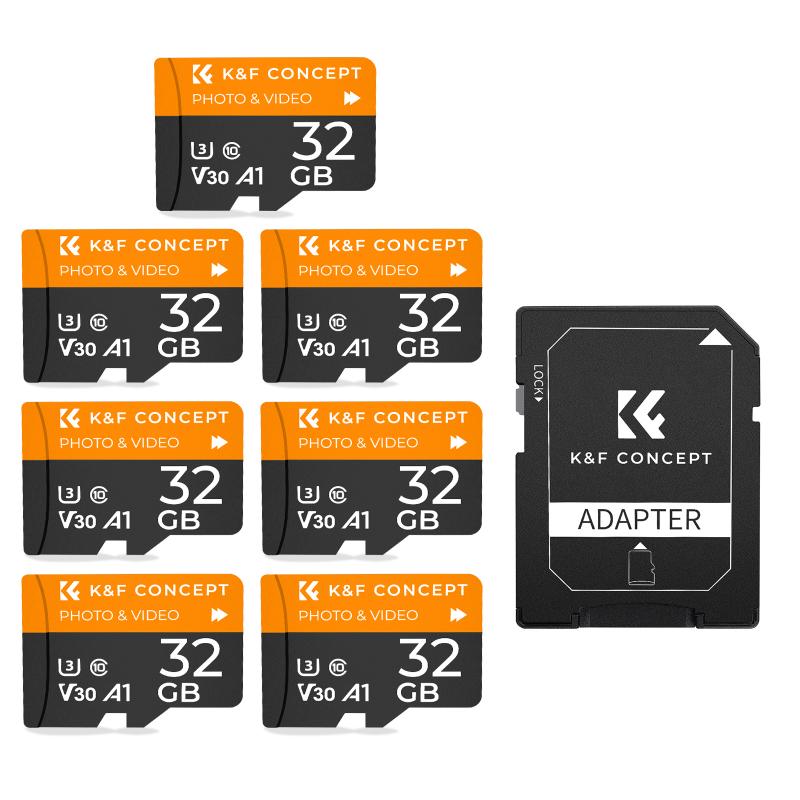
Before diving into the steps, it's important to understand what an SD card is and why it's useful. SD (Secure Digital) cards are small, portable storage devices used in a variety of electronic devices, including cameras, smartphones, tablets, and computers. They come in different sizes and capacities, such as SD, miniSD, and microSD, with storage capacities ranging from a few megabytes to several terabytes.
Why Use an SD Card?

1. Portability: SD cards are compact and easy to carry, making them ideal for transferring data between devices.
2. Storage Expansion: Many devices have limited internal storage, and an SD card can provide additional space for photos, videos, and other files.
3. Backup: Storing photos on an SD card can serve as a backup in case your device is lost, stolen, or damaged.
4. Organization: SD cards can help you organize your photos by allowing you to categorize and store them separately from your device's internal storage.
Methods to Transfer Pictures to an SD Card

1. Using a Computer

One of the most common methods to transfer pictures to an SD card is by using a computer. Here’s how you can do it:
Step-by-Step Guide:
1. Insert the SD Card: Insert the SD card into the SD card slot on your computer. If your computer doesn’t have an SD card slot, you can use an external SD card reader.
2. Open File Explorer: On Windows, open File Explorer. On a Mac, open Finder.
3. Locate Your Photos: Navigate to the folder where your photos are stored.
4. Copy Photos: Select the photos you want to transfer. Right-click and choose "Copy" or press `Ctrl+C` (Windows) or `Command+C` (Mac).
5. Access the SD Card: In File Explorer or Finder, locate the SD card. It will usually appear as a removable drive.
6. Paste Photos: Open the SD card folder, right-click, and choose "Paste" or press `Ctrl+V` (Windows) or `Command+V` (Mac).
7. Eject the SD Card: Once the transfer is complete, safely eject the SD card by right-clicking on it and selecting "Eject."
2. Using a Smartphone or Tablet
If you’re using a smartphone or tablet, the process may vary slightly depending on the operating system (iOS or Android).
For Android Devices:
1. Insert the SD Card: Insert the SD card into the SD card slot on your Android device.
2. Open File Manager: Use a file manager app to access your device’s storage.
3. Locate Your Photos: Navigate to the folder where your photos are stored, usually in the "DCIM" or "Pictures" folder.
4. Select Photos: Select the photos you want to transfer.
5. Move or Copy Photos: Choose the option to move or copy the selected photos. Navigate to the SD card and select the destination folder.
6. Complete the Transfer: Confirm the transfer and wait for it to complete.
For iOS Devices:
iOS devices do not have native support for SD cards, so you will need an external SD card reader that connects via the Lightning port.
1. Connect the SD Card Reader: Connect the SD card reader to your iOS device and insert the SD card.
2. Open the Files App: Open the Files app on your iOS device.
3. Locate Your Photos: Navigate to the "Photos" app and select the photos you want to transfer.
4. Copy Photos: Tap the "Share" button and choose "Save to Files."
5. Select SD Card: Choose the SD card as the destination and confirm the transfer.
3. Using a Camera
If you’re transferring photos directly from a camera, the process is straightforward:
1. Insert the SD Card: Insert the SD card into the camera.
2. Take Photos: Use the camera to take photos. The photos will be automatically saved to the SD card.
3. Transfer to Another Device: If you need to transfer the photos to another device, remove the SD card from the camera and use one of the methods mentioned above.
Tips for Managing Photos on an SD Card
1. Organize Folders: Create folders on your SD card to organize your photos by date, event, or category.
2. Regular Backups: Regularly back up your photos to another storage device or cloud service to prevent data loss.
3. Check Compatibility: Ensure your SD card is compatible with your device. Some devices may have limitations on the maximum supported capacity.
4. Format the SD Card: Before using a new SD card, format it using your device to ensure it’s properly configured.
5. Avoid Physical Damage: Handle your SD card with care to avoid physical damage that could result in data loss.
Troubleshooting Common Issues
1. SD Card Not Recognized: If your device doesn’t recognize the SD card, try reinserting it or using a different card reader. Ensure the card is properly formatted.
2. Slow Transfer Speeds: Slow transfer speeds can be due to the card’s speed class. Use a higher-speed card for faster transfers.
3. Corrupted Files: If files become corrupted, try using data recovery software to retrieve them. Regular backups can help mitigate this risk.
Transferring pictures to an SD card is a simple yet essential skill for managing your digital photos. Whether you’re using a computer, smartphone, tablet, or camera, the methods outlined in this article will help you efficiently transfer and organize your photos. By following these steps and tips, you can ensure your photos are safely stored and easily accessible whenever you need them.
