How Do I Transfer Pictures To Sd Card?
Transferring pictures to an SD card is a common task that many people need to perform, whether to free up space on their device, create backups, or simply organize their photos. This article will guide you through the process of transferring pictures to an SD card, covering various devices and methods to ensure you can accomplish this task efficiently and effectively.
Understanding the Basics

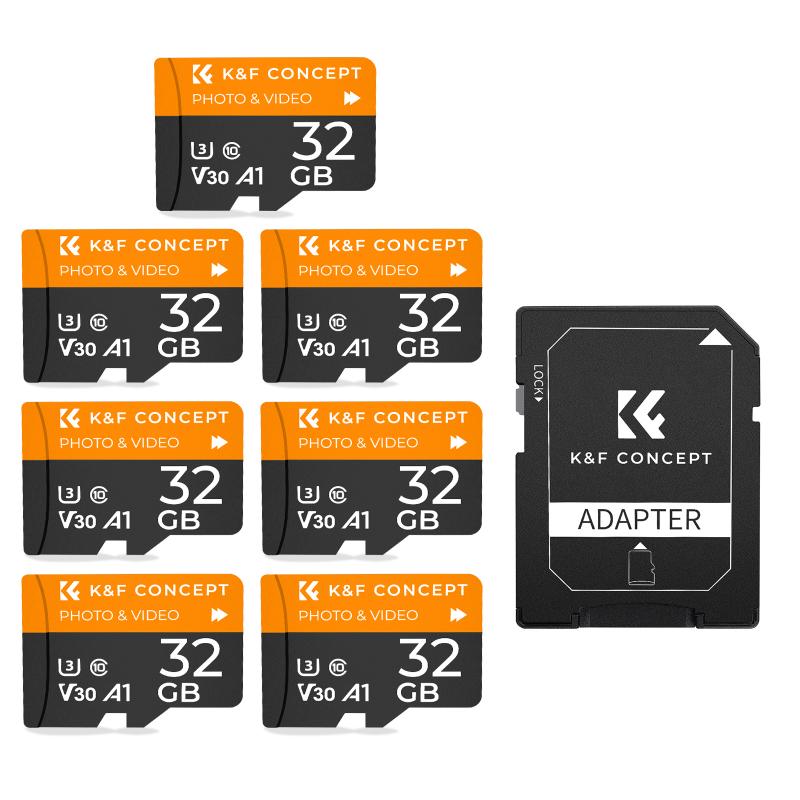
Before diving into the specific steps, it's important to understand the basics of SD cards and their compatibility with different devices. SD cards come in various sizes and capacities, such as SD, SDHC, and SDXC, each offering different storage capabilities. Ensure that your device supports the type of SD card you are using. Additionally, some devices may require an adapter to use microSD cards.
Transferring Pictures from a Smartphone

Android Devices

1. Insert the SD Card: Ensure your SD card is properly inserted into your Android device. Most smartphones have a dedicated slot for SD cards, often located near the SIM card slot.
2. Open File Manager: Use the built-in file manager app on your device. If your device doesn't have one, you can download a file manager app from the Google Play Store.
3. Locate Your Pictures: Navigate to the folder where your pictures are stored. This is usually the "DCIM" folder for camera photos or other folders for downloaded images.
4. Select Pictures: Long-press on a picture to select it, then tap on additional pictures to select multiple files.
5. Move or Copy: Tap on the "Move" or "Copy" option. Moving will transfer the pictures and remove them from the original location, while copying will leave the original files intact.
6. Select Destination: Navigate to the SD card directory and choose the folder where you want to store the pictures. Tap "Move here" or "Copy here" to complete the transfer.
iOS Devices

iPhones do not support SD cards directly. However, you can use an SD card reader to transfer pictures.
1. Connect SD Card Reader: Plug the SD card reader into your iPhone's Lightning port.
2. Insert SD Card: Insert the SD card into the reader.
3. Open Photos App: The Photos app should automatically open and display the contents of the SD card.
4. Import Pictures: Select the pictures you want to transfer and tap "Import". You can choose to import all or only selected photos.
5. Confirm Import: After the import is complete, you can choose to keep or delete the original files on the SD card.
Transferring Pictures from a Computer
Windows PC
1. Insert SD Card: Insert the SD card into the SD card slot on your computer. If your computer doesn't have an SD card slot, use an external SD card reader.
2. Open File Explorer: Open File Explorer and locate your SD card under "This PC" or "My Computer".
3. Locate Your Pictures: Navigate to the folder where your pictures are stored on your computer.
4. Select Pictures: Click to select individual pictures or use Ctrl + Click to select multiple files. You can also use Ctrl + A to select all pictures in a folder.
5. Copy or Move: Right-click on the selected pictures and choose "Copy" or "Cut". Copying will leave the original files intact, while cutting will remove them from the original location.
6. Paste to SD Card: Navigate to the SD card directory, right-click, and choose "Paste" to transfer the pictures.
Mac
1. Insert SD Card: Insert the SD card into the SD card slot on your Mac or use an external SD card reader.
2. Open Finder: Open Finder and locate your SD card under "Devices".
3. Locate Your Pictures: Navigate to the folder where your pictures are stored on your Mac.
4. Select Pictures: Click to select individual pictures or use Command + Click to select multiple files. You can also use Command + A to select all pictures in a folder.
5. Copy or Move: Right-click on the selected pictures and choose "Copy" or "Move". Copying will leave the original files intact, while moving will remove them from the original location.
6. Paste to SD Card: Navigate to the SD card directory, right-click, and choose "Paste" to transfer the pictures.
Transferring Pictures from a Camera
1. Remove SD Card: Turn off your camera and remove the SD card.
2. Insert SD Card into Computer: Insert the SD card into your computer's SD card slot or use an external SD card reader.
3. Open File Explorer or Finder: Open File Explorer on Windows or Finder on Mac and locate your SD card.
4. Locate Pictures: Navigate to the folder where your pictures are stored on the SD card. This is usually the "DCIM" folder.
5. Copy or Move: Select the pictures you want to transfer, right-click, and choose "Copy" or "Move".
6. Paste to Destination: Navigate to the desired folder on your computer and right-click to choose "Paste".
Tips for a Smooth Transfer
- Backup Your Data: Always back up your pictures before transferring them to avoid accidental data loss.
- Check Compatibility: Ensure your SD card is compatible with your device and has enough storage space for the pictures you want to transfer.
- Safely Eject SD Card: Always safely eject your SD card from your device to prevent data corruption.
Transferring pictures to an SD card is a straightforward process that can be accomplished using various devices and methods. Whether you're using a smartphone, computer, or camera, the steps outlined in this article will help you transfer your pictures efficiently. By following these guidelines, you can ensure your photos are safely stored and easily accessible whenever you need them.
