How Do You Delete Photos From Sd Card?
Deleting photos from an SD card is a common task that many users need to perform, whether to free up space, organize their files, or remove unwanted images. This article will guide you through various methods to delete photos from an SD card, addressing different devices and operating systems. By the end of this article, you will have a comprehensive understanding of how to manage your SD card storage effectively.
Understanding SD Cards
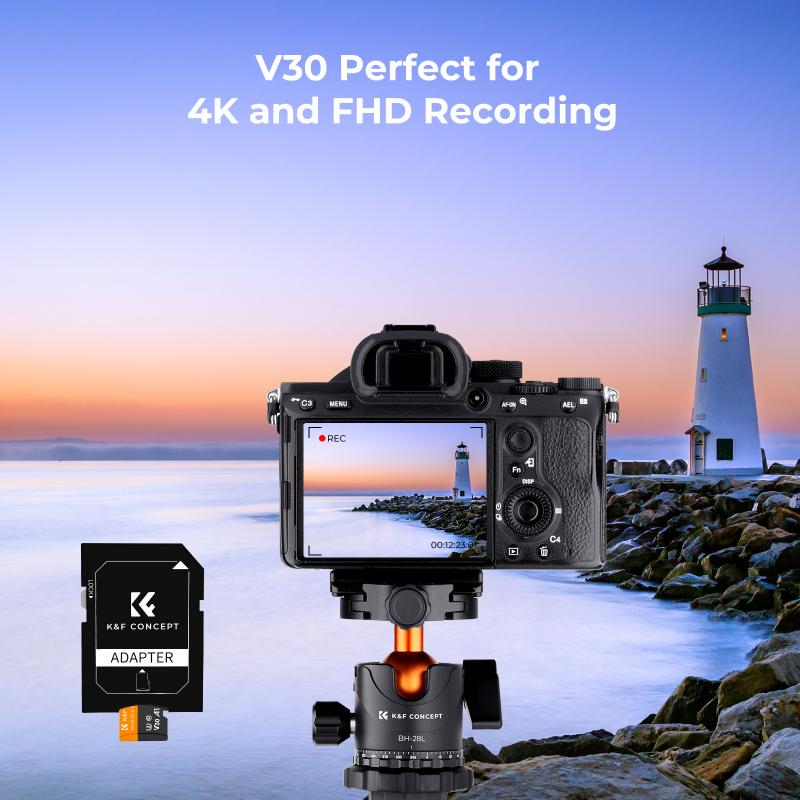
Before diving into the deletion process, it's essential to understand what an SD card is and how it functions. An SD (Secure Digital) card is a type of memory card used to store data in portable devices such as cameras, smartphones, and tablets. They come in various sizes and capacities, making them a versatile storage solution.
Methods to Delete Photos from an SD Card

There are several methods to delete photos from an SD card, depending on the device and operating system you are using. Here, we will cover the most common methods:
1. Using a Camera
2. Using a Computer (Windows)
3. Using a Computer (Mac)
4. Using a Smartphone or Tablet
5. Using a Card Reader
1. Using a Camera

Most digital cameras allow you to delete photos directly from the SD card. Here’s how you can do it:
1. Insert the SD Card: Ensure the SD card is properly inserted into the camera.
2. Turn On the Camera: Power on your camera.
3. Access the Playback Mode: Switch to the playback mode where you can view the photos stored on the SD card.
4. Select the Photo: Navigate to the photo you want to delete.
5. Delete the Photo: Press the delete button (usually marked with a trash can icon) and confirm the deletion.
Some cameras also offer a "Delete All" option, which allows you to delete all photos on the SD card at once. Be cautious when using this option to avoid accidentally deleting important photos.
2. Using a Computer (Windows)
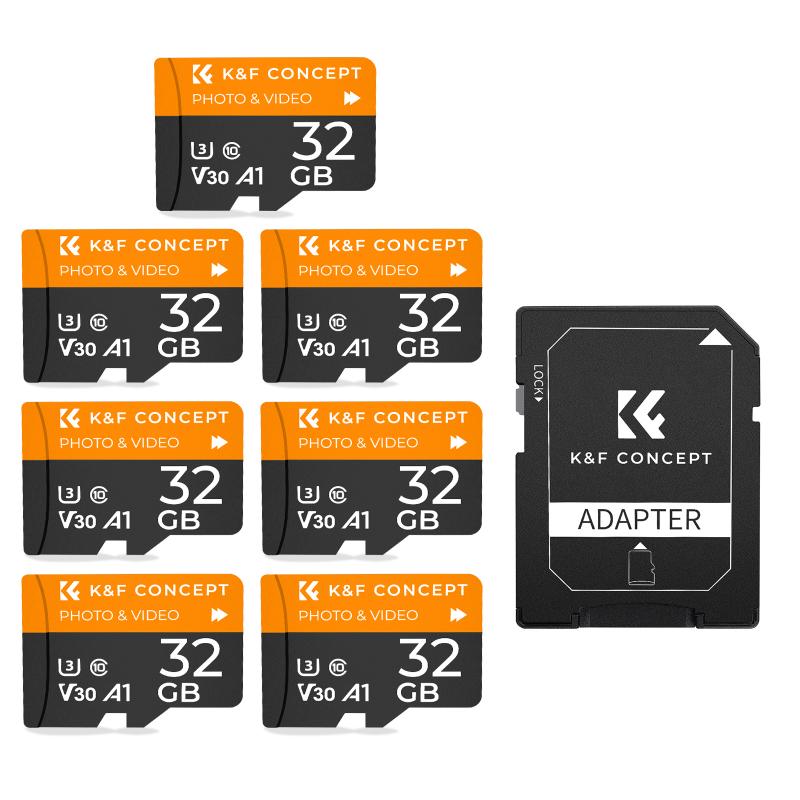
If you prefer to use a computer, follow these steps to delete photos from an SD card on a Windows operating system:
1. Insert the SD Card: Insert the SD card into the SD card slot on your computer or use an external card reader.
2. Open File Explorer: Press `Win + E` to open File Explorer.
3. Locate the SD Card: Find the SD card under "This PC" or "My Computer." It will appear as a removable drive.
4. Open the SD Card: Double-click on the SD card to open it and view its contents.
5. Select the Photos: Navigate to the folder containing the photos you want to delete. Select the photos by clicking on them. You can select multiple photos by holding down the `Ctrl` key while clicking.
6. Delete the Photos: Right-click on the selected photos and choose "Delete" from the context menu. Confirm the deletion if prompted.
3. Using a Computer (Mac)
For Mac users, the process is slightly different but equally straightforward:
1. Insert the SD Card: Insert the SD card into the SD card slot on your Mac or use an external card reader.
2. Open Finder: Click on the Finder icon in the Dock to open a Finder window.
3. Locate the SD Card: Find the SD card under the "Devices" section in the sidebar. It will appear as a removable drive.
4. Open the SD Card: Click on the SD card to open it and view its contents.
5. Select the Photos: Navigate to the folder containing the photos you want to delete. Select the photos by clicking on them. You can select multiple photos by holding down the `Command` key while clicking.
6. Delete the Photos: Drag the selected photos to the Trash or right-click and choose "Move to Trash." Empty the Trash to permanently delete the photos.
4. Using a Smartphone or Tablet
If your smartphone or tablet has an SD card slot, you can delete photos directly from the device:
1. Insert the SD Card: Insert the SD card into the SD card slot on your smartphone or tablet.
2. Open the Gallery or Photos App: Launch the app where your photos are stored.
3. Locate the Photos: Navigate to the folder containing the photos on the SD card.
4. Select the Photos: Tap and hold on a photo to select it. You can select multiple photos by tapping on additional photos.
5. Delete the Photos: Tap the delete icon (usually a trash can) and confirm the deletion.
5. Using a Card Reader
A card reader is a handy tool that allows you to access the SD card on any device with a USB port. Here’s how to use it:
1. Insert the SD Card: Insert the SD card into the card reader.
2. Connect the Card Reader: Plug the card reader into a USB port on your computer.
3. Open File Explorer or Finder: Depending on your operating system, open File Explorer (Windows) or Finder (Mac).
4. Locate the SD Card: Find the SD card under "This PC" or "Devices."
5. Open the SD Card: Double-click on the SD card to open it and view its contents.
6. Select and Delete the Photos: Navigate to the folder containing the photos, select them, and delete them as described in the previous sections.
Tips for Managing Photos on an SD Card
1. Regular Backups: Always back up your photos to another storage device or cloud service before deleting them from the SD card.
2. Organize Your Photos: Create folders and organize your photos by date or event to make it easier to find and manage them.
3. Use Reliable Software: If you need to recover deleted photos, use reliable photo recovery software to avoid data loss.
4. Format the SD Card: Periodically format the SD card to maintain its performance. Ensure you back up all important data before formatting.
Deleting photos from an SD card is a simple process that can be done using various methods, depending on the device and operating system you are using. Whether you choose to delete photos directly from your camera, computer, smartphone, or tablet, the steps outlined in this article will help you manage your SD card storage effectively. Remember to back up your photos regularly and organize them to avoid accidental deletions and ensure easy access to your cherished memories.




There are no comments for this blog.