How Do You Make A Metal Detector?
Creating a metal detector can be a fascinating and educational project, whether you're a hobbyist, a student, or someone interested in electronics and DIY projects. This article will guide you through the process of making a simple metal detector, explaining the necessary components, the underlying principles, and the step-by-step construction process. By the end of this article, you should have a functional metal detector and a deeper understanding of how these devices work.
Understanding the Basics of Metal Detectors

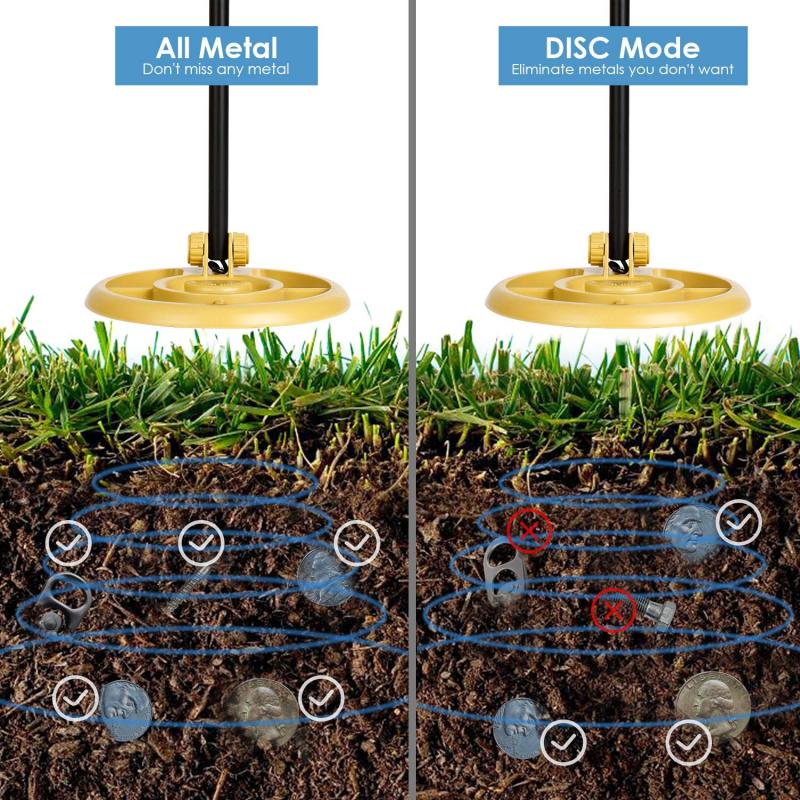
Before diving into the construction, it's essential to understand how metal detectors work. Metal detectors operate on the principle of electromagnetic induction. They generate a magnetic field through a coil of wire, and when this magnetic field interacts with a metal object, it induces an electric current in the object. This current, in turn, creates its own magnetic field, which the detector senses and signals to the user.
Components Needed

To build a basic metal detector, you will need the following components:
1. Search Coil: This is the part of the detector that generates the magnetic field and senses the presence of metal. You can make a search coil by winding a wire into a loop.
2. Oscillator Circuit: This circuit generates an alternating current (AC) that flows through the search coil, creating the magnetic field.
3. Amplifier: This component amplifies the signal received from the search coil when it detects metal.
4. Speaker or Headphones: These output the audio signal indicating the presence of metal.
5. Power Source: Typically, a battery to power the circuit.
6. Miscellaneous Components: Resistors, capacitors, transistors, and a breadboard or PCB for assembling the circuit.
Step-by-Step Construction

Step 1: Building the Search Coil

The search coil is a crucial part of the metal detector. Here's how to make one:
1. Materials: You will need insulated copper wire (about 26-30 gauge) and a circular form (like a plastic lid) to wind the wire around.
2. Winding the Coil: Wind the wire around the form about 20-30 times, ensuring the loops are tight and even. Leave some extra wire at the ends for connections.
3. Securing the Coil: Use electrical tape to secure the coil and prevent it from unwinding.
Step 2: Constructing the Oscillator Circuit
The oscillator circuit generates the AC signal that flows through the search coil. A simple Colpitts oscillator can be used for this purpose.
1. Components: You will need a transistor (e.g., 2N2222), capacitors, resistors, and a power source.
2. Circuit Design: Connect the components according to the Colpitts oscillator circuit diagram. The search coil will be part of this circuit.
3. Testing: Once assembled, power the circuit and use an oscilloscope to ensure it generates a stable AC signal.
Step 3: Amplifying the Signal
The signal from the search coil needs to be amplified to be detectable.
1. Components: Use an operational amplifier (op-amp) for this purpose.
2. Circuit Design: Connect the op-amp to the output of the search coil. Adjust the gain to ensure the signal is strong enough to drive the speaker or headphones.
Step 4: Adding the Audio Output
The amplified signal needs to be converted into an audible sound.
1. Speaker or Headphones: Connect a small speaker or headphones to the output of the amplifier.
2. Testing: When the search coil detects metal, the change in the magnetic field should cause a change in the signal, which will be heard as a tone or beep.
Step 5: Powering the Circuit
1. Battery: Use a 9V battery or another suitable power source to power the entire circuit.
2. Connections: Ensure all components are properly connected to the power source.
Fine-Tuning and Testing
Once your metal detector is assembled, it's time to fine-tune and test it:
1. Calibration: Adjust the oscillator and amplifier settings to ensure the detector is sensitive enough to detect small metal objects.
2. Testing: Test the detector with various metal objects to see how it responds. Adjust the coil and circuit as needed to improve performance.
Practical Applications and Tips
Building a metal detector is not just a fun project; it has practical applications as well. Here are some tips and uses:
1. Treasure Hunting: Use your metal detector to search for coins, jewelry, and other metal objects in parks, beaches, and other public places.
2. Educational Tool: This project is an excellent way to learn about electronics, physics, and engineering principles.
3. Customization: Experiment with different coil sizes, circuit designs, and components to improve the detector's performance and sensitivity.
4. Safety: Always be cautious when working with electronic components and ensure your power source is safe and appropriate for your circuit.
Troubleshooting Common Issues
If your metal detector isn't working as expected, here are some common issues and solutions:
1. No Signal: Check all connections and ensure the power source is functioning. Verify that the oscillator is generating a signal.
2. Weak Signal: Increase the gain on the amplifier or try a different op-amp. Ensure the search coil is properly wound and connected.
3. False Positives: Ensure there are no loose connections or interference from other electronic devices. Shield the circuit if necessary.
Building a metal detector is a rewarding project that combines creativity, technical skills, and practical applications. By following the steps outlined in this article, you can create a functional metal detector and gain a deeper understanding of the principles behind it. Whether you're using it for treasure hunting, educational purposes, or just as a fun DIY project, the knowledge and experience gained from building your metal detector will be invaluable. Happy detecting!
