How Do You Make A Solar Panel?
Creating a solar panel is a fascinating and rewarding project that can provide a sustainable source of energy for your home or business. This article will guide you through the process of making a solar panel, from understanding the basic components to assembling and installing the final product. Whether you are a DIY enthusiast or someone interested in renewable energy, this comprehensive guide will help you achieve your goal.
Understanding Solar Panels
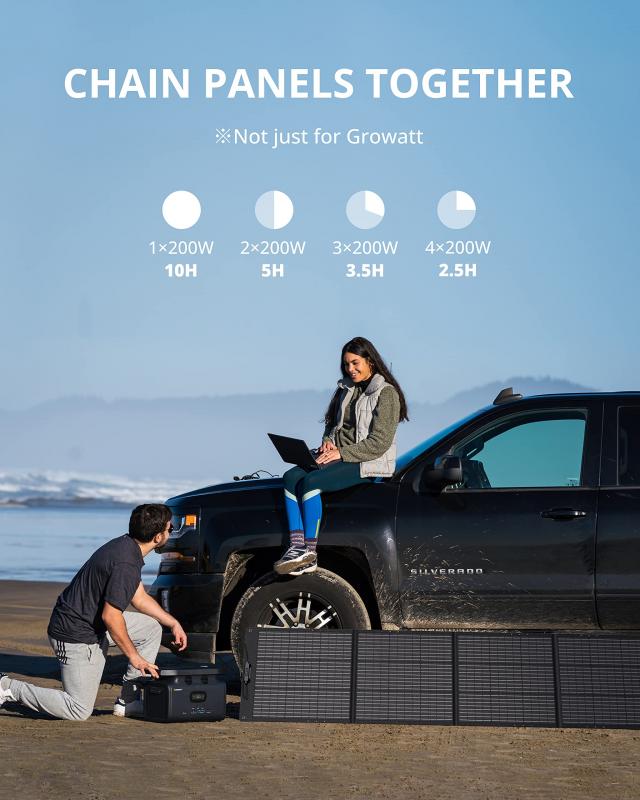
Before diving into the construction process, it’s essential to understand what a solar panel is and how it works. A solar panel is a device that converts sunlight into electricity using photovoltaic (PV) cells. These cells are made of semiconductor materials, typically silicon, which generate electric current when exposed to sunlight.
Components of a Solar Panel
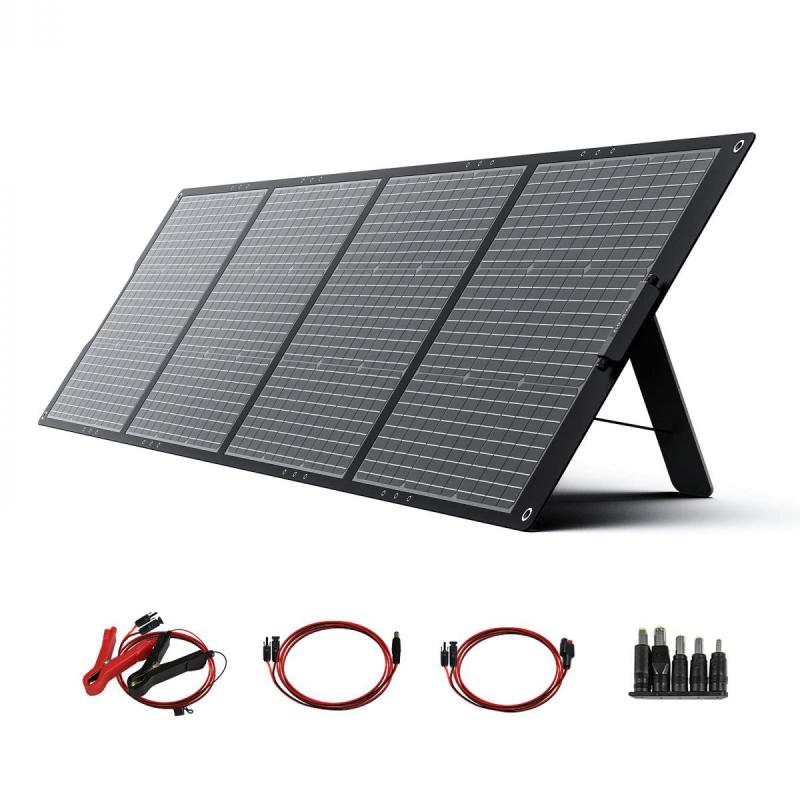
1. Photovoltaic Cells: The core component that converts sunlight into electricity.
2. Glass Cover: Protects the PV cells from environmental damage.
3. Encapsulant: A layer of material that cushions the PV cells and protects them from moisture and dirt.
4. Backsheet: The rear layer that provides structural support and protection.
5. Frame: Usually made of aluminum, it holds the entire panel together.
6. Junction Box: Houses the electrical connections and protects them from the elements.
Tools and Materials Needed
- Photovoltaic cells
- Tabbing wire
- Flux pen
- Soldering iron and solder
- EVA (Ethylene Vinyl Acetate) sheets
- Glass sheet
- Aluminum frame
- Junction box
- Diodes
- Bus wire
- Multimeter
- Silicone sealant
- Screwdriver
- Wire cutters
Step-by-Step Guide to Making a Solar Panel
Step 1: Sourcing Photovoltaic Cells
The first step is to purchase high-quality photovoltaic cells. These can be bought online or from specialized electronics stores. Ensure that the cells are of the same type and size to maintain uniformity in your panel.
Step 2: Preparing the Cells
Lay out the cells on a flat surface and inspect them for any damage. Use a flux pen to apply flux to the busbars of each cell. This will help the solder adhere better.
Step 3: Soldering the Cells
Cut the tabbing wire into appropriate lengths. Use a soldering iron to attach the tabbing wire to the busbars of each cell. This process requires precision, so take your time to ensure that each connection is secure.
Step 4: Connecting the Cells
Arrange the cells in a series to form a string. Typically, a 36-cell configuration is used for a standard 12V panel. Solder the tabbing wire from the positive terminal of one cell to the negative terminal of the next cell. Use a multimeter to check the voltage and ensure that the connections are correct.
Step 5: Encapsulating the Cells
Place the connected cells on an EVA sheet. Cover them with another EVA sheet and a glass sheet on top. The EVA sheets will protect the cells from moisture and dirt. Use a vacuum laminator to seal the layers together. If you don’t have access to a laminator, you can use a heat gun to achieve a similar effect.
Step 6: Framing the Panel
Once the cells are encapsulated, place the assembly into an aluminum frame. The frame provides structural support and protects the edges of the glass. Use silicone sealant to secure the glass to the frame and prevent any moisture from entering.
Step 7: Installing the Junction Box
Attach the junction box to the back of the panel. This box will house the electrical connections and diodes. Solder the bus wires to the terminals in the junction box. Diodes are essential as they prevent the current from flowing back into the panel when it’s not generating electricity.
Step 8: Testing the Panel
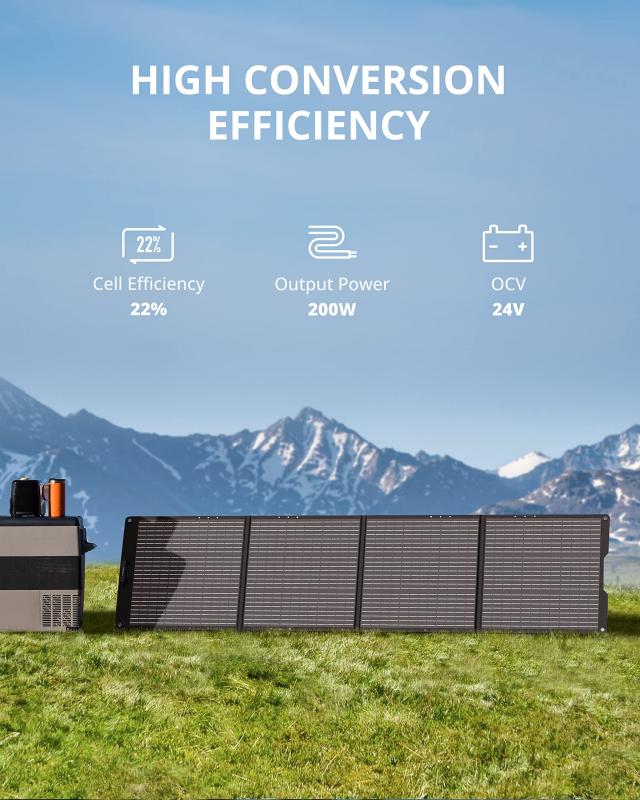
Before installing the panel, it’s crucial to test it to ensure it’s working correctly. Use a multimeter to measure the voltage and current output. Place the panel in direct sunlight and check the readings. A standard 12V panel should produce around 18V in full sunlight.
Step 9: Installing the Panel
Choose a location that receives maximum sunlight throughout the day. Mount the panel on a sturdy surface using brackets or a mounting system. Connect the panel to a charge controller, which will regulate the voltage and current going to the battery. From the charge controller, connect to an inverter if you plan to use the electricity for AC appliances.
Maintenance and Troubleshooting
Regular maintenance is essential to ensure the longevity and efficiency of your solar panel. Clean the glass surface periodically to remove dust and debris. Inspect the connections and junction box for any signs of wear or corrosion. If you notice a drop in performance, use a multimeter to check the voltage and current output and identify any faulty connections.
Benefits of DIY Solar Panels
1. Cost Savings: Building your solar panel can be more cost-effective than purchasing a pre-made one.
2. Customization: You can design the panel to fit your specific energy needs and space constraints.
3. Learning Experience: The process provides valuable knowledge about renewable energy and electrical systems.
4. Sustainability: By generating your electricity, you reduce your carbon footprint and contribute to a greener planet.
Making a solar panel is a rewarding project that combines technical skills with a commitment to sustainability. By following this guide, you can create a functional solar panel that provides clean, renewable energy for your home or business. Remember to take your time with each step, ensuring that all connections are secure and components are properly assembled. With regular maintenance, your DIY solar panel can serve as a reliable source of energy for years to come.






There are no comments for this blog.