How To Attach A Canon Camera Strap?
Attaching a Canon Camera Strap: A Comprehensive Guide
When you invest in a high-quality Canon camera, ensuring its safety and ease of use becomes paramount. One of the simplest yet most effective ways to protect your camera from accidental drops and to make it more convenient to carry is by attaching a camera strap. While it may seem like a straightforward task, attaching a camera strap correctly is crucial for both the security of your camera and your comfort. This guide will walk you through the process step-by-step, ensuring that your Canon camera is securely strapped and ready for your next photography adventure.
Why Use a Camera Strap?

Before diving into the how-to, it's important to understand why using a camera strap is beneficial:
1. Safety: A camera strap significantly reduces the risk of dropping your camera, which can lead to costly repairs or even the need for a replacement.
2. Convenience: It allows you to carry your camera hands-free, making it easier to move around and access other equipment.
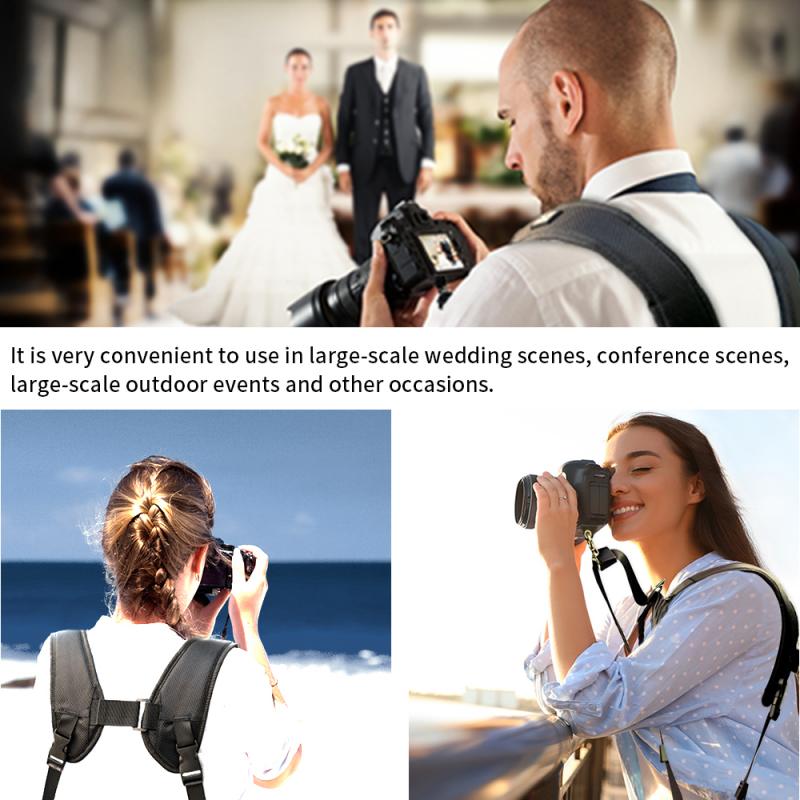
3. Comfort: A well-padded strap can distribute the weight of the camera evenly across your neck or shoulder, reducing strain during long shooting sessions.
Types of Camera Straps

Canon offers various types of camera straps, each designed to meet different needs:
1. Neck Straps: These are the most common and are designed to be worn around the neck.
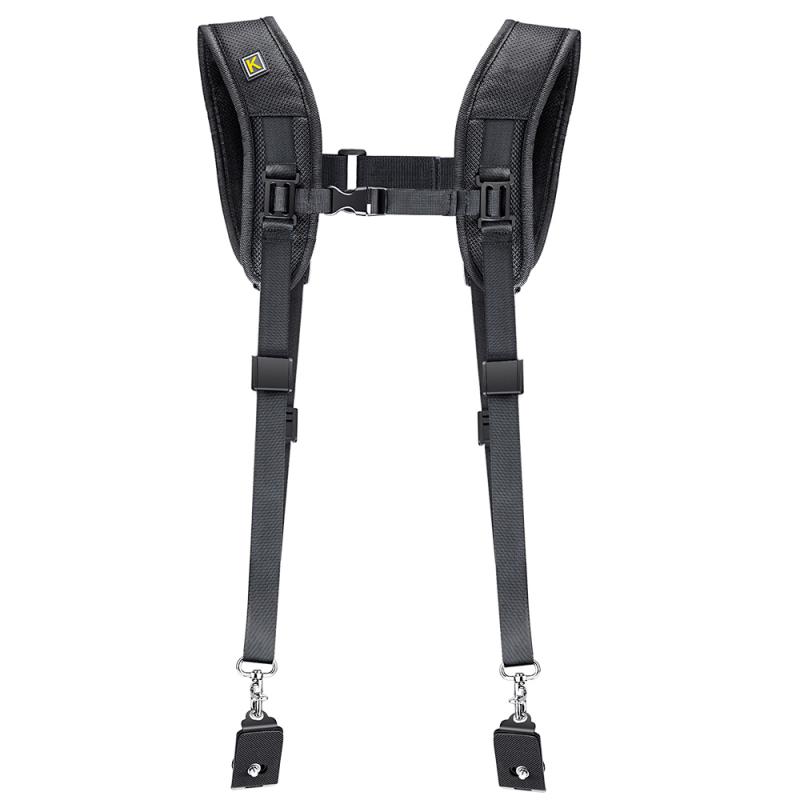
2. Shoulder Straps: These are longer and can be worn across the body, providing more comfort and security.
3. Wrist Straps: These are shorter and are designed to be worn around the wrist, offering a lightweight and compact option.
Step-by-Step Guide to Attaching a Canon Camera Strap

Step 1: Unpack the Strap

Start by unpacking your Canon camera strap. Most Canon cameras come with a standard neck strap, but you can also purchase aftermarket straps that offer additional features like extra padding or quick-release mechanisms.
Step 2: Locate the Strap Lugs
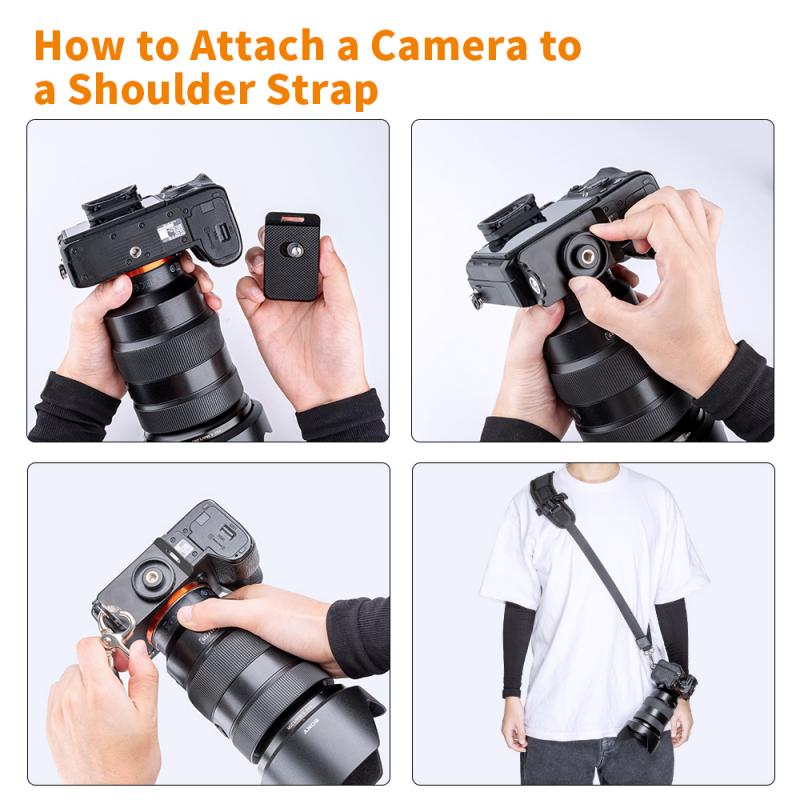
Your Canon camera will have two strap lugs, one on each side of the camera body. These are small metal or plastic loops specifically designed for attaching the strap.
Step 3: Thread the Strap
1. Insert the Strap: Take one end of the strap and thread it through the strap lug from the bottom. Make sure the strap is not twisted.
2. Loop the Strap: Once the strap is through the lug, create a loop by threading it back through the plastic or metal buckle on the strap.
3. Secure the Strap: Pull the strap tight to secure it in place. Ensure that the strap is threaded through the buckle correctly to prevent it from slipping.
Step 4: Repeat on the Other Side
Repeat the same process on the other side of the camera. Make sure both sides are equally tight and secure to ensure the camera hangs evenly.
Step 5: Adjust the Length
Once both ends of the strap are securely attached, adjust the length to your preference. Most straps have adjustable buckles that allow you to shorten or lengthen the strap as needed. Make sure the strap is comfortable and that the camera hangs at a convenient height for easy access.
Step 6: Test the Strap
Before heading out, give the strap a good tug to ensure it is securely attached. Walk around with the camera to make sure the strap is comfortable and that the camera is easily accessible.
Tips for Using a Camera Strap
1. Regularly Check the Strap: Over time, the strap can wear out or become loose. Regularly check the strap and its attachments to ensure they are still secure.
2. Use a Quick-Release System: If you frequently switch between handheld and tripod shooting, consider a strap with a quick-release system for added convenience.
3. Customize for Comfort: If the standard strap is uncomfortable, consider aftermarket options with extra padding or ergonomic designs.
Troubleshooting Common Issues
1. Strap Slipping: If the strap keeps slipping through the buckle, double-check that it is threaded correctly. You may need to re-thread it to ensure it is secure.
2. Uneven Length: If one side of the strap is longer than the other, adjust the buckles to even them out. This will ensure the camera hangs straight and is more comfortable to carry.
3. Wear and Tear: If you notice any fraying or damage to the strap, replace it immediately to avoid the risk of it breaking while in use.
Attaching a Canon camera strap may seem like a minor task, but doing it correctly is essential for the safety and convenience of your camera. By following this step-by-step guide, you can ensure that your camera is securely strapped and ready for any photography adventure. Regularly check the strap for wear and tear, and don't hesitate to invest in a more comfortable or functional strap if needed. With your camera securely strapped, you can focus on capturing stunning images without worrying about accidental drops or discomfort.
