How To Build Drones?
Building a drone from scratch can be a highly rewarding project, whether you are a hobbyist, an engineer, or someone interested in learning more about electronics and aerodynamics. This article will guide you through the essential steps and considerations for building your own drone, from selecting the right components to assembling and testing your creation.
Understanding the Basics
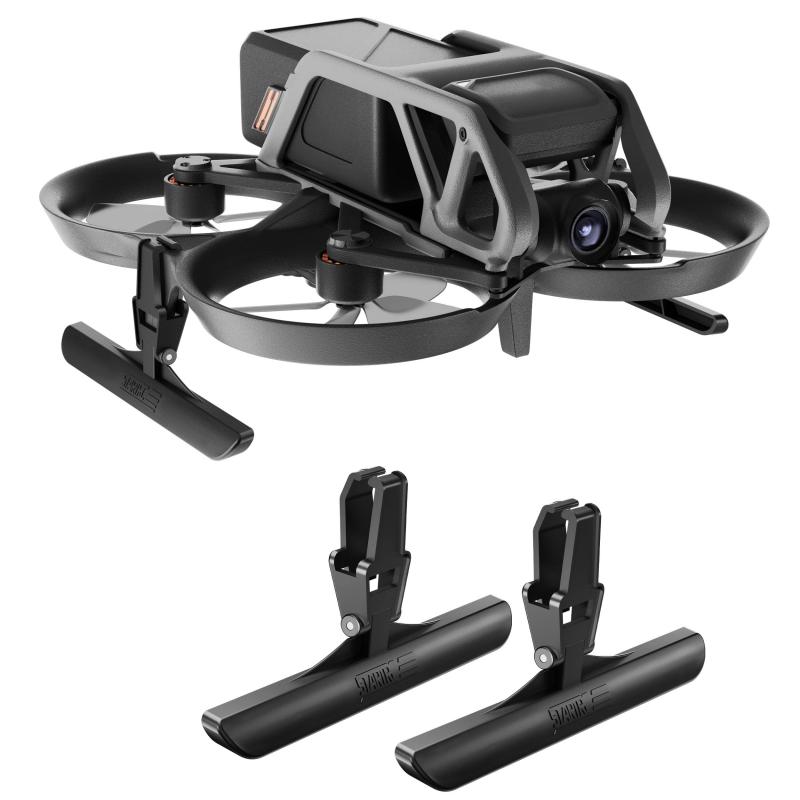
Before diving into the construction process, it's crucial to understand the basic components and principles that make a drone work. A typical drone consists of the following parts:
1. Frame: The skeleton of the drone, which holds all the components together.
2. Motors: Usually four (quadcopters) or more, these provide the thrust needed for flight.
3. Electronic Speed Controllers (ESCs): These control the speed of the motors.
4. Flight Controller: The brain of the drone, which stabilizes and controls the flight.
5. Propellers: These generate lift and allow the drone to move.
6. Battery: Provides the power needed for the motors and electronics.
7. Transmitter and Receiver: Allows you to control the drone remotely.
8. GPS Module: Optional, but useful for navigation and stability.
9. Camera and Gimbal: Optional, for aerial photography and videography.
Step-by-Step Guide to Building a Drone
1. Selecting the Frame
The frame is the foundation of your drone. It needs to be sturdy yet lightweight. Frames are typically made from materials like carbon fiber, aluminum, or plastic. The size of the frame will determine the size of the propellers and motors you can use. For beginners, a 450mm frame is a good starting point.
2. Choosing the Motors
The motors you choose will depend on the size and weight of your drone. Brushless motors are the most common choice due to their efficiency and durability. The motor's KV rating (RPM per volt) will affect the drone's speed and thrust. Lower KV motors are better for larger propellers and provide more torque, while higher KV motors are suitable for smaller, faster drones.
3. Electronic Speed Controllers (ESCs)
ESCs are crucial for controlling the speed of your motors. Make sure the ESCs you choose are compatible with your motors and can handle the current they will draw. Opt for ESCs with a higher current rating than your motors to ensure reliability.
4. Flight Controller
The flight controller is the most critical component of your drone. It stabilizes the drone and processes input from the transmitter. Popular flight controllers include the KK2.1.5, Naze32, and Pixhawk. Choose one that fits your skill level and the complexity of your project.
5. Propellers
Propellers come in various sizes and materials. The size of the propellers should match the frame and motors. Generally, larger propellers provide more lift but require more powerful motors. Plastic propellers are cheap and durable, while carbon fiber propellers are lighter and more efficient.
6. Battery
The battery powers your drone, so choosing the right one is crucial. Lithium Polymer (LiPo) batteries are the most common due to their high energy density. The battery's capacity (mAh) and discharge rate (C rating) should match the power requirements of your motors and ESCs. A 3S (11.1V) or 4S (14.8V) battery is typical for most drones.
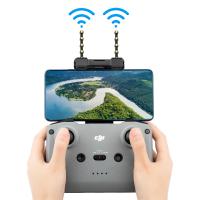
7. Transmitter and Receiver
A good transmitter and receiver are essential for controlling your drone. A 6-channel transmitter is sufficient for basic flight, but more channels allow for additional features like camera control. Popular brands include FrSky, Spektrum, and FlySky.
8. GPS Module
A GPS module is optional but highly recommended for advanced features like autonomous flight and return-to-home. Make sure the GPS module is compatible with your flight controller.
9. Camera and Gimbal
If you plan to use your drone for aerial photography, you'll need a camera and gimbal. The gimbal stabilizes the camera, ensuring smooth footage. GoPro cameras are a popular choice, but there are many other options available.
Assembling the Drone
Once you have all the components, it's time to assemble your drone. Follow these steps:
1. Mount the Motors: Attach the motors to the frame using screws. Make sure they are securely fastened.
2. Install the ESCs: Connect the ESCs to the motors and mount them on the frame. Use zip ties or double-sided tape to secure them.
3. Connect the Flight Controller: Mount the flight controller in the center of the frame. Connect the ESCs to the flight controller according to the manufacturer's instructions.
4. Attach the Propellers: Screw the propellers onto the motors. Make sure they are oriented correctly for the direction of rotation.
5. Install the Battery: Secure the battery to the frame using a strap or Velcro. Connect the battery to the power distribution board or directly to the ESCs.
6. Connect the Receiver: Bind the receiver to your transmitter and connect it to the flight controller.
7. Add Optional Components: If you're using a GPS module or camera, install them according to the manufacturer's instructions.
Configuring the Flight Controller
After assembling your drone, you'll need to configure the flight controller. This involves calibrating the sensors, setting up the transmitter, and configuring flight modes. Most flight controllers come with software that guides you through this process. Follow the instructions carefully to ensure your drone is properly configured.
Testing and Tuning
Before your first flight, perform a thorough pre-flight check:
1. Check Connections: Ensure all connections are secure and there are no loose wires.
2. Calibrate Sensors: Calibrate the accelerometer, gyroscope, and compass.
3. Test Motors: Spin the motors without propellers to ensure they are working correctly.
4. Check Battery Voltage: Make sure the battery is fully charged and within safe voltage limits.
Once you've completed the pre-flight check, take your drone to an open area for a test flight. Start with small, controlled movements to get a feel for the controls. If the drone is unstable, you may need to adjust the PID settings in the flight controller software.
Troubleshooting Common Issues
Building a drone can be challenging, and you may encounter some issues along the way. Here are some common problems and their solutions:
1. Drone Won't Arm: Check the transmitter settings and ensure the flight controller is properly calibrated.
2. Unstable Flight: Adjust the PID settings and check for loose components.
3. Short Flight Time: Use a higher capacity battery or reduce the weight of your drone.
4. Motor Overheating: Ensure the motors are not overloaded and the ESCs are properly rated.
Building a drone from scratch is a complex but rewarding project. By carefully selecting your components, following the assembly steps, and thoroughly testing your creation, you can build a drone that meets your specific needs and preferences. Whether you're interested in aerial photography, racing, or simply learning more about electronics and aerodynamics, building a drone is a fantastic way to explore these fields. Happy flying!


